
How to Enroll in the Apple Developer Program
How to Enroll in the Apple Developer Program
Congratulations on creating your first, or perhaps first of many, iOS applications! Now that you’re ready to grow a user base, the first step to publishing your App is to enroll in Apple’s Developer Program. As explained in our introduction, you will be required to pay $99 to enroll, unless you or your organization are eligible for aMembership Fee Waiver
By enrolling in the Developer Program, you will gain access to an entire ecosystem of helpfulprogrammingresources, including app-enhancing capabilities like push notifications and ApplePay, the ability to run your App directly onto an Apple device, and many others. You will also gain access to two important portals,the Apple Developer PortalandApp Store Connect. Finally, enrolling in the Developer Program is the only way to release your App to the App Store; Apple does not allow outside means for distributing applications.
Create an Apple ID
Before we get started with your enrollment, you will need an Apple ID. You likely already have one, as this is the same ID that you might use to sign in on your iPhone or iPad, or for services like iCloud, ApplePay, or Apple Music. Usually, these accounts will be linked to a personal email address. If you do not have an Apple ID, you can create one on any device using the steps that Apple lays outon their support page.
Sign in to the Apple Developer Portal
Head tothe Apple Developer Portal, and sign in by tapping the Account button on the top right corner. Note that sign-in might requiretwo-factor authentication, which usually means you’ll need your mobile device handy!
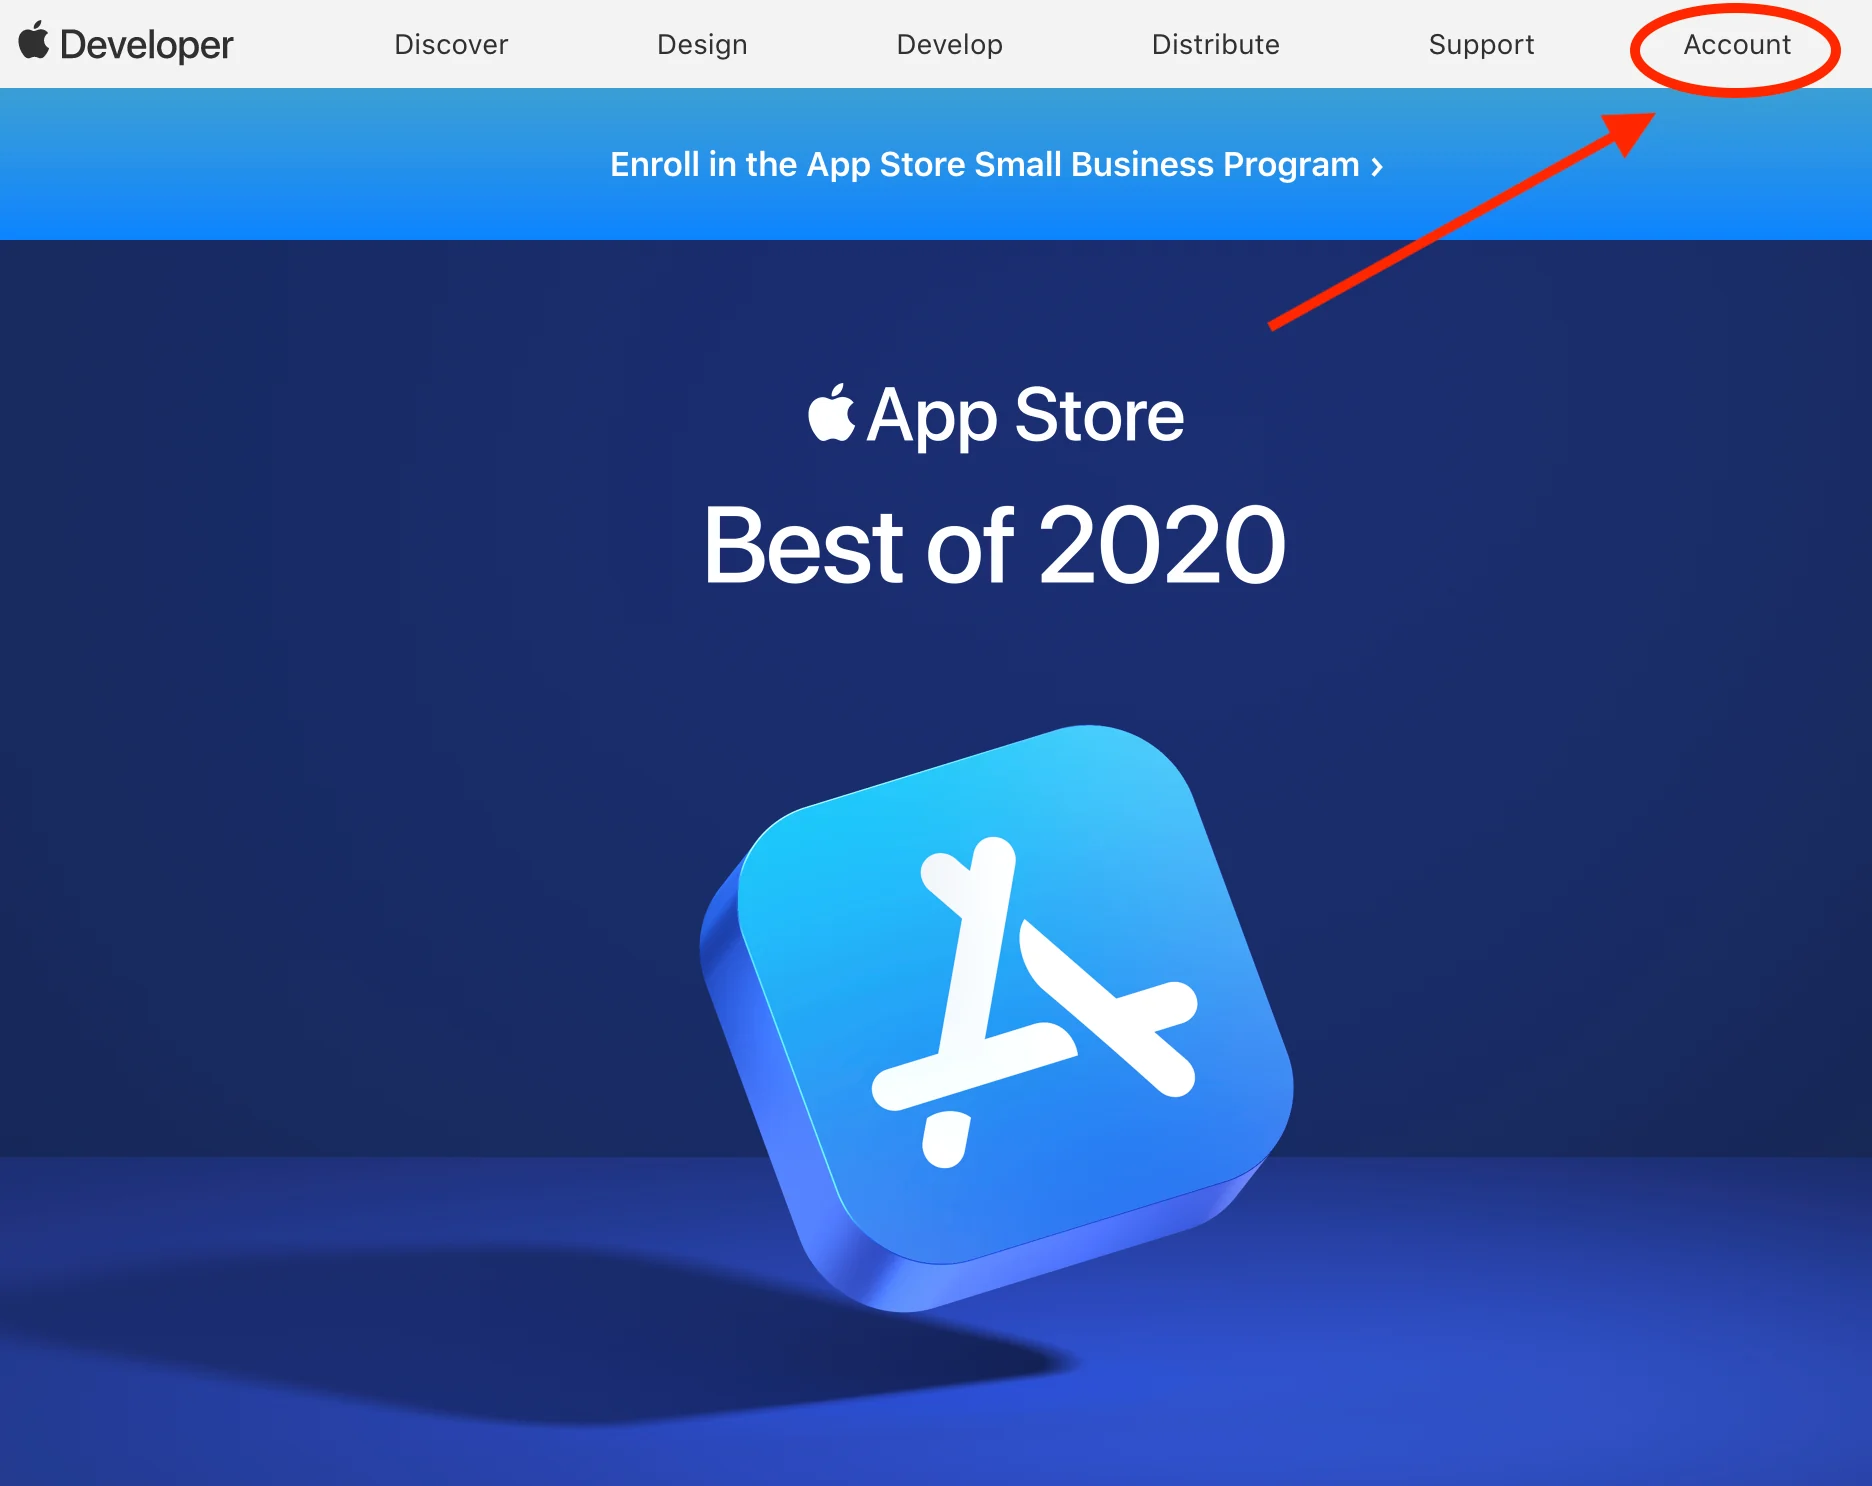
Apple Developer Landing Page
After signing in to the Apple Developer Portal, you will see your name and a “Getting Started” section. You will have access to many more features on this page once you’ve enrolled in the Developer Program.
Enroll in the Apple Developer Program
When you are ready to continue with the sign up process, click “Join the Apple Developer Program” towards the bottom of the page:
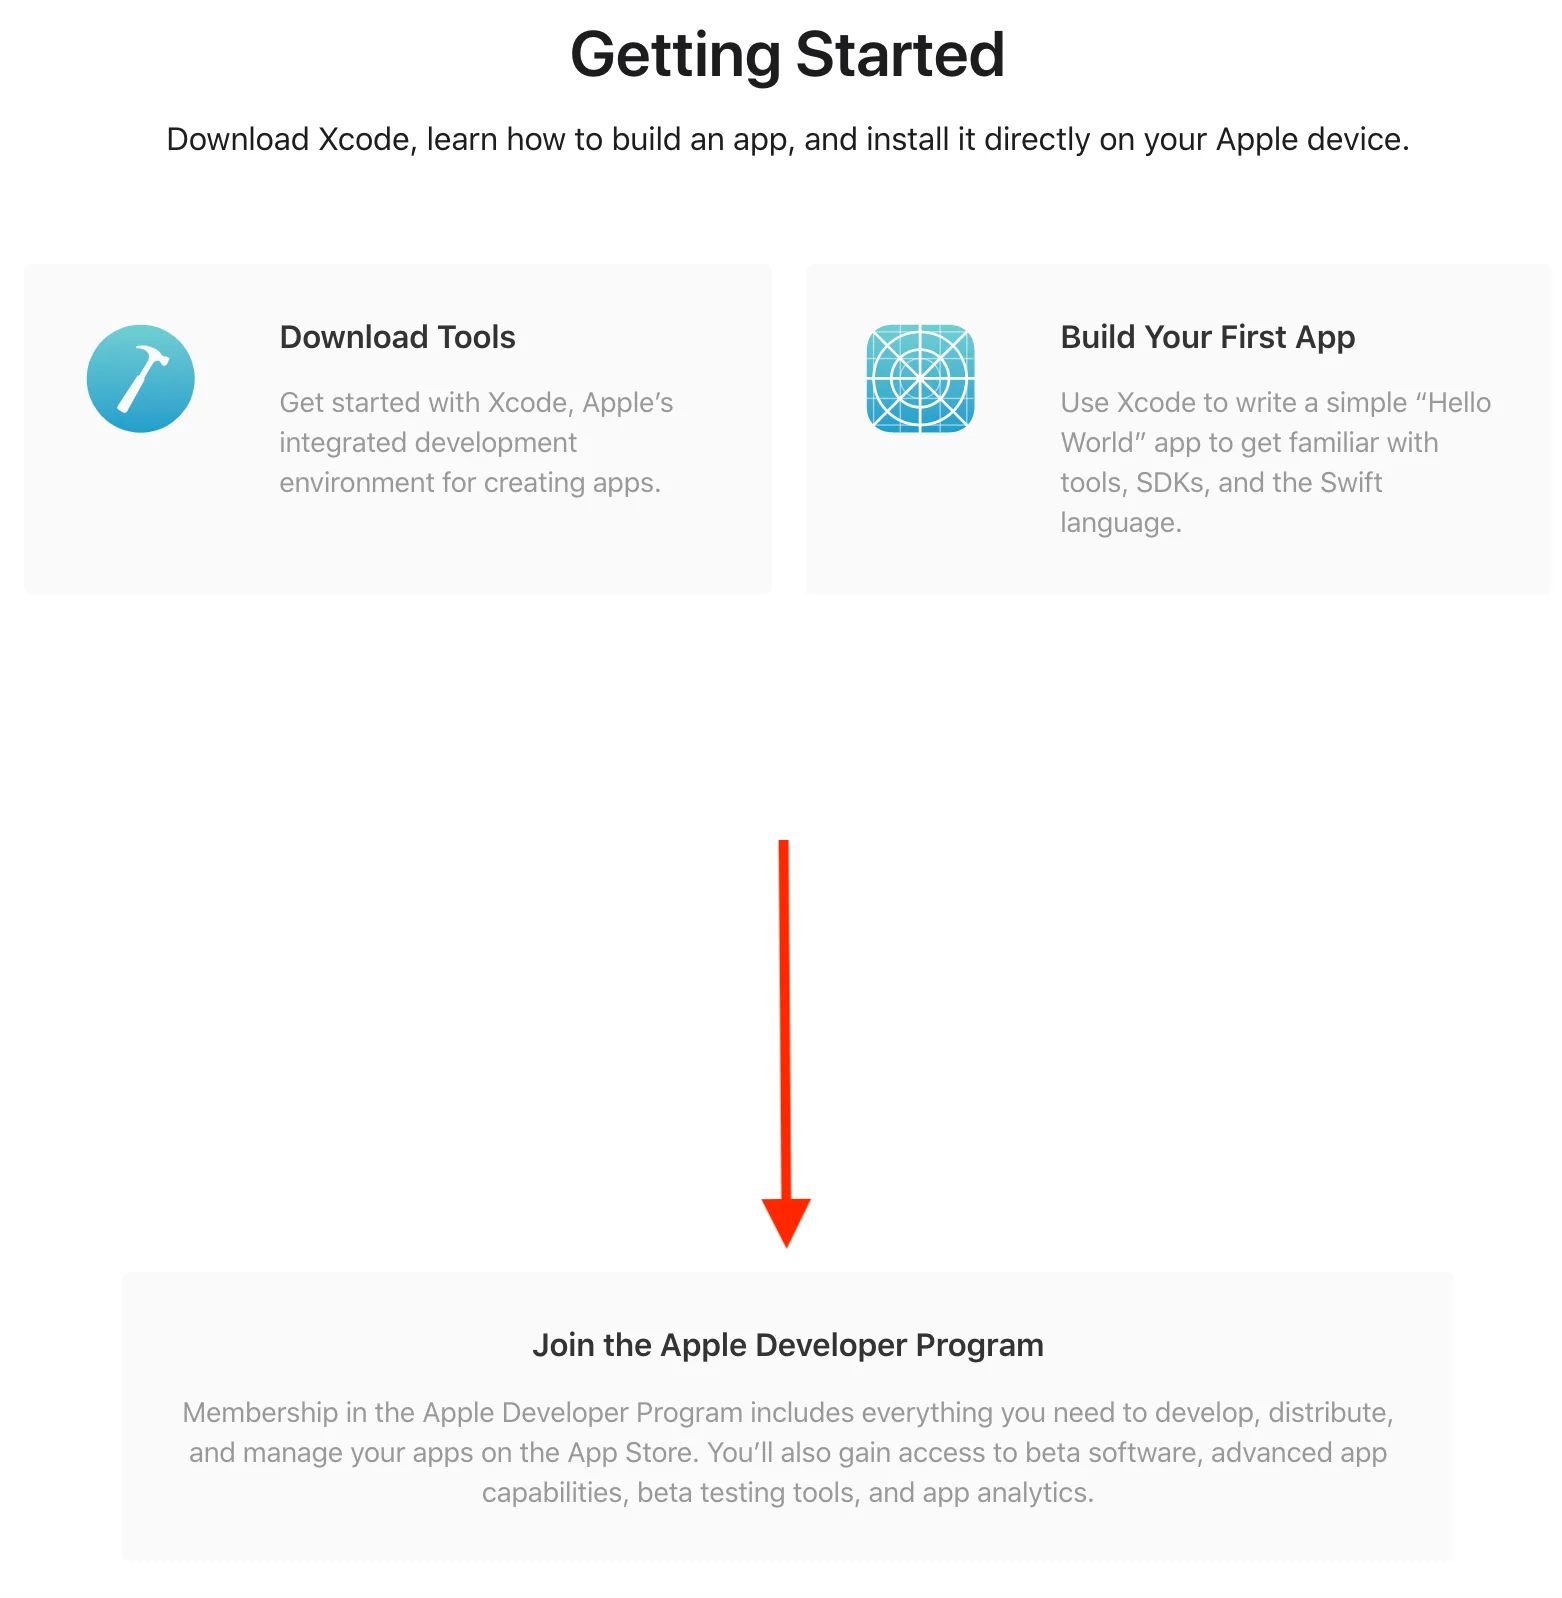
Apple developer getting started
And tap “Enroll” on the next page:
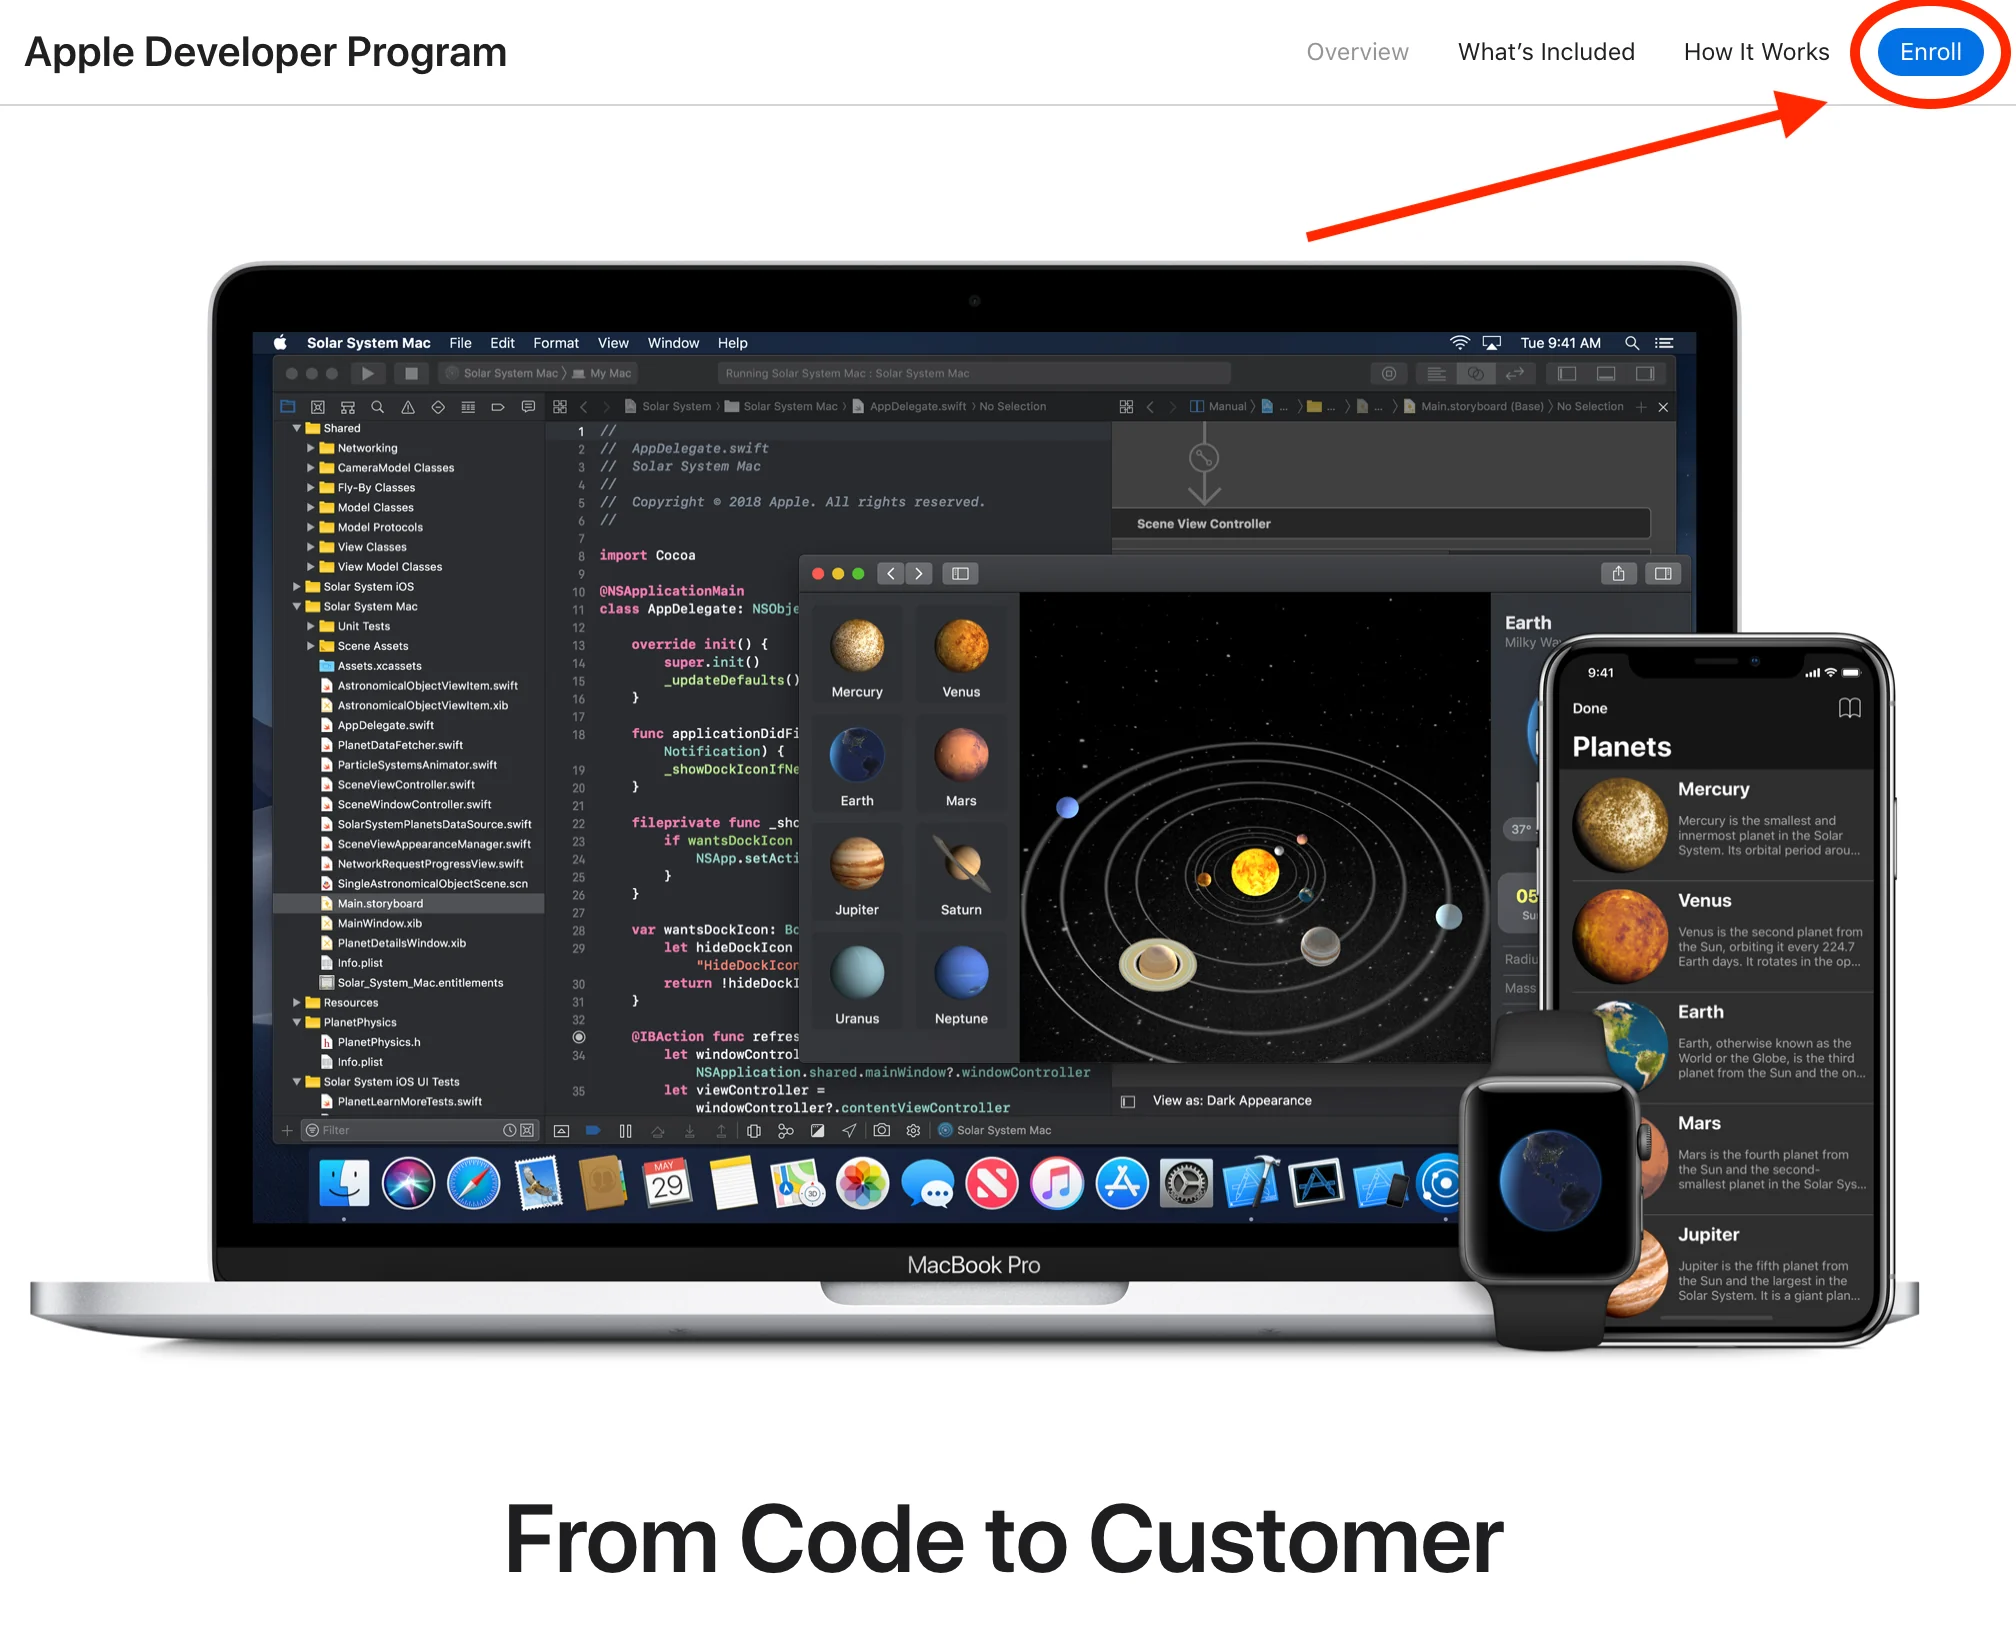
Apple Developer Enrollment
On the next page, you will be asked for some personal details so that Apple can confirm your identity:
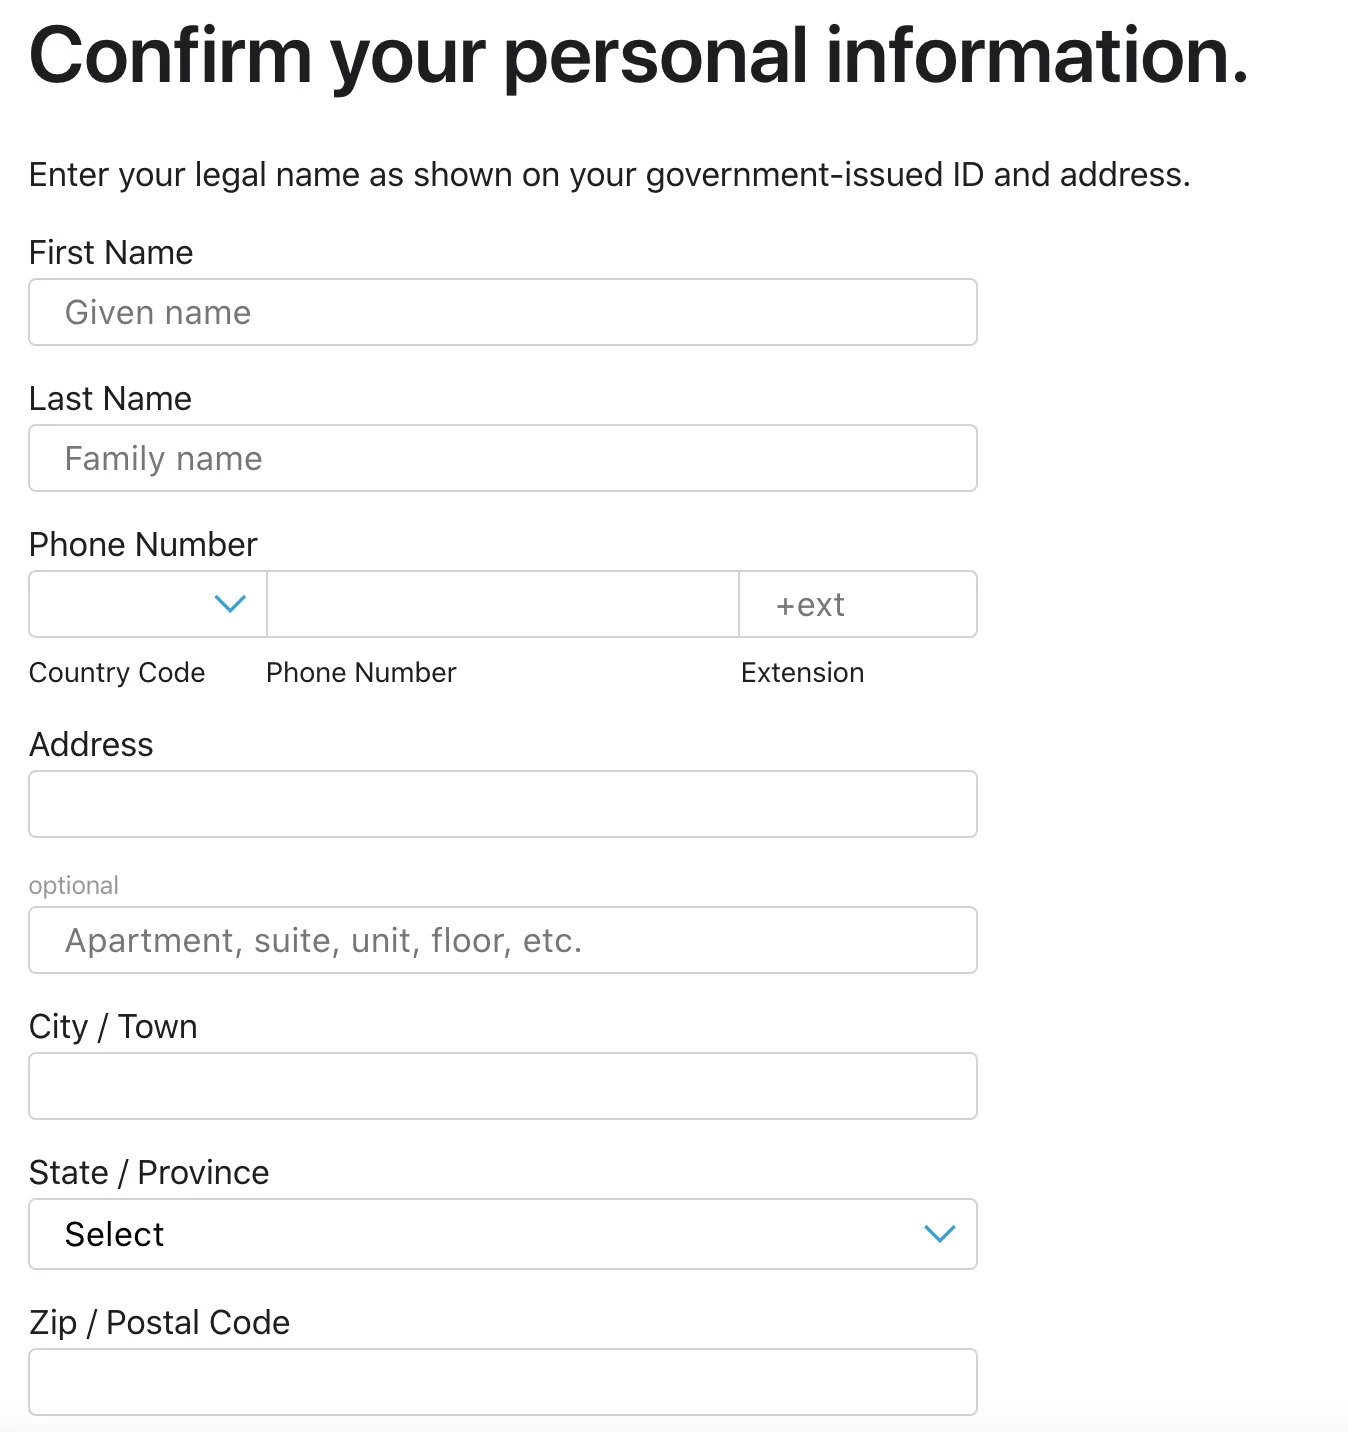
Personal info
Once you’ve submitted this information, continue to the next page, where Apple will ask you to select your entity type.
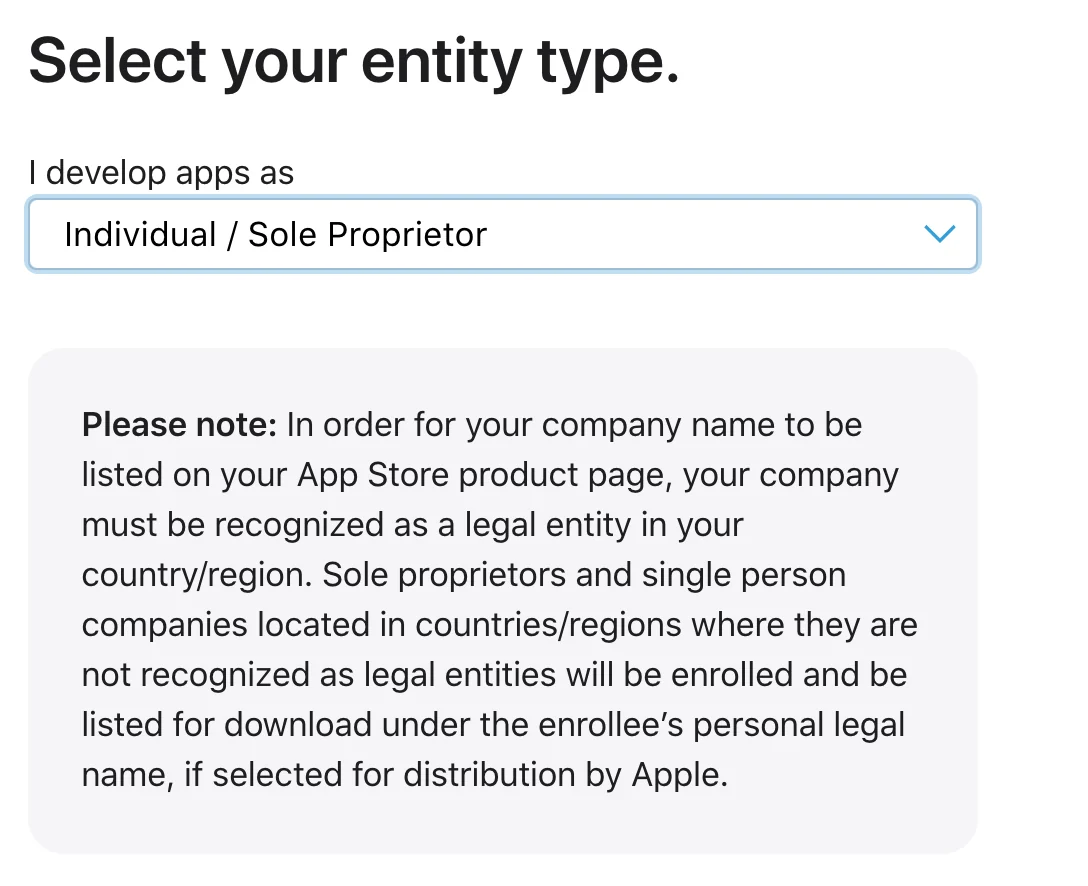
Apple Developer Entity type
Individuals can enroll in the Developer Program as themselves or as their sole proprietorships, and larger businesses can enroll as well. This walkthrough will assume that you are enrolling as an individual. Know that if you are enrolling a company, you will be required to include more information than we explain here. You can checkApple’s enrollment support pagefor these requirements.
After choosing your enrollment, the next page includes the Apple Developer Program License Agreement. This is the document that outlines how you are and are not allowed to use the Developer Program and the rights that you and Apple retain from your enrollment. You should read this carefully!
After you’ve reviewed the License, confirm that you’ve read and agreed to the terms by checking off the box at the bottom.
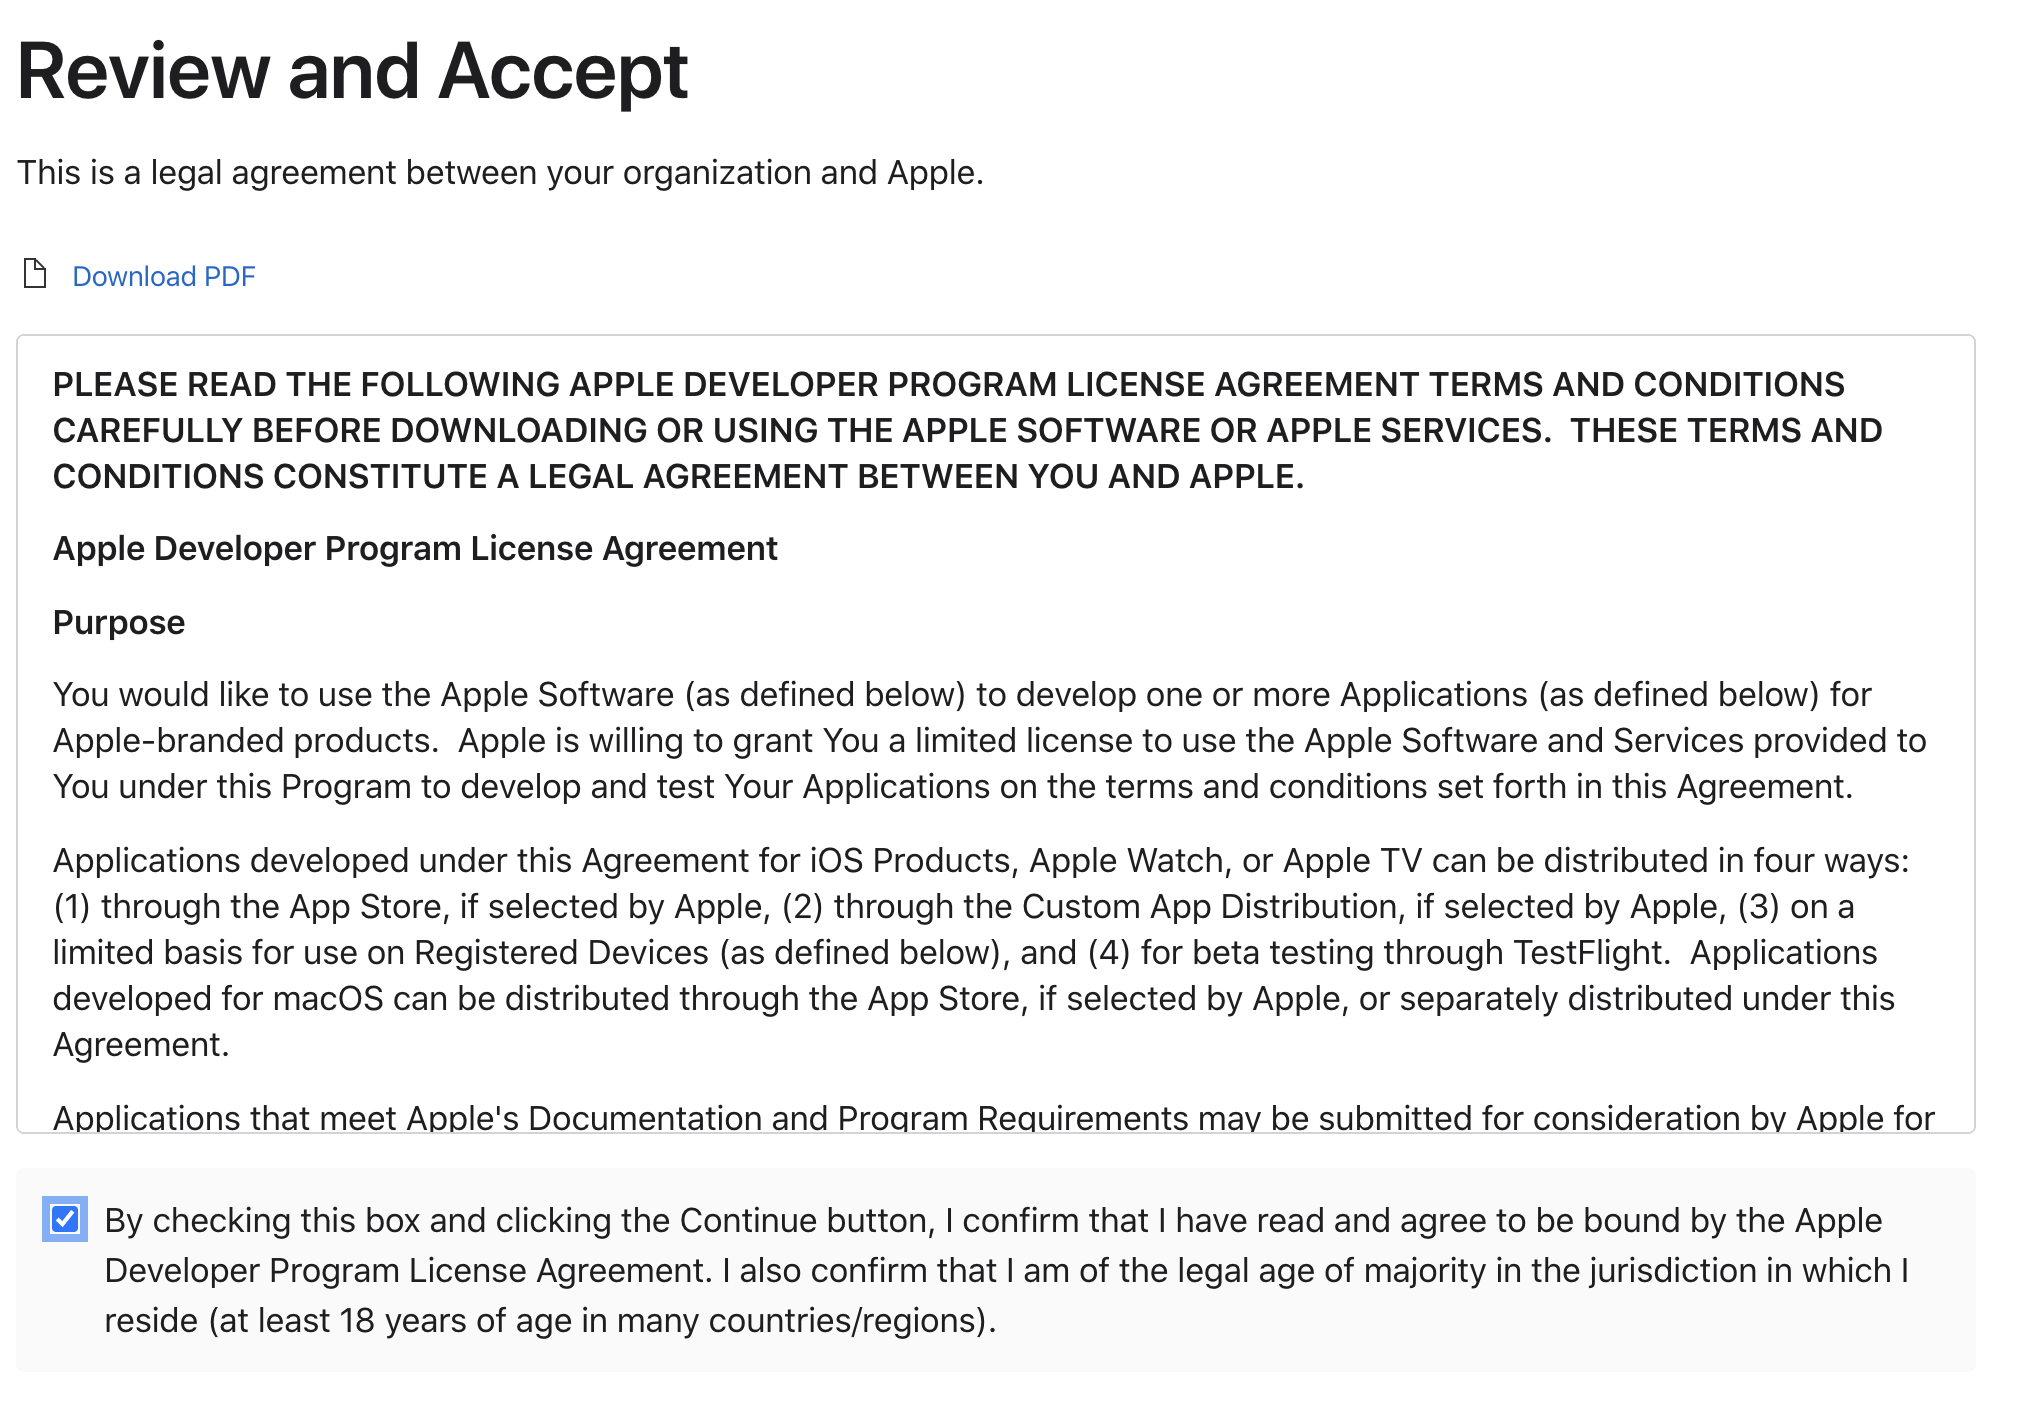
Agree to license
The final page is the payment confirmation page. This page lists your license number and confirms the payment that is now due.
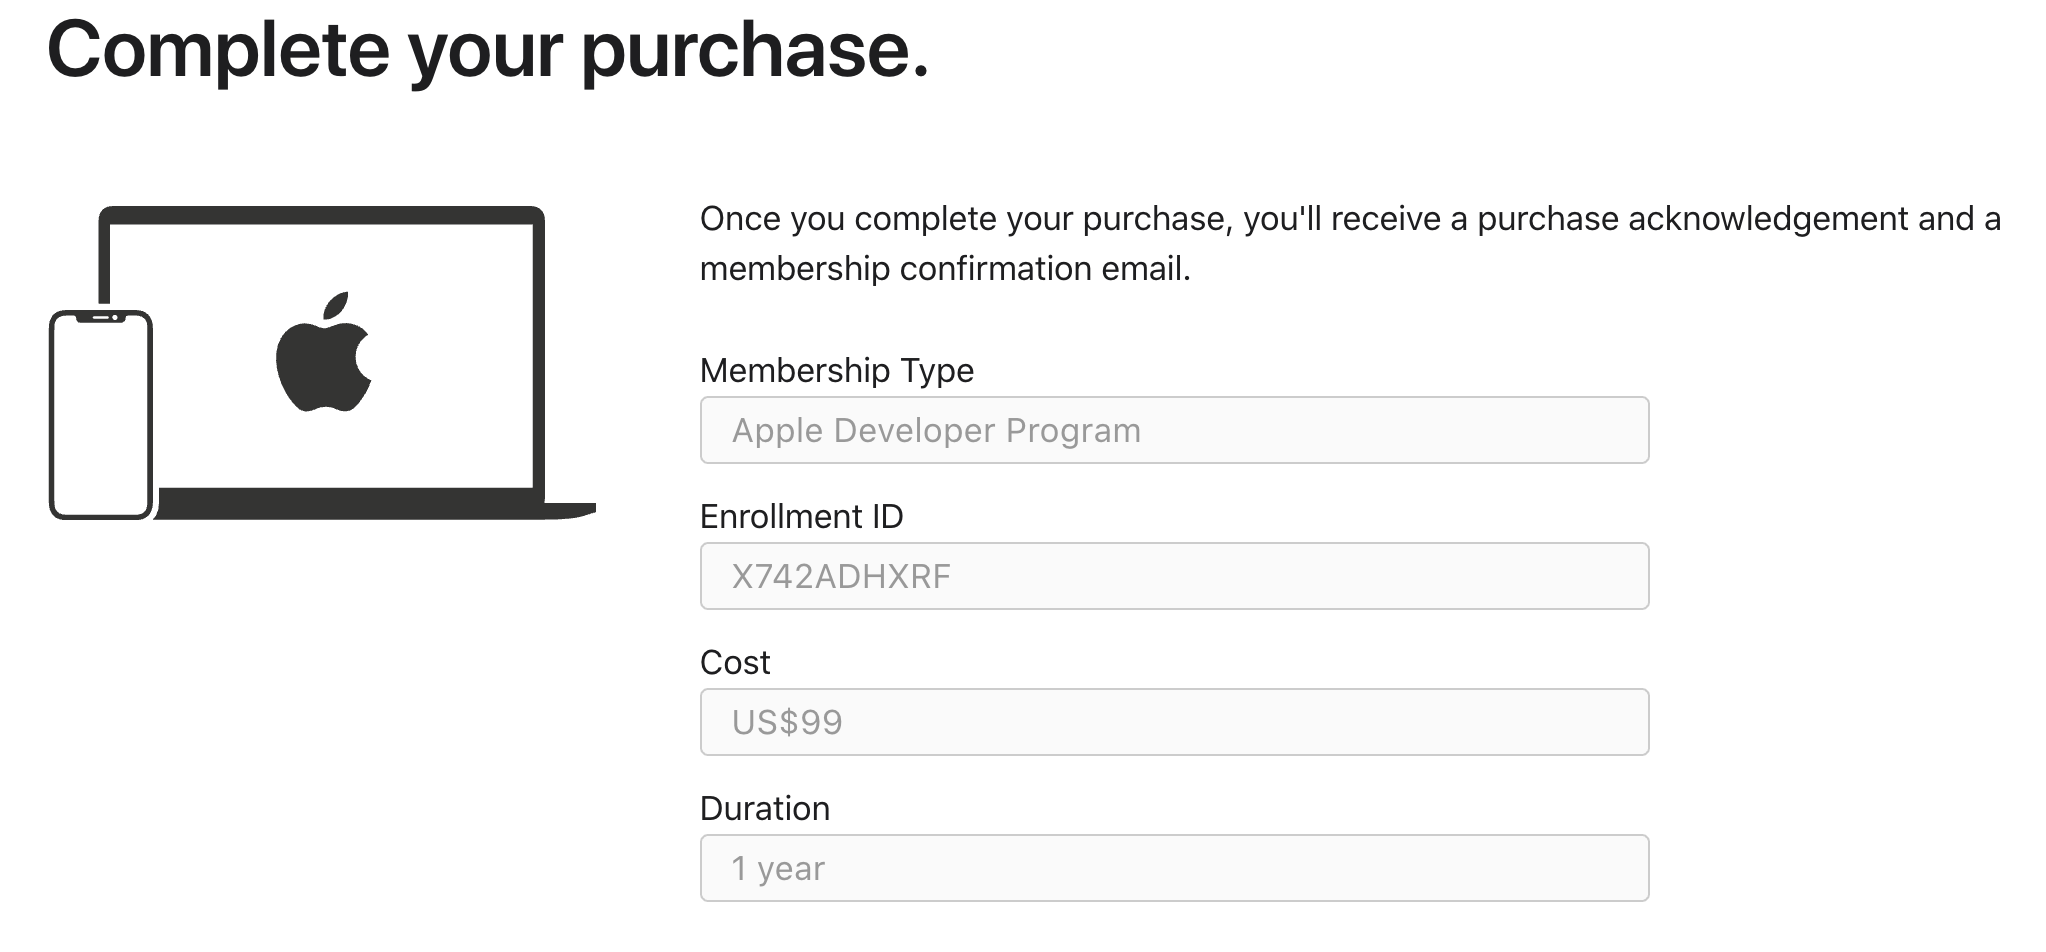
Confirm payment
After reviewing the information on the page, continue on to make your payment.
Conclusion
Congratulations! You are now enrolled in Apple’s Developer Program. Take some time to look around in the Developer Portal and App Store Connect so you can see everything that is available for you. In later articles, we will walk you through which features you’ll need to continue with the App submission and publishing process.
'The Codecademy Team, composed of experienced educators and tech experts, is dedicated to making tech skills accessible to all. We empower learners worldwide with expert-reviewed content that develops and enhances the technical skills needed to advance and succeed in their careers.'
Complete Payment to Unlock Full Guide & Source Code
You are viewing the 30% preview. Join TopCourseAI Pro to unlock the remaining 70% of this article, unblur all code snippets, and gain full access to all 412 technical projects and guides.
Ready to access the complete step-by-step tutorial?
Gain full unhindered access to all 412 technical projects and guides, unblur all source code snippets, and download runnable scripts.
How to Distribute and Publish Your App
Next BlueprintHow to Fine Tune Large Language Models (LLMs)
Related Blueprints & Guides
View all 166 →Best IDEs for Mobile App Development: A Complete Guide
AnIDE(Integrated Development Environment) combines essential development tools into a single application, making mobile app development more efficient and organized. Rather than juggling separate tools for coding, debugg...
Mobile developmentBuilding Lists in SwiftUI
Presenting textual and graphical information in a column is a very familiar and natural way to visually organize data. Almost all modern apps utilize some sort of columnar data display. Think of popular social media apps...
Mobile developmentGrids in SwiftUI
The grid layout has become a familiar paradigm for mobile user experiences. The canonical example of grid layout is in the built-in camera roll app for iOS. It can also be found on an extremely popular social photo-shari...
Ready to build production-grade AI systems?
Enjoyed this guide? Continue exploring our library of 166+ production blueprints, multi-agent swarms, and autonomous agent systems with 100% unblurred, executable source code.