
How to Distribute and Publish Your App
How to Distribute and Publish Your App
In this article, we will show you how to prepare your App so that other people can finally use it! As mentioned previously, there are two main means by which you can distribute your app:TestFlightand theApp Storeitself. We will discuss both in this article but will focus on the information and assets you’ll need to submit your App for App Store approval.
We will do all of this fromApp Store Connect, so be sure to log in and select “My Apps”. If you do not see an icon for your app, then you will need to create one! Tap the “+” button to create a New App (not a New App Bundle), and fill in the relevant information.
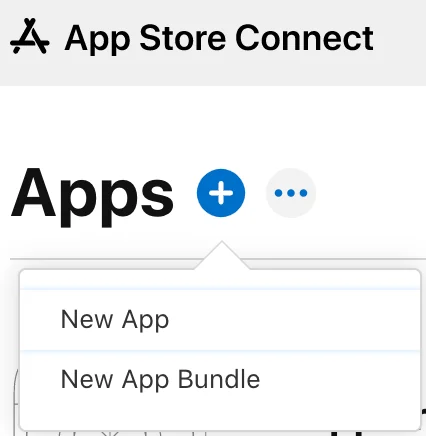
Create a new app
After creating the new App for your account, select its icon to see the App Store preparation area.
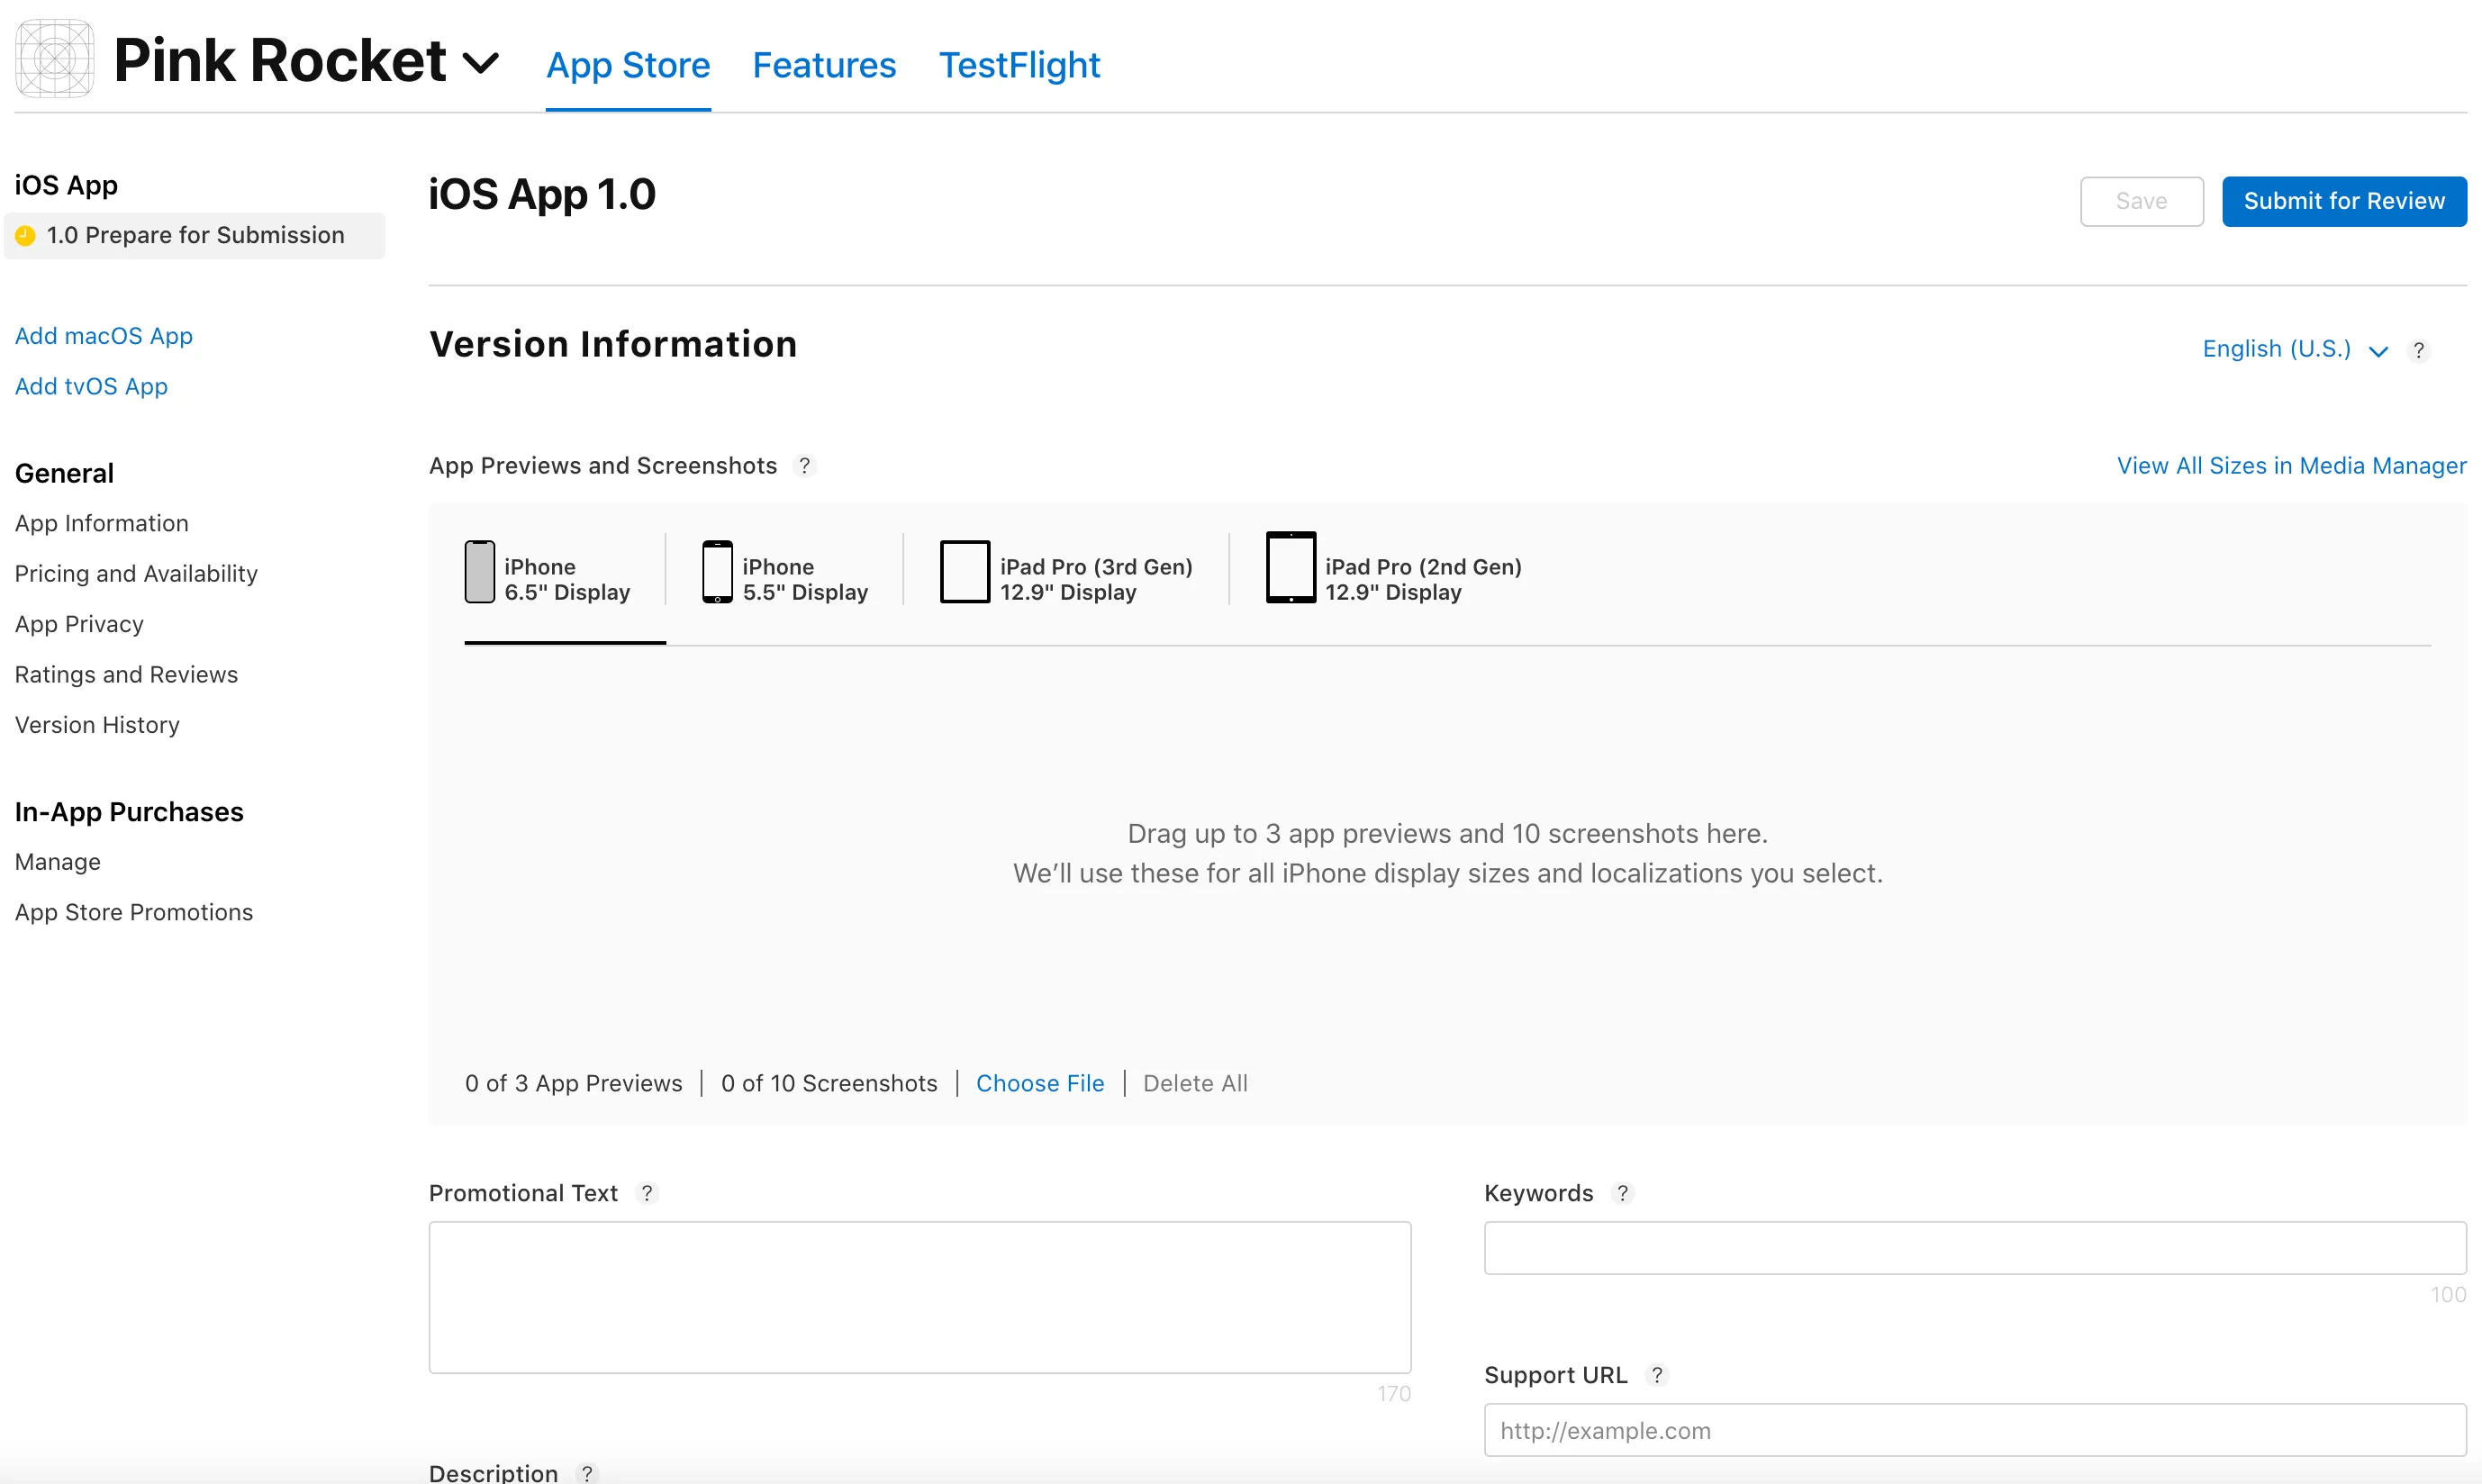
Initial App Store Listing
Distributing via TestFlight
TestFlight is a service provided by Apple that allows you to send your App to a targeted list of iPhone users. Without making your app public yet, it can be in the hands of people that you’d like to test, get feedback from, or demo the app for.
Click into the “TestFlight” tab and you will see the build(s) that you pushed to App Store Connect! Along the left side, you’ll also see options for who you can invite to test.
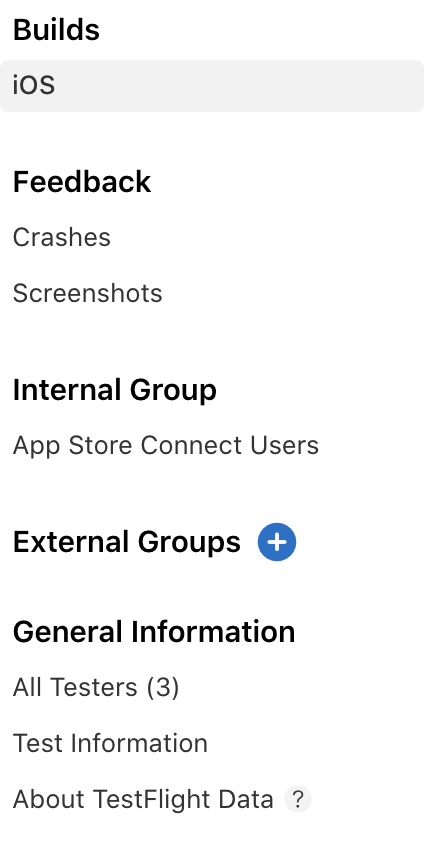
Test Flight Groups
In the “Internal Group” section, you can add testers that have access to this app in App Store Connect. Assuming that you are the sole member on your developer account, this might not be very helpful at the moment. Instead, you can use the “External Group” section to add and invite users. They will receive invitations to download your App by email. Encourage testers to download the TestFlight App to their phone, so they can automatically receive updates when you distribute new builds on TestFlight.
In order to set up external testing, you will need to select a build to distribute to your user group. Note that if this build is used in TestFlight, you won’t be able to submit it for App Store review, so you might need to push up multiple builds of your App! Select your build, and then click “Manage” to fill in the required compliance information:
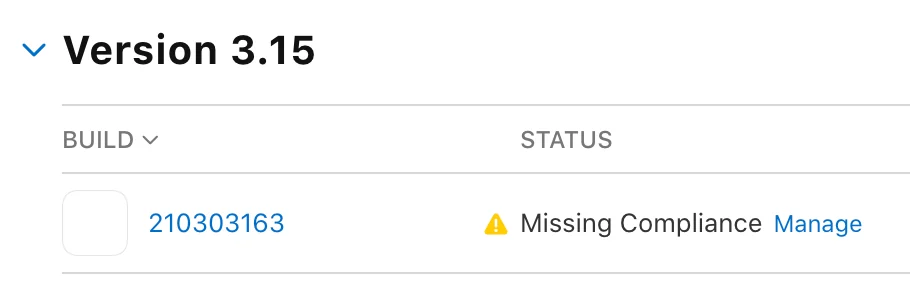
TestFlight Compliance
Afterward, with your build selected, you are ready to click “Submit!” App Store Connect will queue your App for review, in order to briefly test it and make sure that it doesn’t have malware or other destructive purposes. This might take a day or two, so be sure to let your testers know! Once approved, your testers will be able to download the App through the TestFlight App on their iPhones.
Creating the App Store Listing
When you are ready to publish your App to the App Store, you will need to prepare a submission! Apple reviews every App prior to publishing in order to ensure the usability, security, and purpose of your App all meet a certain standard. Certain features and functions in Apps are expressly prohibited, so be sure to review theApp Store Review Guidelinesbefore you submit your App. After each step below, be sure to click “save” to make sure your progress isn’t lost!
In order to submit your App for review, you will need to fill out theApp listing. Navigate back to the “App Store” tab, and continue in the following sections.
Most prominently, you will see the section to add your media assets.
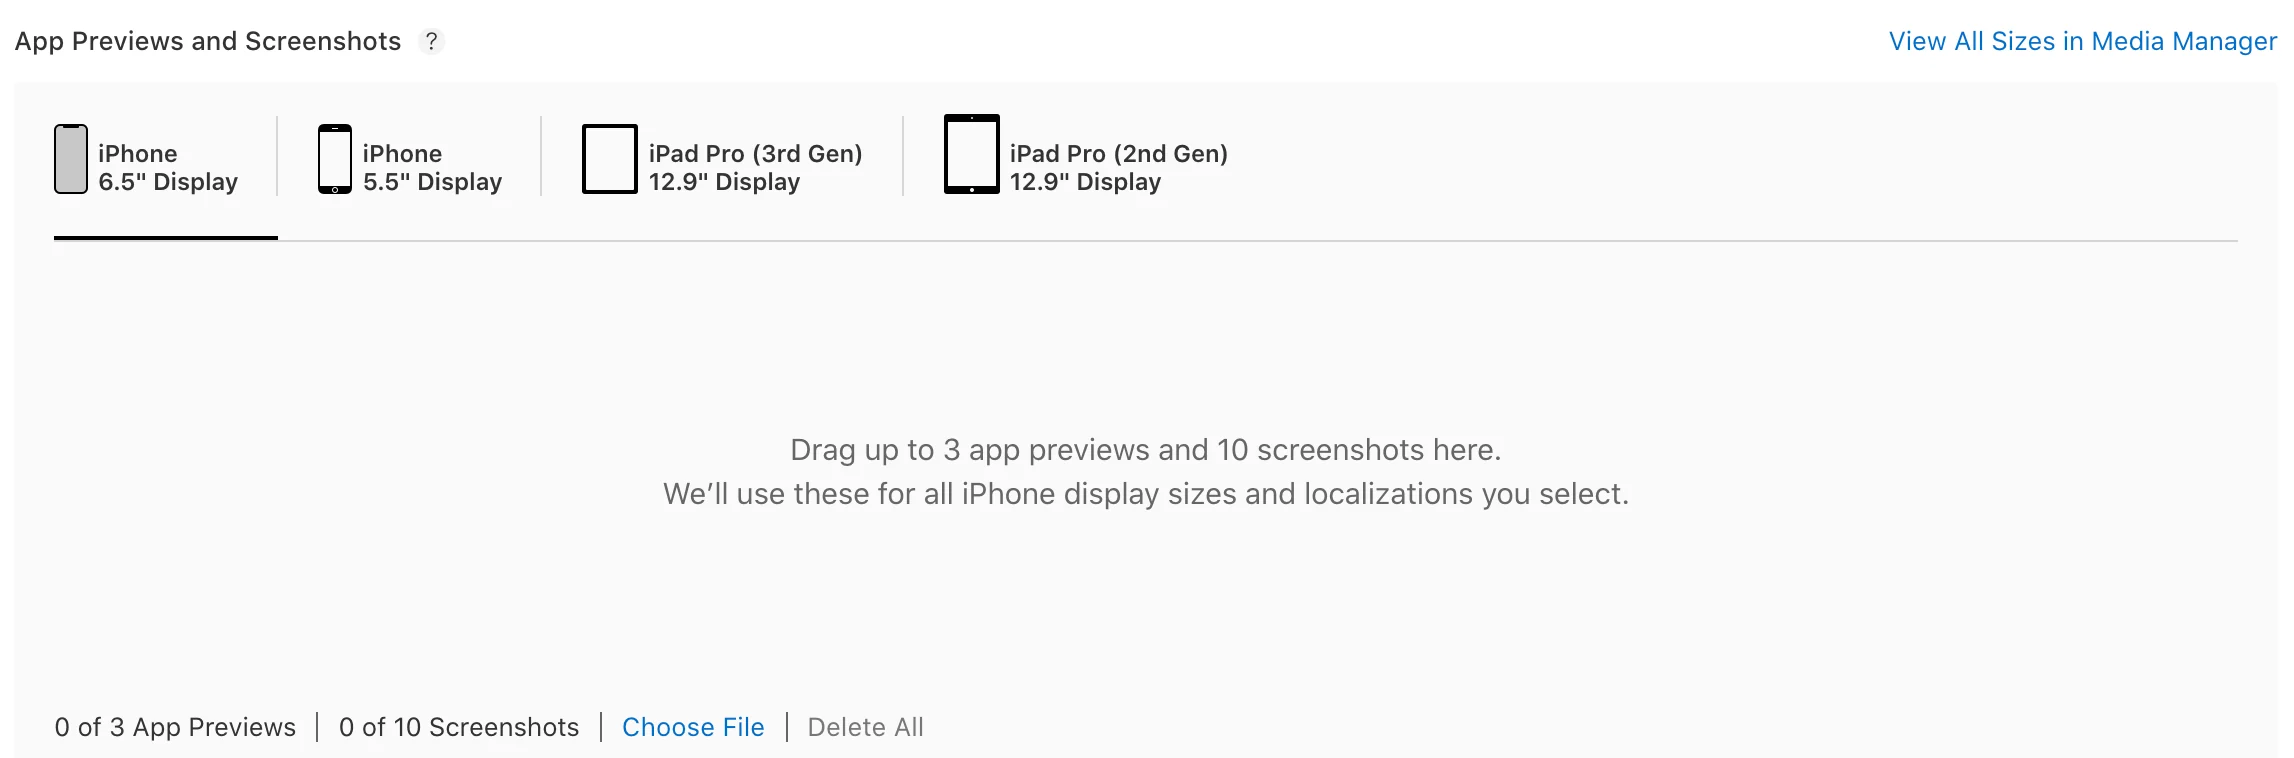
Media section
Your App must have an App Icon and screenshots of its functionality for the App listing. You can also add promotional “App Previews” to the listing as well. Apple provides alist of required media assets, and also lists thespecifications for screenshotsandapp previews.
Other information on this page is also required. The App listing requires all information that users will see when browsing in the App Store. You should fill in the promotional text and further description for your listing, and the keywords that should direct an iPhone user to your listing when searching in the App Store. You will also need to provide a support URL, and a marketing URL if there is one.
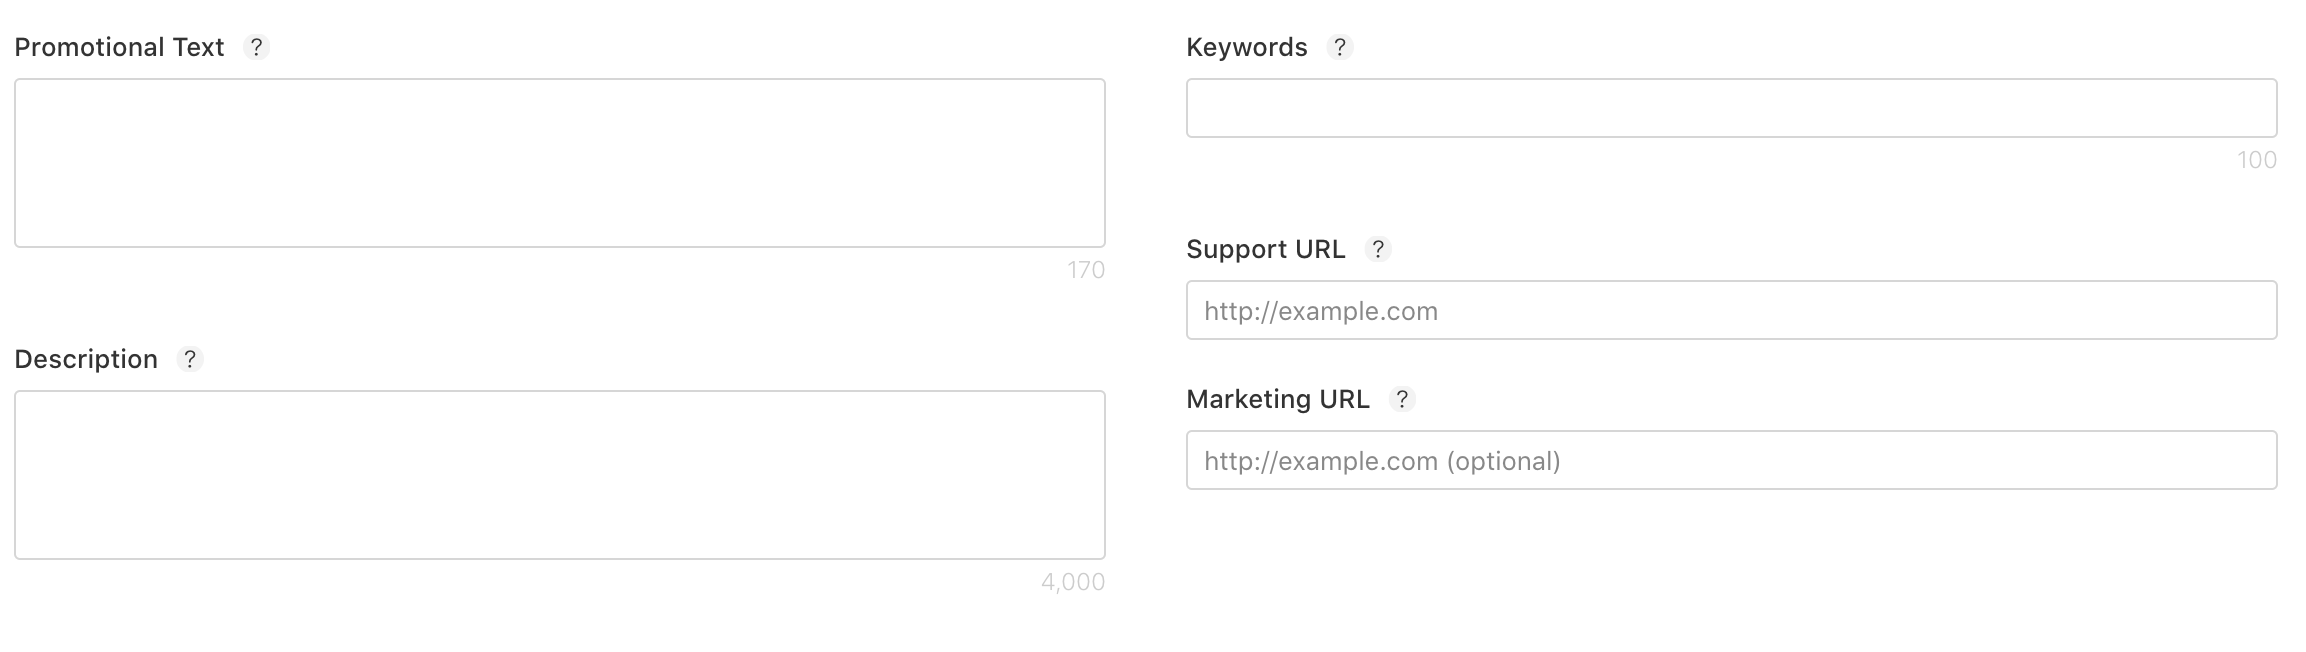
Promo test copyright
Next in the “General App Information” Section, you can update the version number of the App, and should provide the copyright for the App (ex: “2001-2021 Star Rocker Industries”). Tap “Edit” next to the “Age Rating” text to complete a series of questions about the age-appropriateness of the App. In the “App Review Information” section, you can provide log-in information if your App has sign-in. Be sure to provide notes to the reviewers on specific aspects to test, and add your contact information in case they need to contact you.
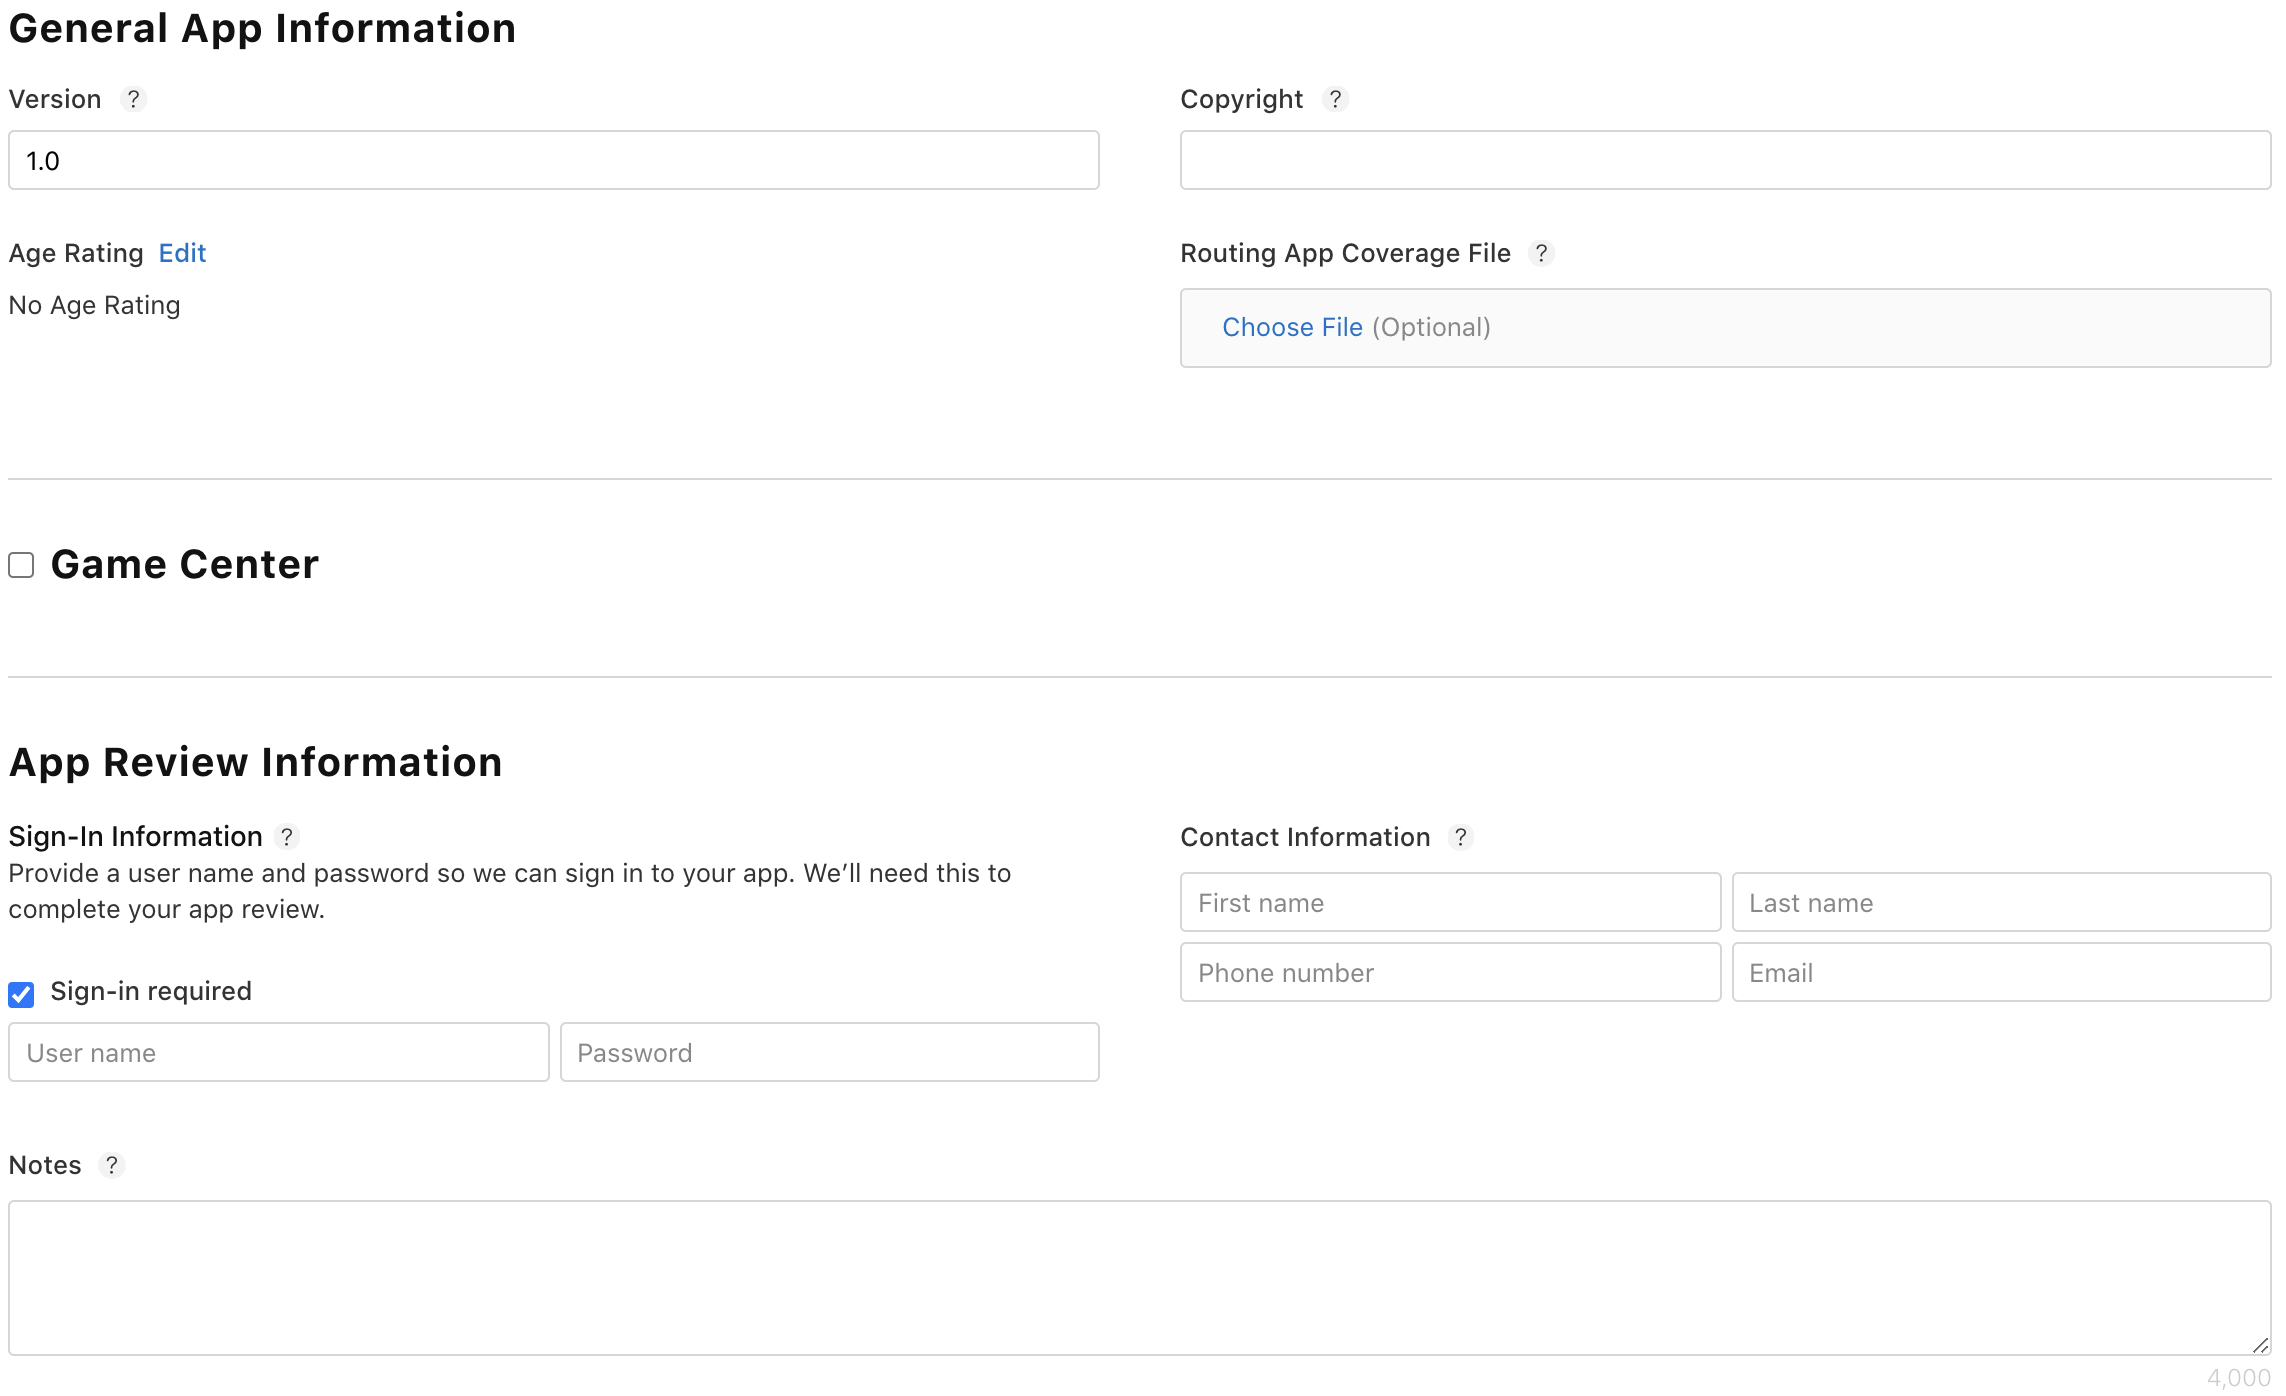
Version copyright
Adding General Information
As this is the first time your App is being reviewed, you will need to verify all details about your App. Continue to the other sections on the left-side panel.
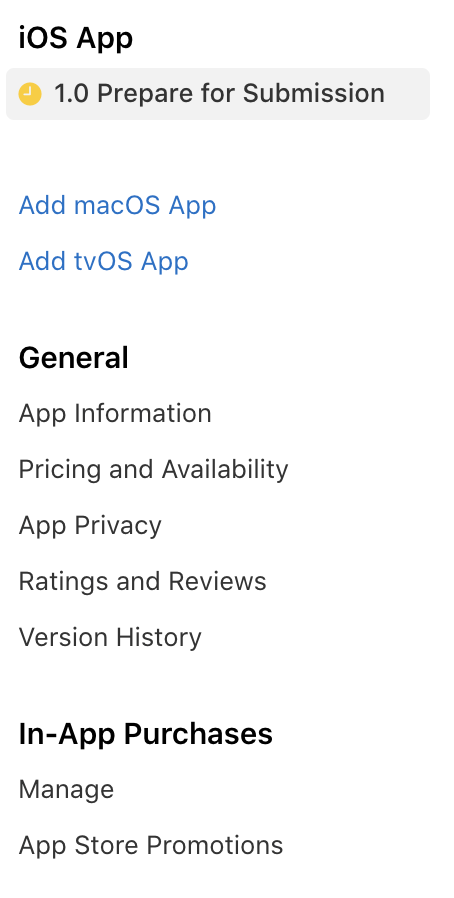
Left side panel
In the “App Information” section, you will set up the “Content Rights” for the App. Click “Set Up Content Rights Information” and answer Apple’s question about third-party content.
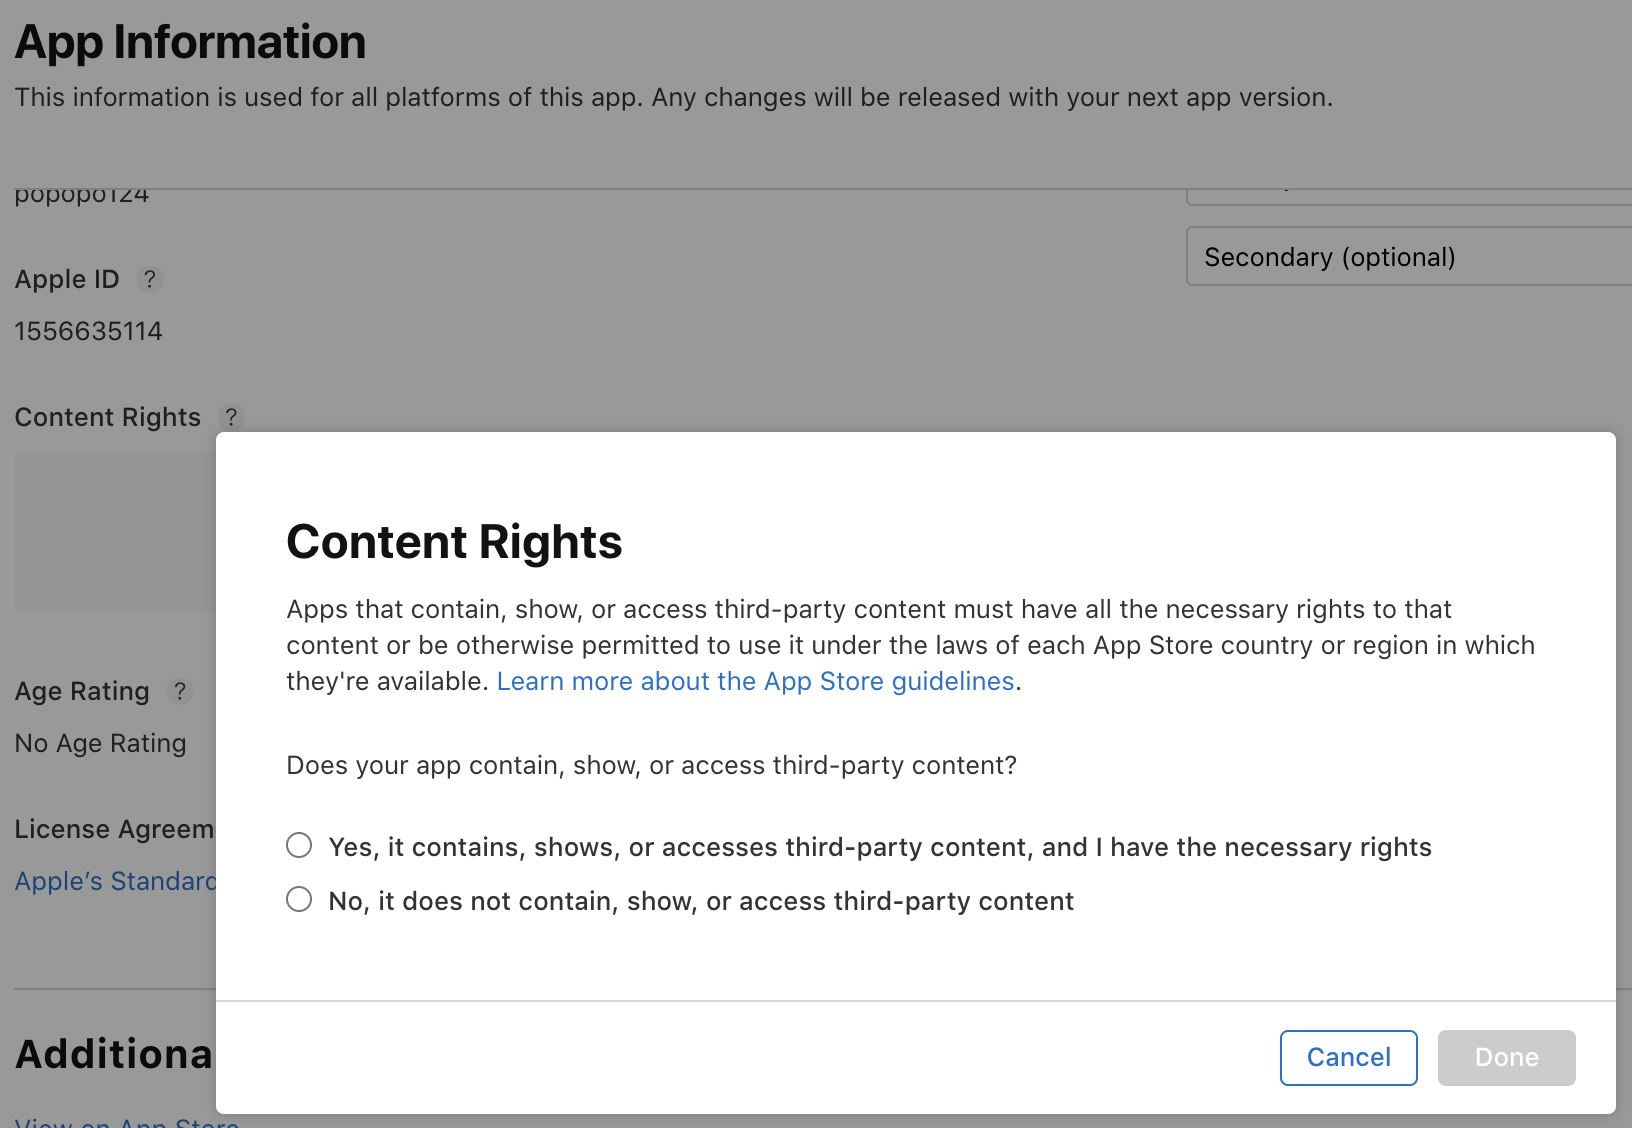
Content rights
Next, in the “Pricing and Availability” section, you will need to provide pricing information for the App. Note that once you’ve set the App to free, it cannot become a paid App. You can also specify the countries that your App should be available in.
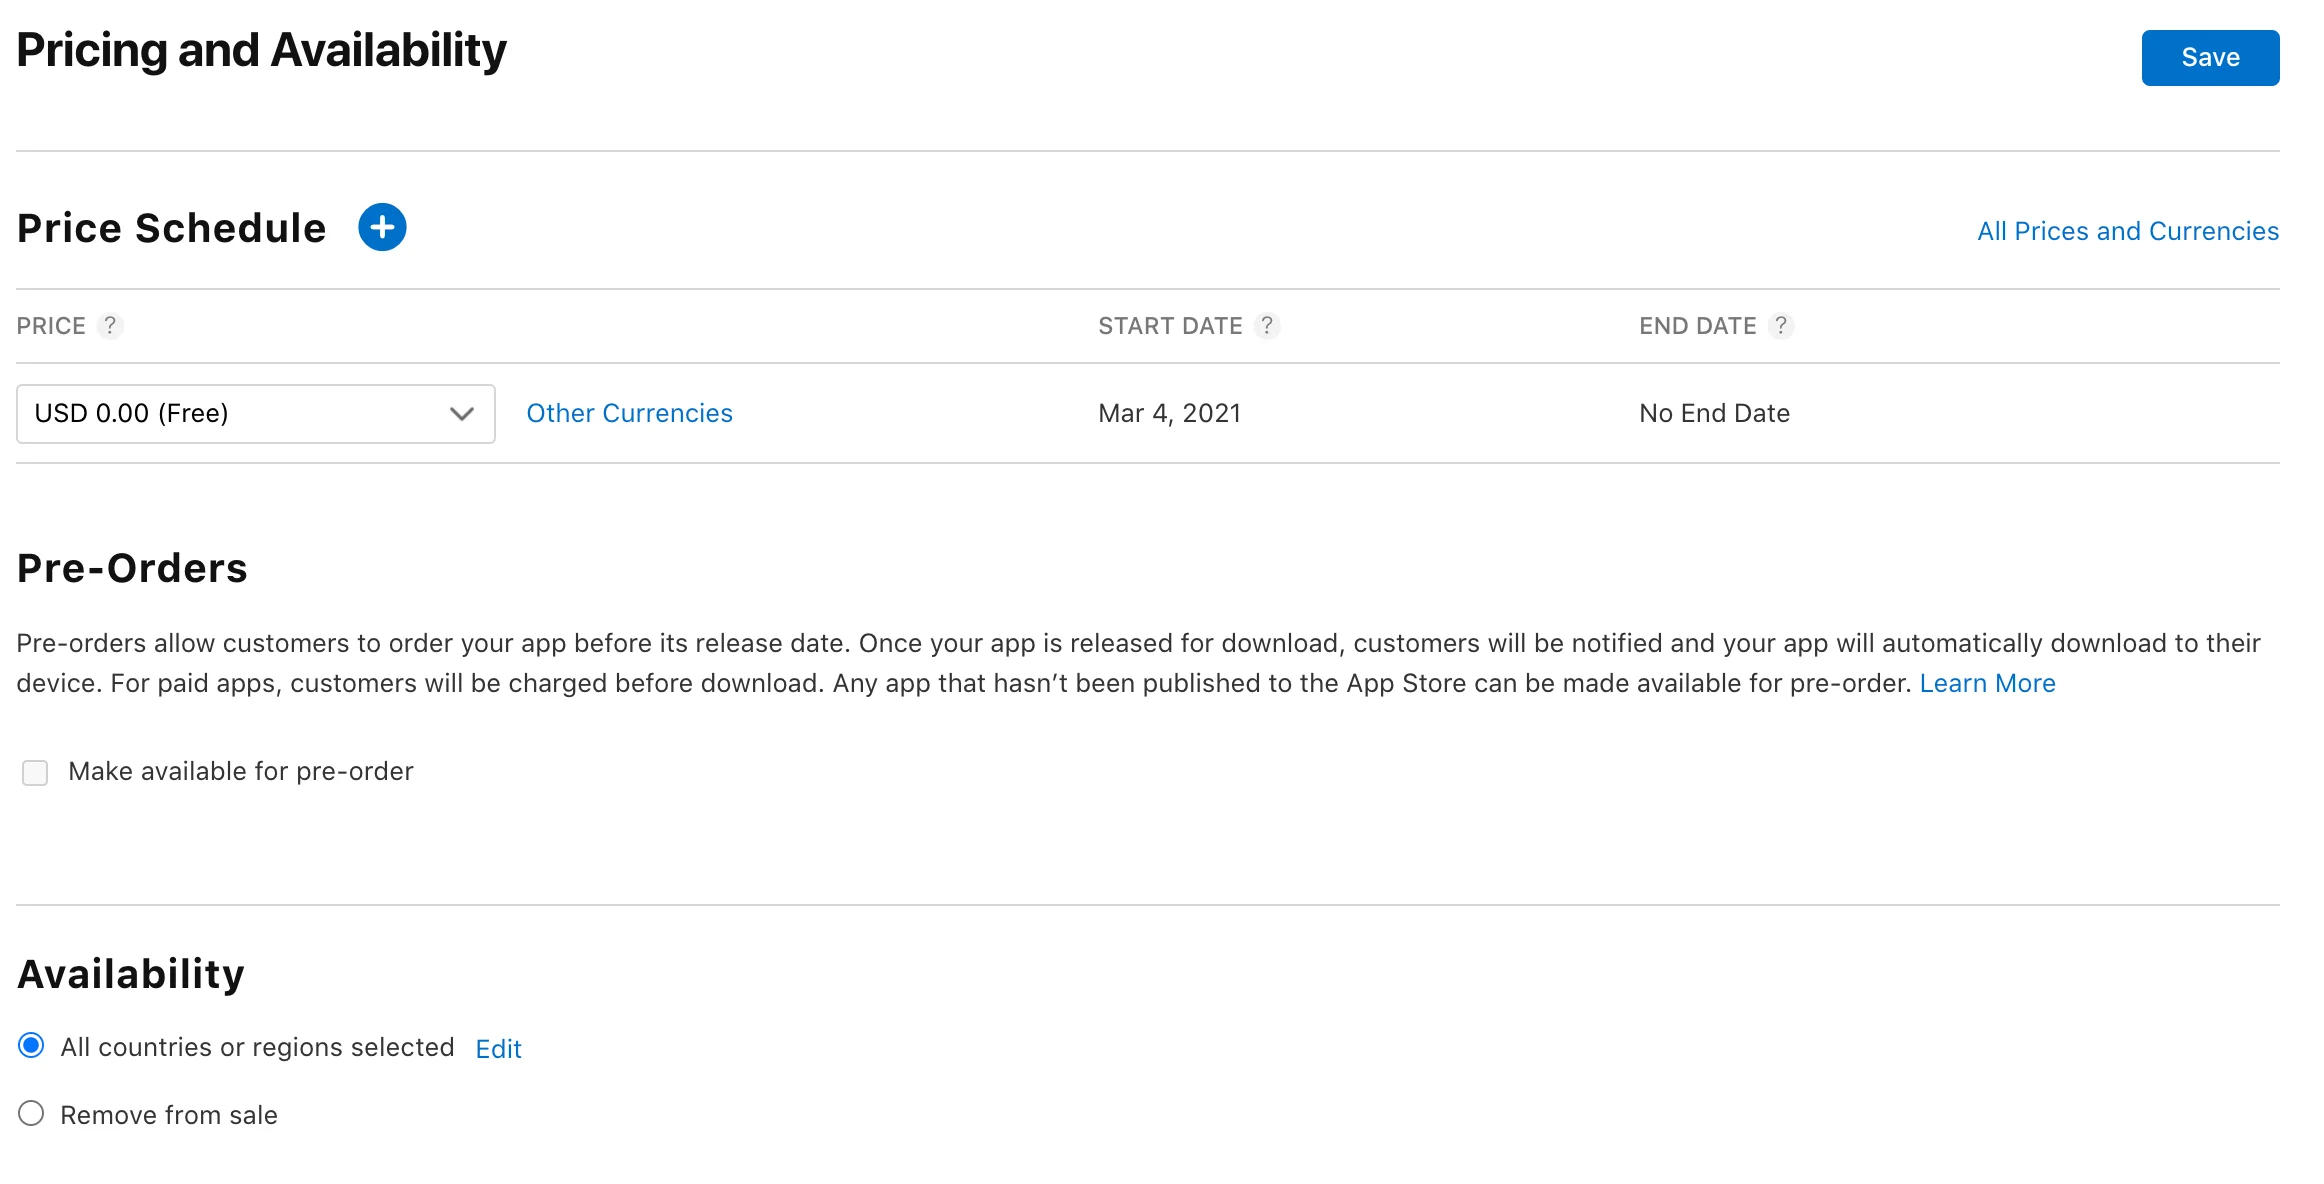
Pricing and availability
Last, in the “App Privacy’’ section, you will need to verify the expectations a user can have about their privacy by setting up your Privacy Policy. Complete the questions related to data collection so Apple can inform users of your App listing.
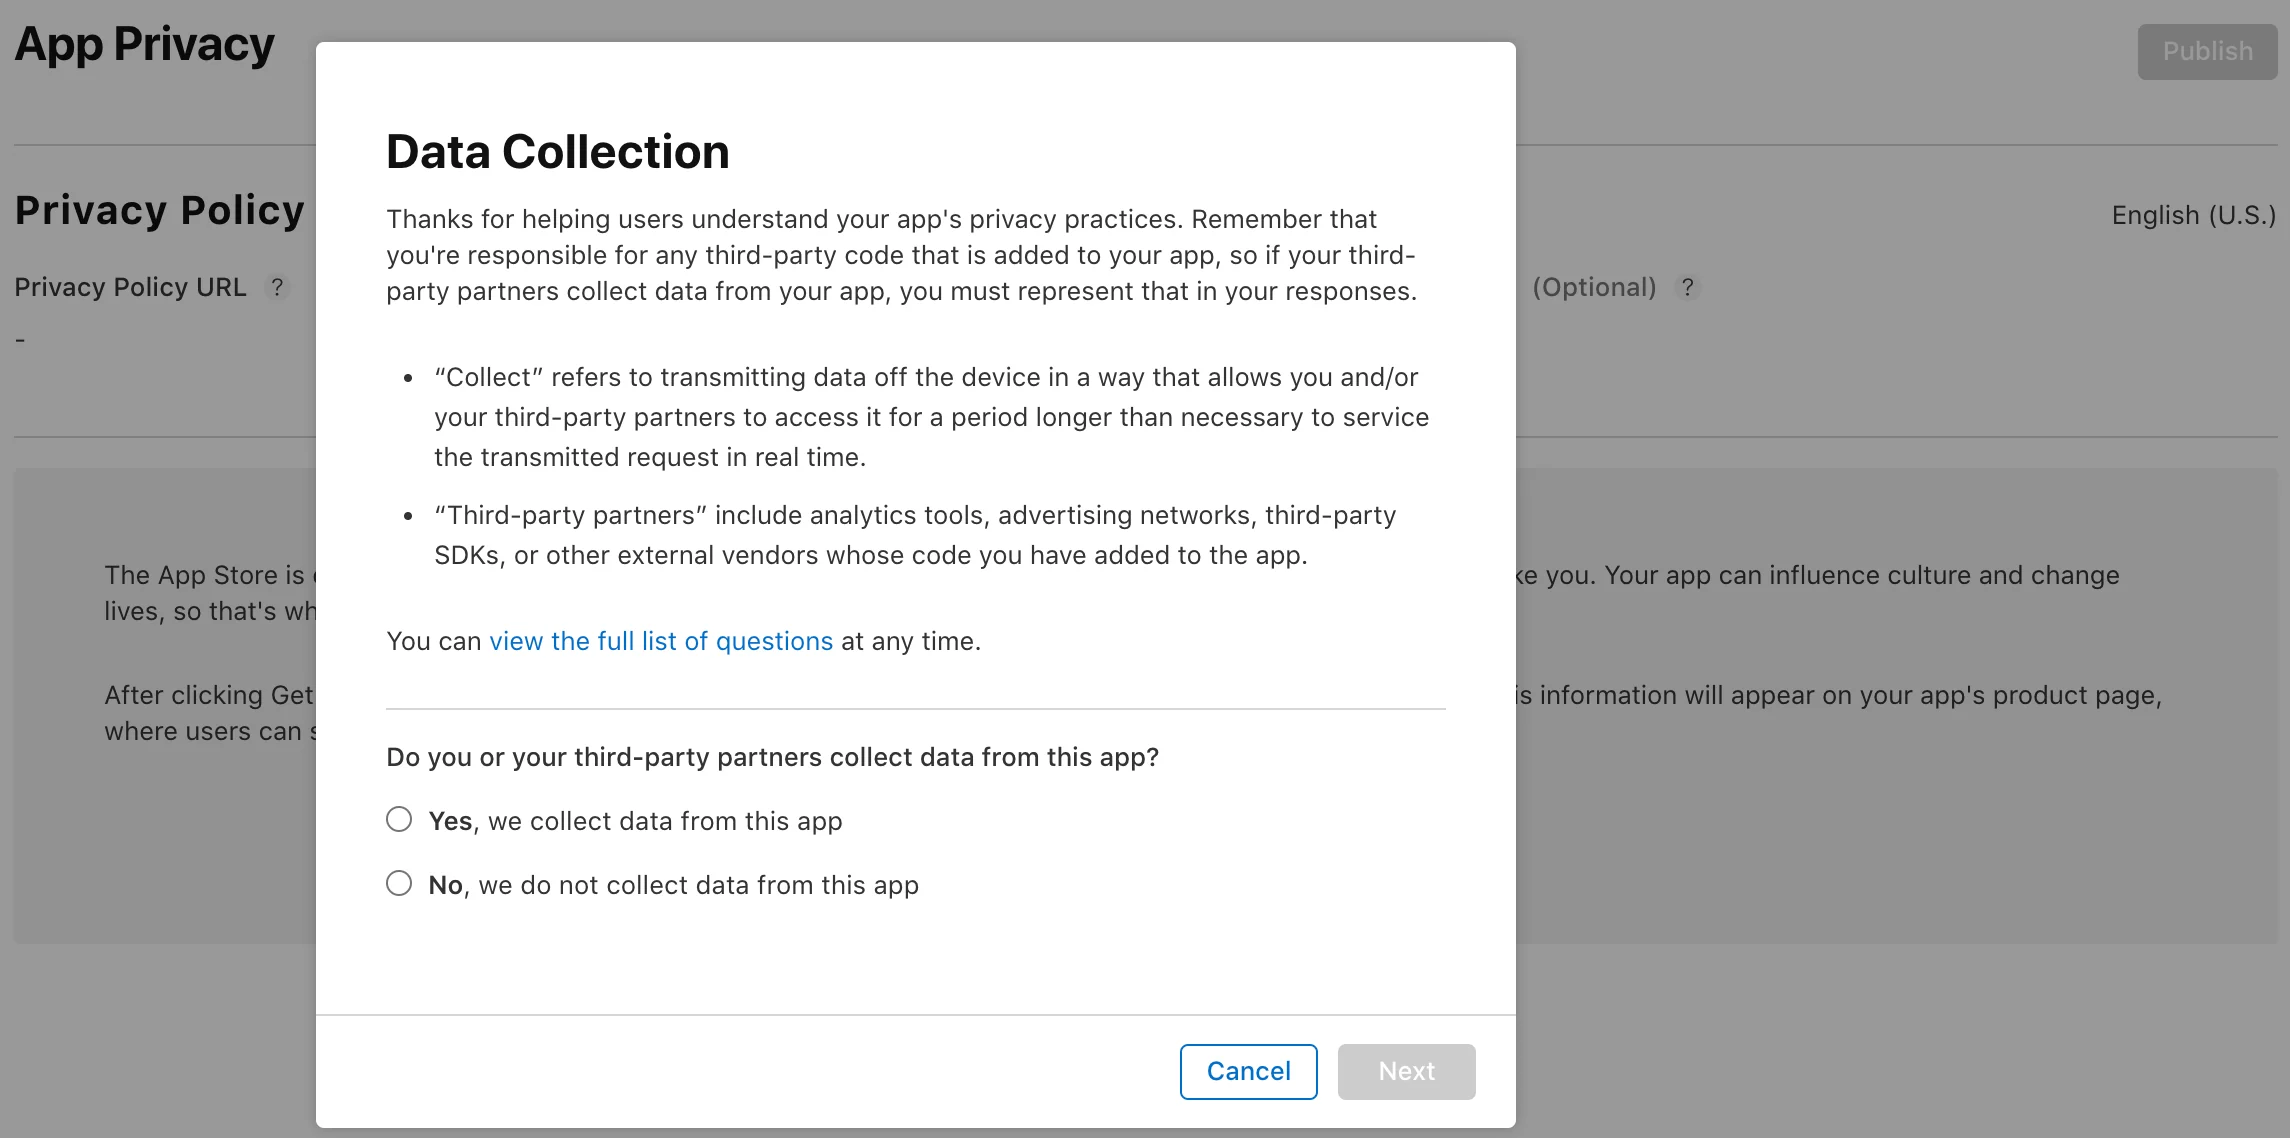
Privacy policy
Submitting Your App for Review
Once all required information is completed, your App is ready for submission! Click back on the version of your App that you are submitting, and press the “Submit for Review” button.
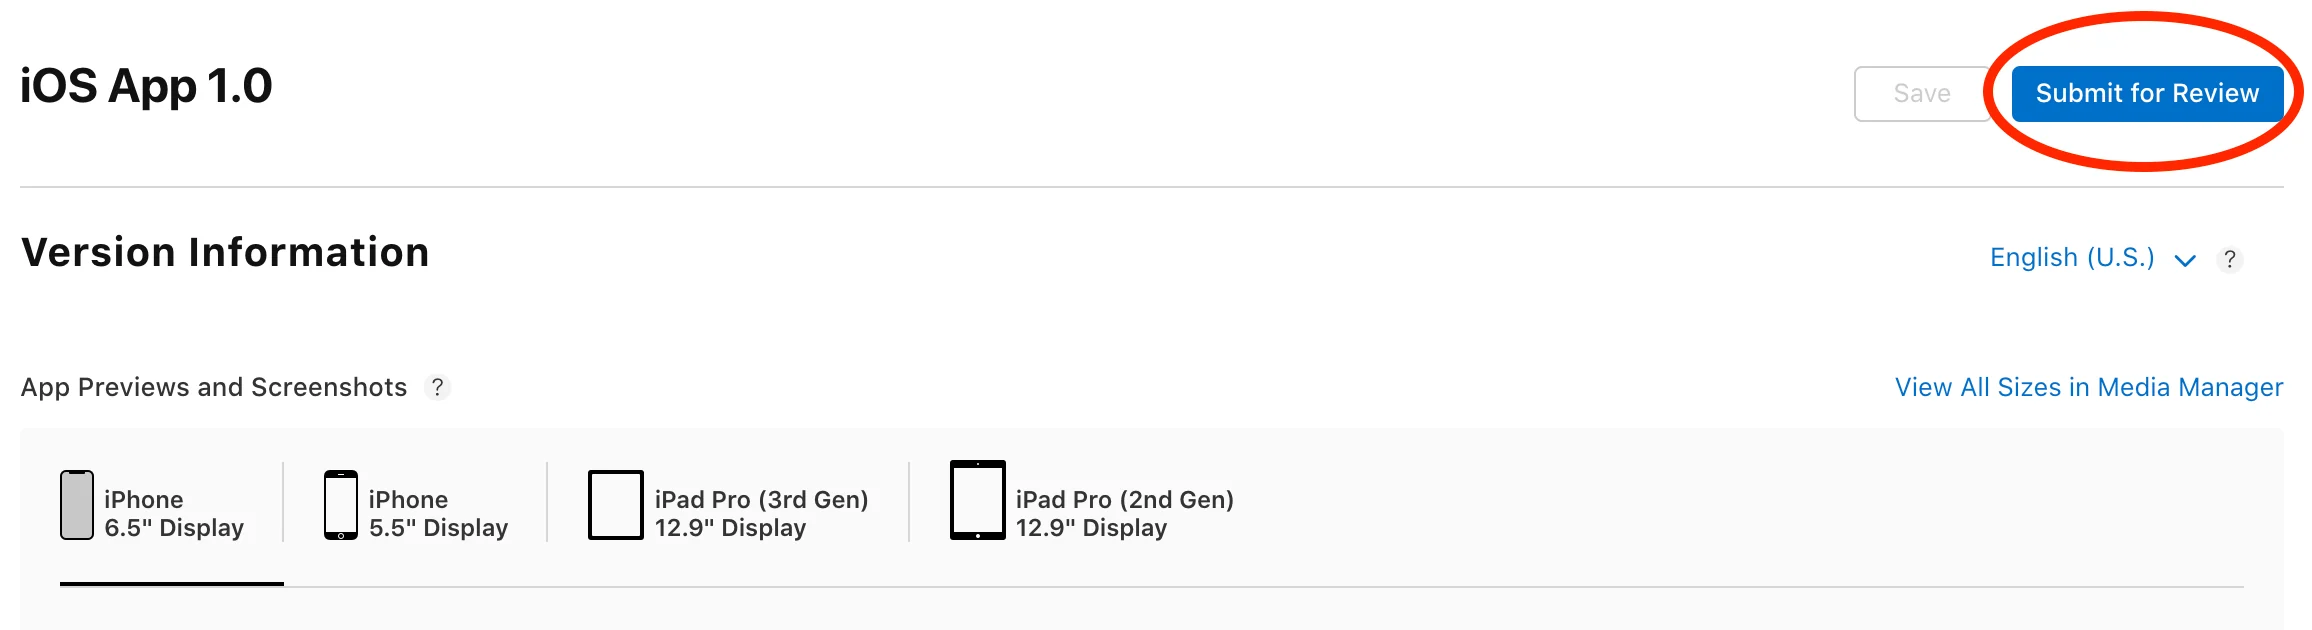
Submit for review
This will bring up a few more questions related to privacy, advertising, and your App’s functionality. Review these carefully so that you are answering truthfully about what your App does. Once you’ve made your selections, hit “Submit”!
A Note on Rejection
As noted above, Apps can be rejected for answering questions in the App Store Listing incorrectly. Apps can also be rejected for failing to meet the App Store Review Guidelines, which cover everything from the business purposes of the App and its information privacy to the design and intuitive use of its interface. If your App is rejected after submission, Apple will send a message with their rationale for rejection. To learn more about common rejections, visit Apple’sApp Review primer
Wrap up
Congratulations! You’ve submitted your App for App Store review. It can take a few days to hear back from the review team, but once you’re approved, you can publish the App!
'The Codecademy Team, composed of experienced educators and tech experts, is dedicated to making tech skills accessible to all. We empower learners worldwide with expert-reviewed content that develops and enhances the technical skills needed to advance and succeed in their careers.'
Complete Payment to Unlock Full Guide & Source Code
You are viewing the 30% preview. Join TopCourseAI Pro to unlock the remaining 70% of this article, unblur all code snippets, and gain full access to all 412 technical projects and guides.
Ready to access the complete step-by-step tutorial?
Gain full unhindered access to all 412 technical projects and guides, unblur all source code snippets, and download runnable scripts.
How to Differentiate Lesson Content with ChatGPT
Next BlueprintHow to Enroll in the Apple Developer Program
Related Blueprints & Guides
View all 166 →Best IDEs for Mobile App Development: A Complete Guide
AnIDE(Integrated Development Environment) combines essential development tools into a single application, making mobile app development more efficient and organized. Rather than juggling separate tools for coding, debugg...
Mobile developmentBuilding Lists in SwiftUI
Presenting textual and graphical information in a column is a very familiar and natural way to visually organize data. Almost all modern apps utilize some sort of columnar data display. Think of popular social media apps...
Mobile developmentGrids in SwiftUI
The grid layout has become a familiar paradigm for mobile user experiences. The canonical example of grid layout is in the built-in camera roll app for iOS. It can also be found on an extremely popular social photo-shari...
Ready to build production-grade AI systems?
Enjoyed this guide? Continue exploring our library of 166+ production blueprints, multi-agent swarms, and autonomous agent systems with 100% unblurred, executable source code.