
Installing and Setting up Xcode
Installing and Setting up Xcode
In this article, we’ll discuss how to install and set up Xcode on your local machine. We’ll be focusing on the installation procedure for Mac machines, as Xcode is anintegrated development environment (IDE)developed by Apple and intended for use on macOS.
Note:In case you’re interested in installing Xcode on a Windows computer, take a look at the instructions provided inthis article. Note that you may need to install third-party software or set up avirtual machinein order to install Xcode. Installing Xcode is not recommended for Chromebooks due to hardware limitations.
By the end of this article, you’ll have Xcode up and running on your computer, and be ready to start developing your first iOS app! Let’s get started.
If you run into any issues during the installation process, utilize theXcode Helppage or visit ourCodecademy forumsfor guidance.
Prerequisites
Before you proceed to install Xcode, you first need to verify that your macOS is up to date. You’ll need Xcode version 12 or later, which can only be installed on macOS 10.15.4 or later.
Check Your macOS version
To check the macOS version on your Mac, click on the Apple icon on the top left corner of your screen.
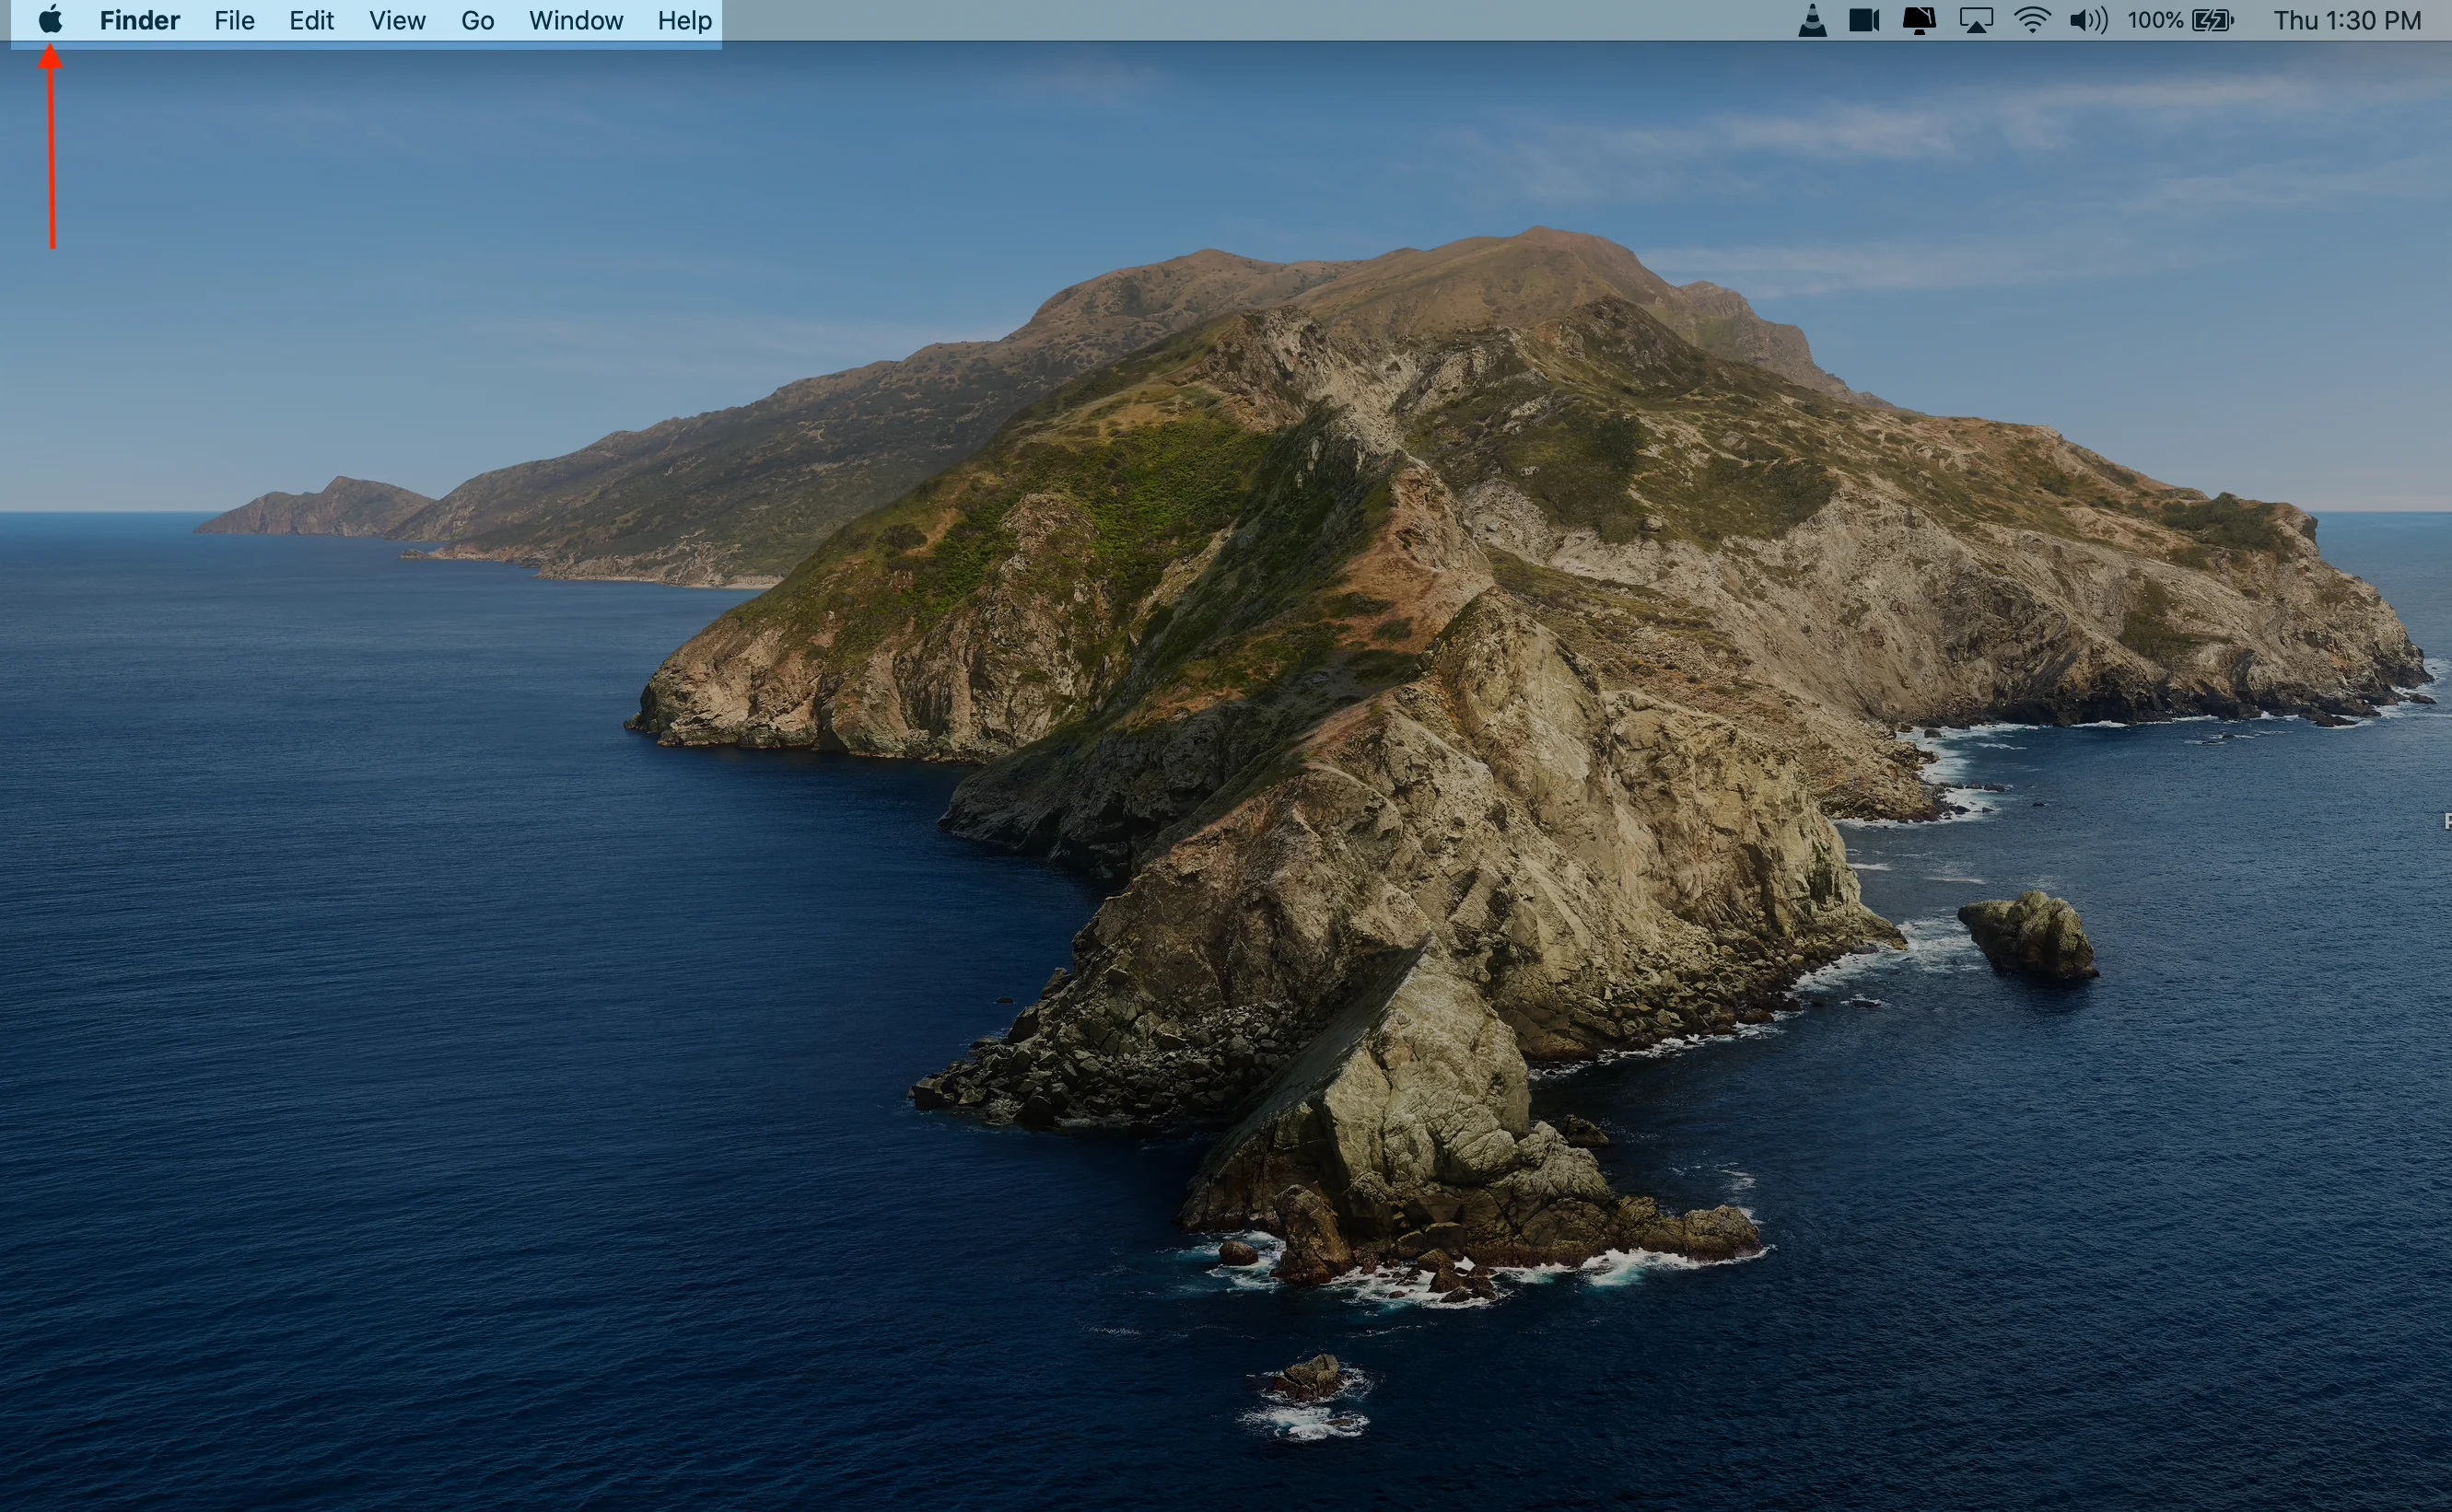
Identify_OS_0
Next, click on theAbout This Macoption.
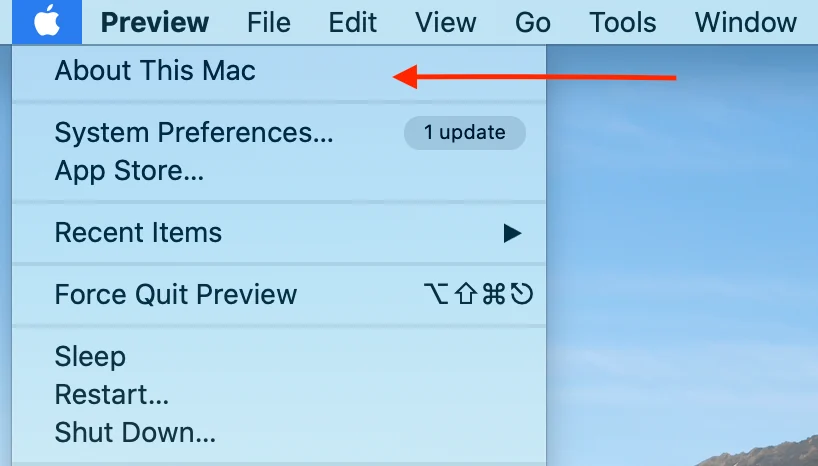
Identify_OS_1
You should see the system configurations of your Mac. Note that the following screen might look different if you’re running a different version of macOS.
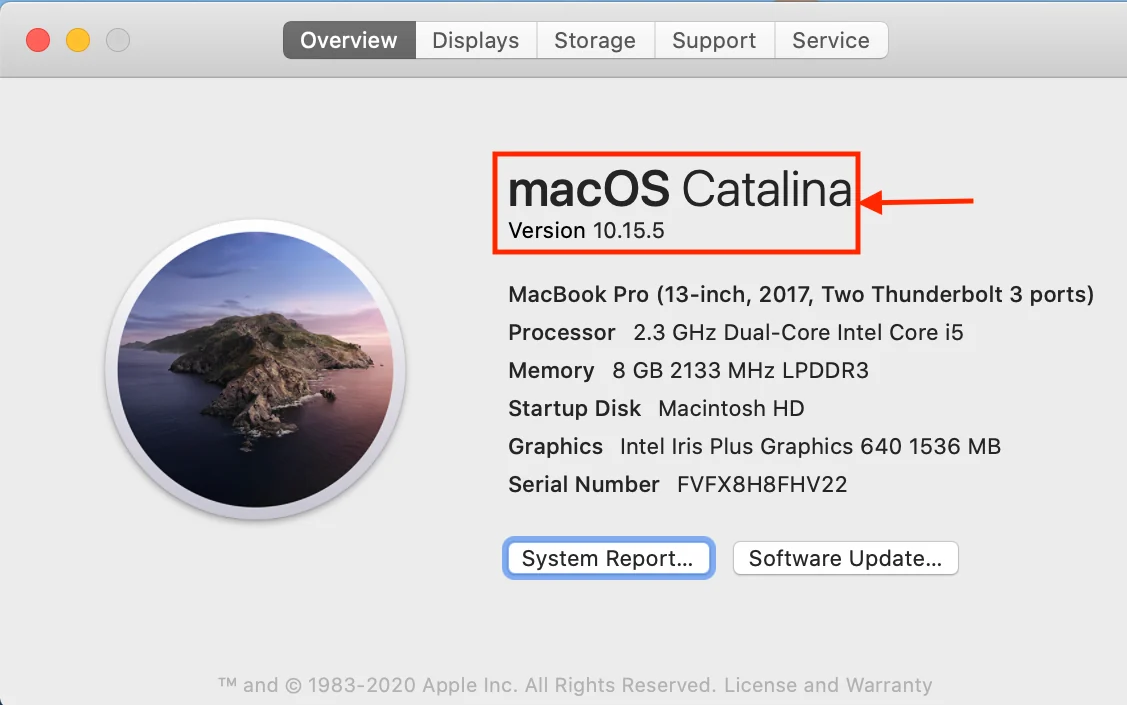
Identify_OS_2
The screenshot above shows that the current macOS isCatalina, and the version is10.15.5. Keep in mind that macOS Catalina version 10.15.4 is the earliest version of macOS that supports Xcode 12.
If your Mac is running an older version of macOS,check if it is compatiblewith macOS Catalina. If it is, follow theseinstructionsto update the operating system. If you’d like to perform a full installation of macOS Catalina, followthese stepsfrom the Apple support page.
Check if Xcode is installed
To check if you already have Xcode installed on your Mac, you can do so either by searching through theApplicationsdirectory in the Finder window or by searching for it using Spotlight Search. UseCommand+Spacebarfor a shortcut on pulling up the Spotlight Search.
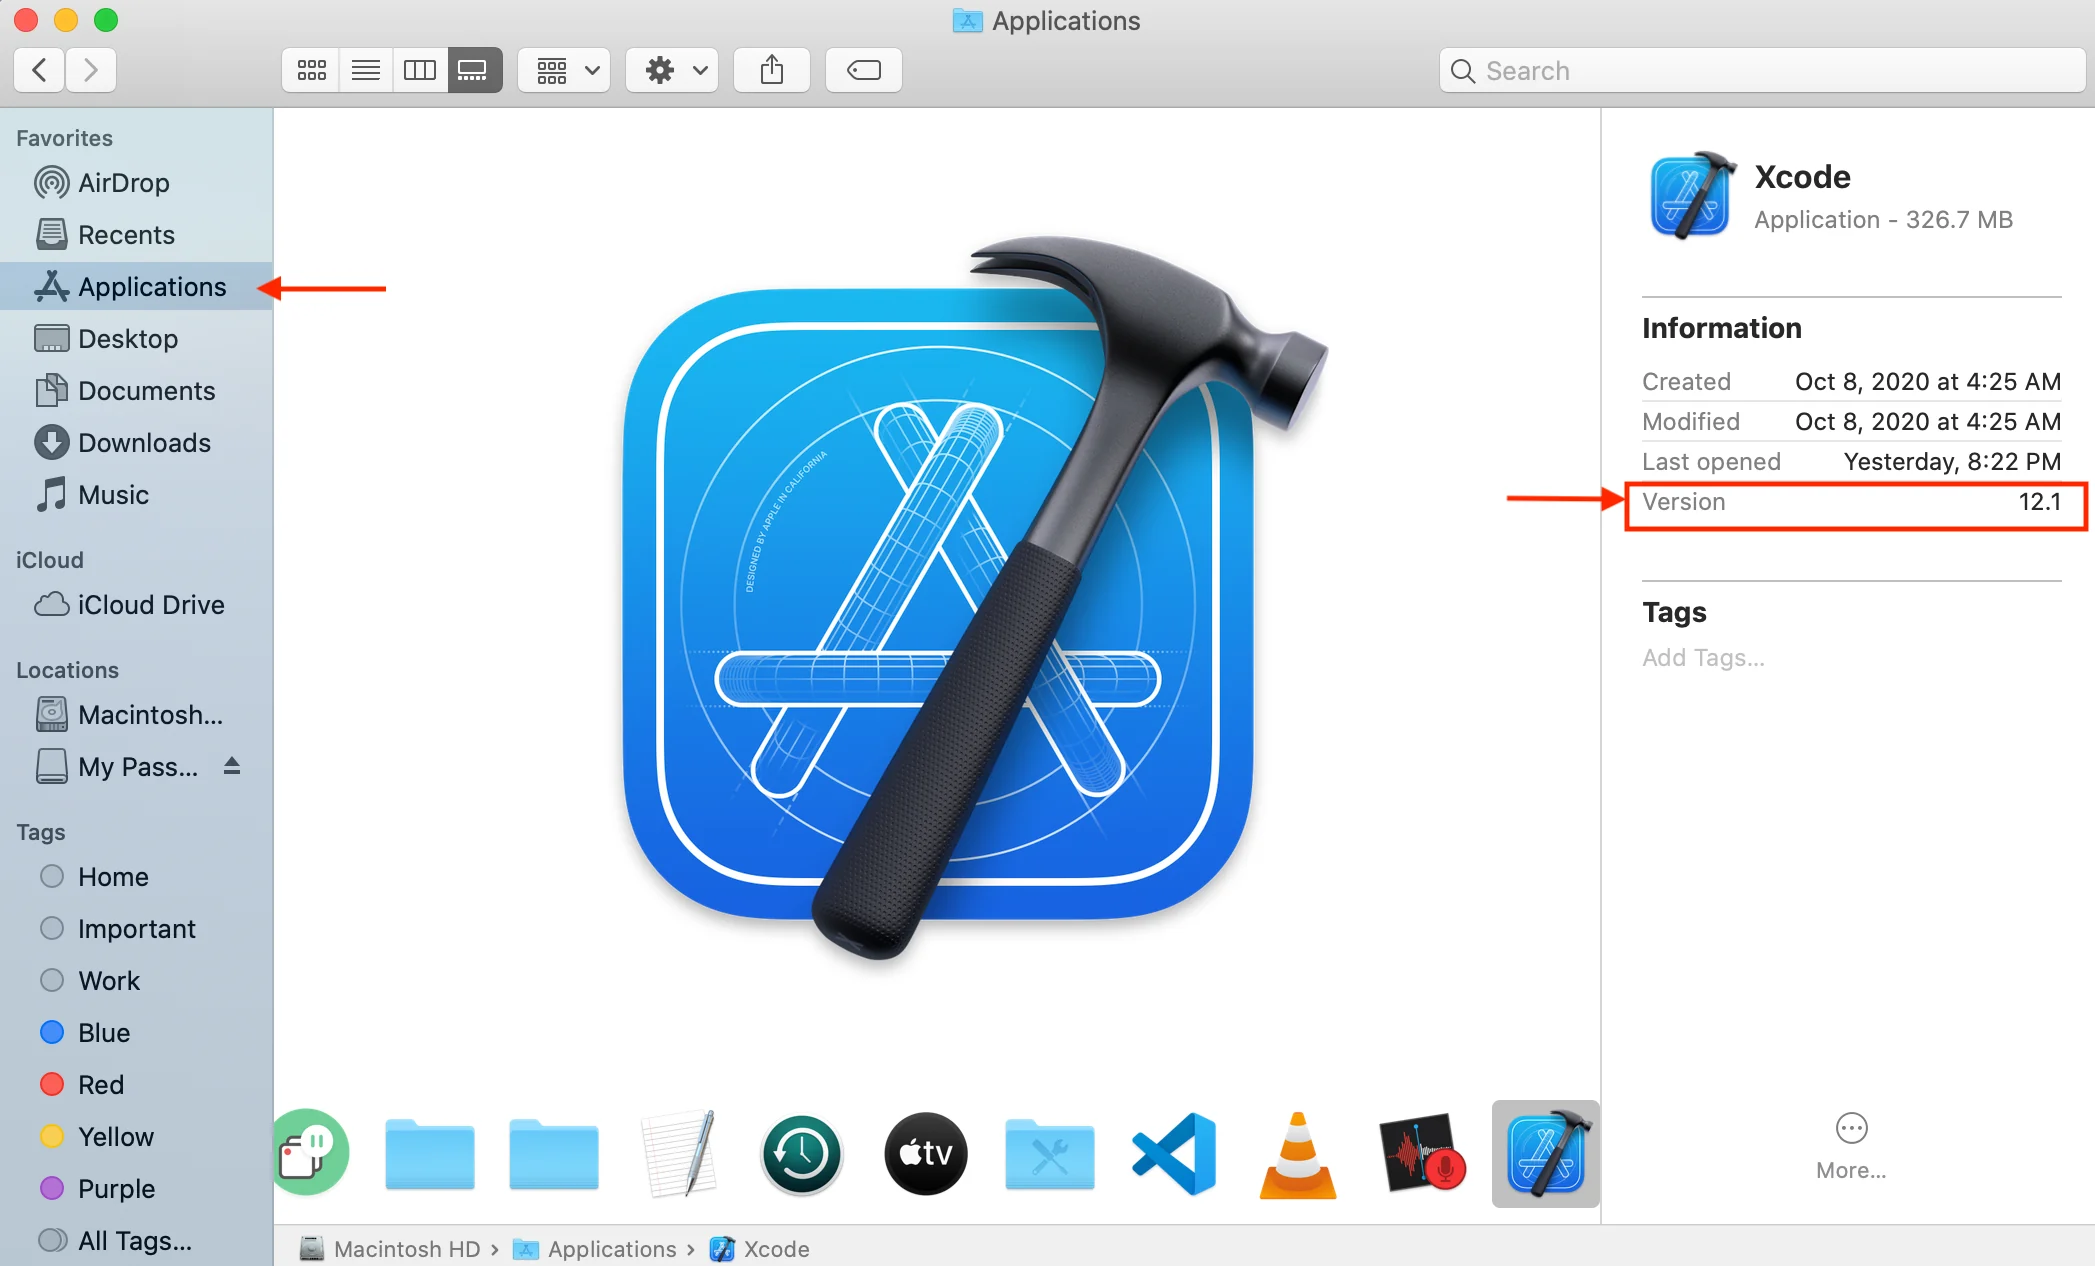
LOCATEXcode_LOCAL
If you have Xcode installed, you should see the icon as shown above in the list of Applications. Notice its version, 12.1, listed on the right hand side.
If you don’t have Xcode installed or if your version of Xcode is older than 12, then follow each step closely in the next section.
Installing Xcode
When installing Xcode 12 or later, it’s important to keep in mind its installation size. Xcode 12.1, in particular, requires 11.3 GB of free space on your hard drive but this number can vary depending on its version.
Additionally, you may need a few gigabytes more than the prescribed amount of memory. Thus, it’s a good idea to make sure that you have enough available space for a successful installation. You can follow the steps shown at theApple support pageon how to free up memory on your hard drive.
The next step is to install Xcode from the App Store. You can find the App Store in theApplicationsdirectory in the same way you checked for the availability of Xcode earlier.
There are two ways to locate Xcode in the App Store. You can either visit theDevelopsection on the left-hand side or type “Xcode” in the search bar shown below:
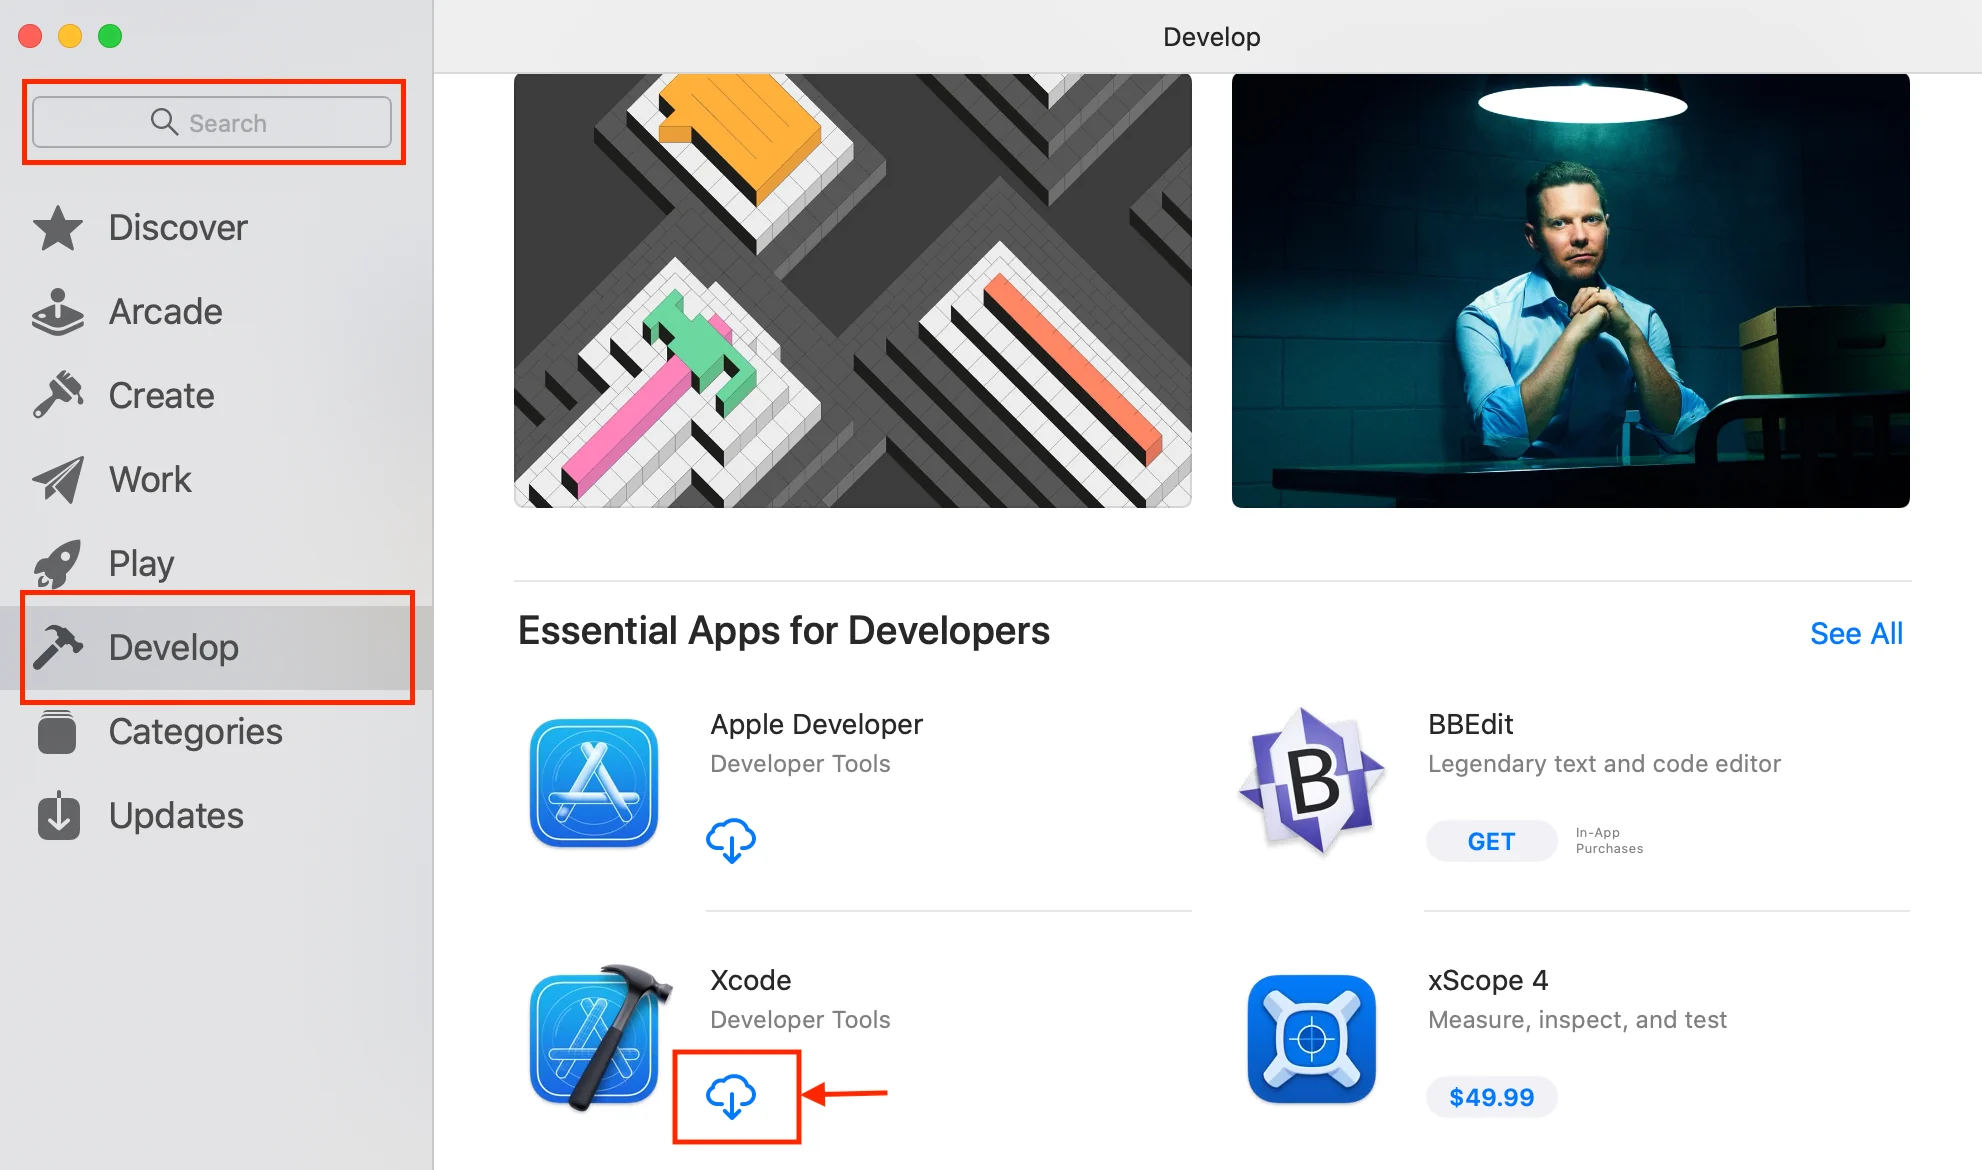
LOCATEXcode_APPSTORE
Depending on whether you are installing, updating, or reinstalling Xcode on your local machine, you may see one of the following options next to or below its name:
- GET: If you’re installing Xcode for the first time.
- UPDATE: If you’re updating Xcode.
- A silhouette of a cloud with an arrow pointing down: If you’re reinstalling Xcode on your machine.
Click on the option presented to you to start downloading the latest version of Xcode.
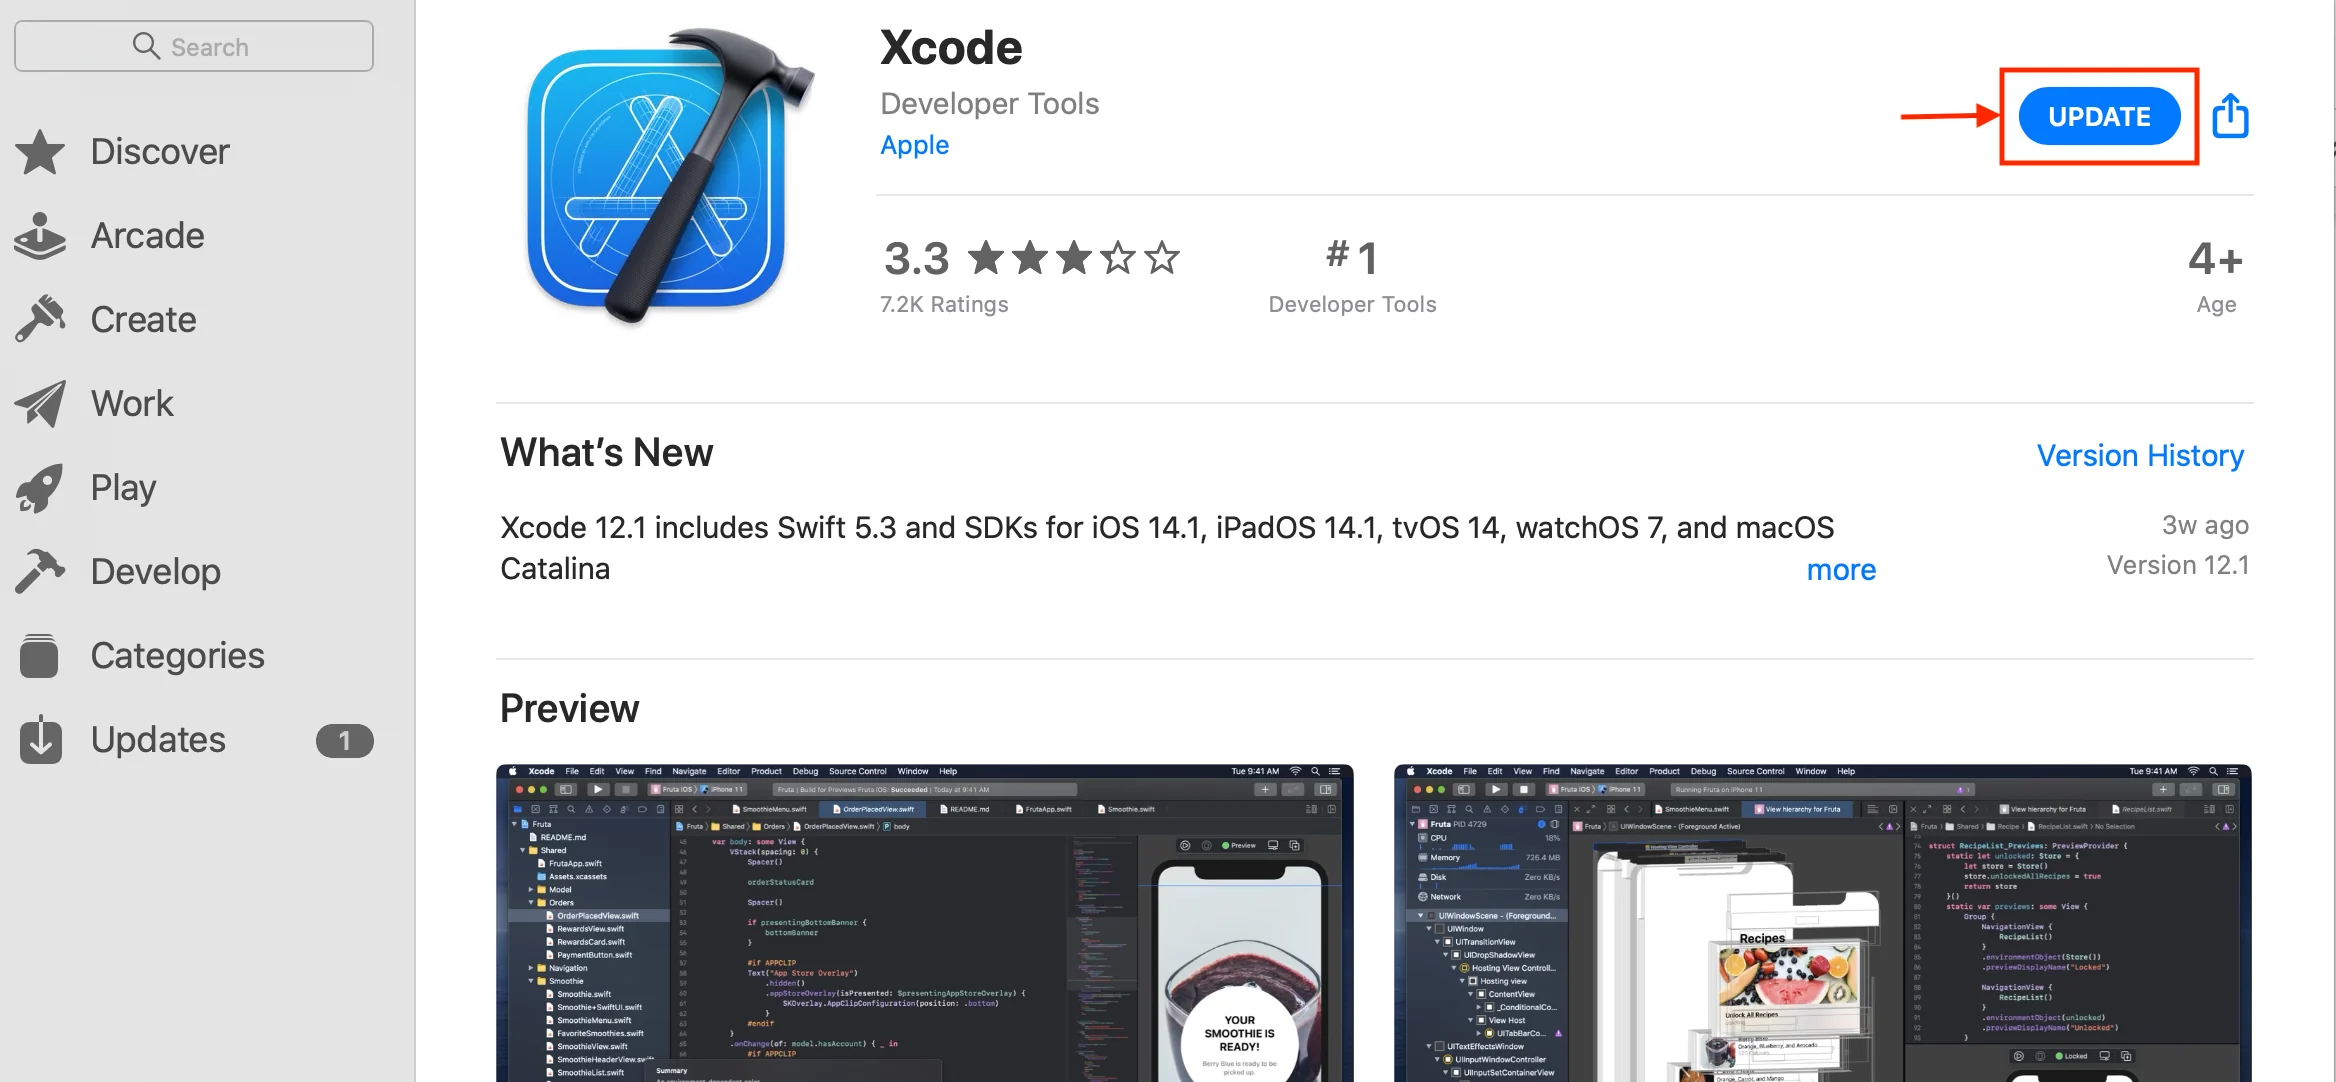
INSTALLXcode
You should see a progress circle (shown below) that conveys the status of the download:
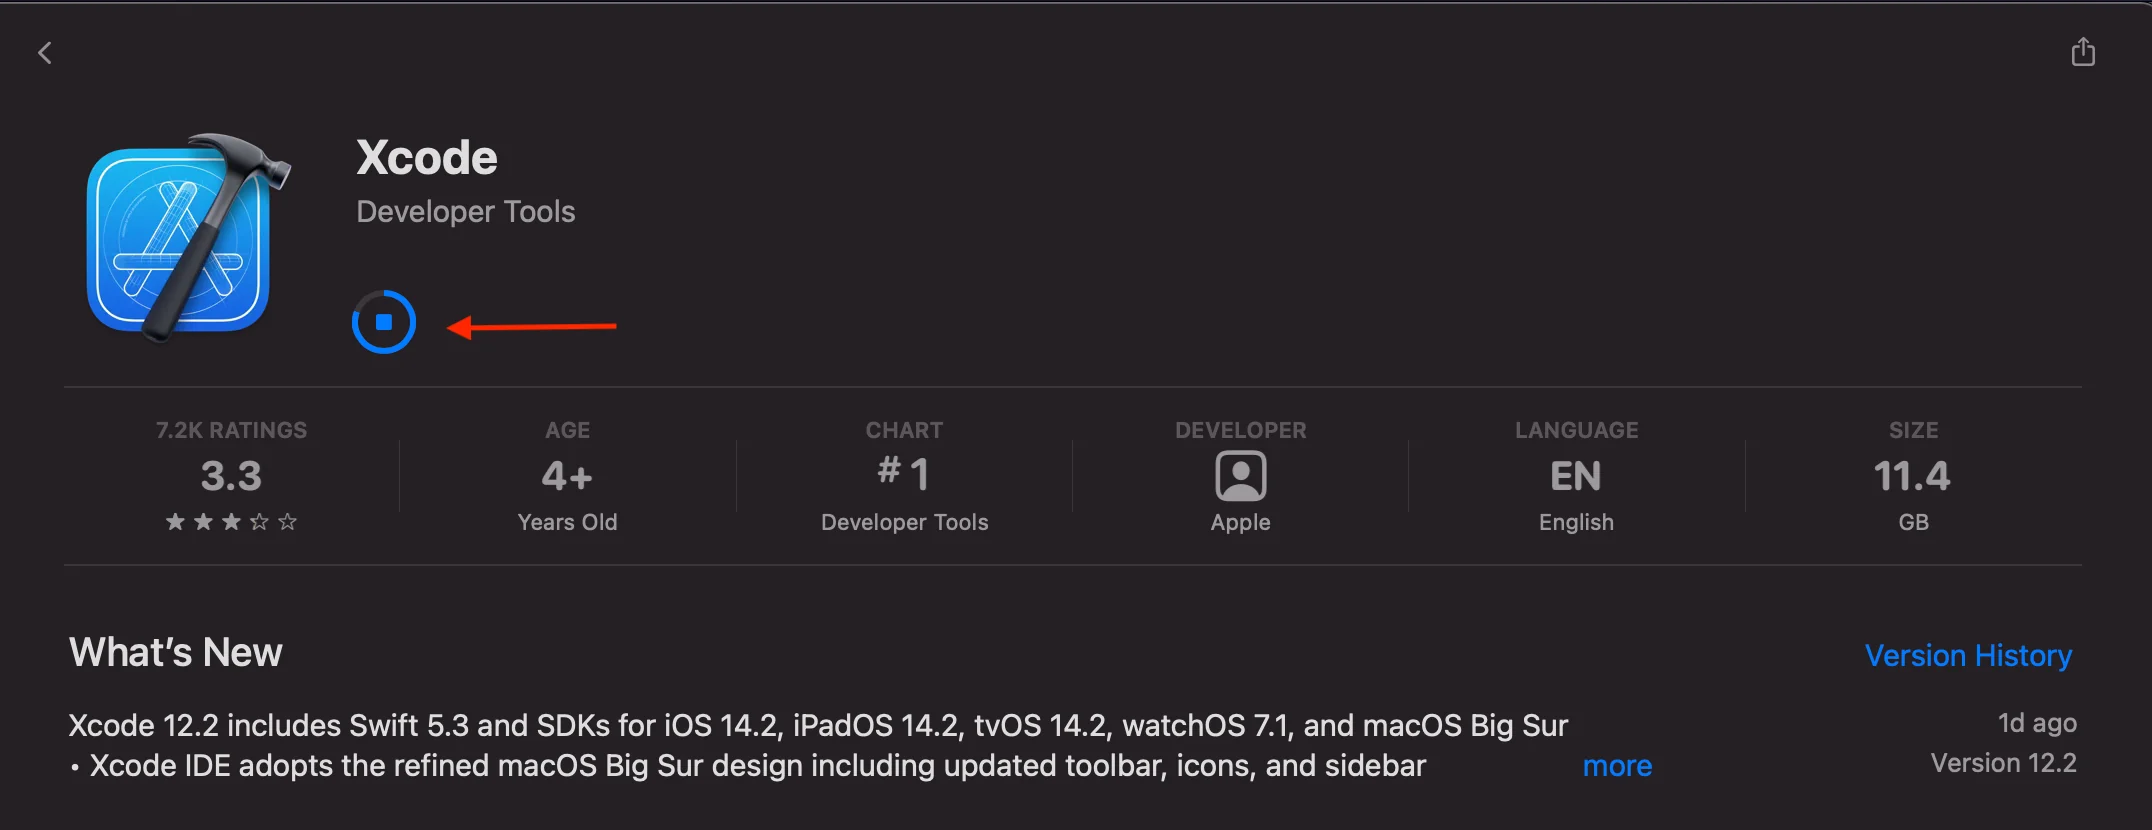
INSTALLPROGRESS_Xcode
You can pause the download by clicking on the blue square button in the center if you need to.
Once the download is complete, you will observe that the button has changed toOPEN. At this point, you’re ready to launch Xcode!
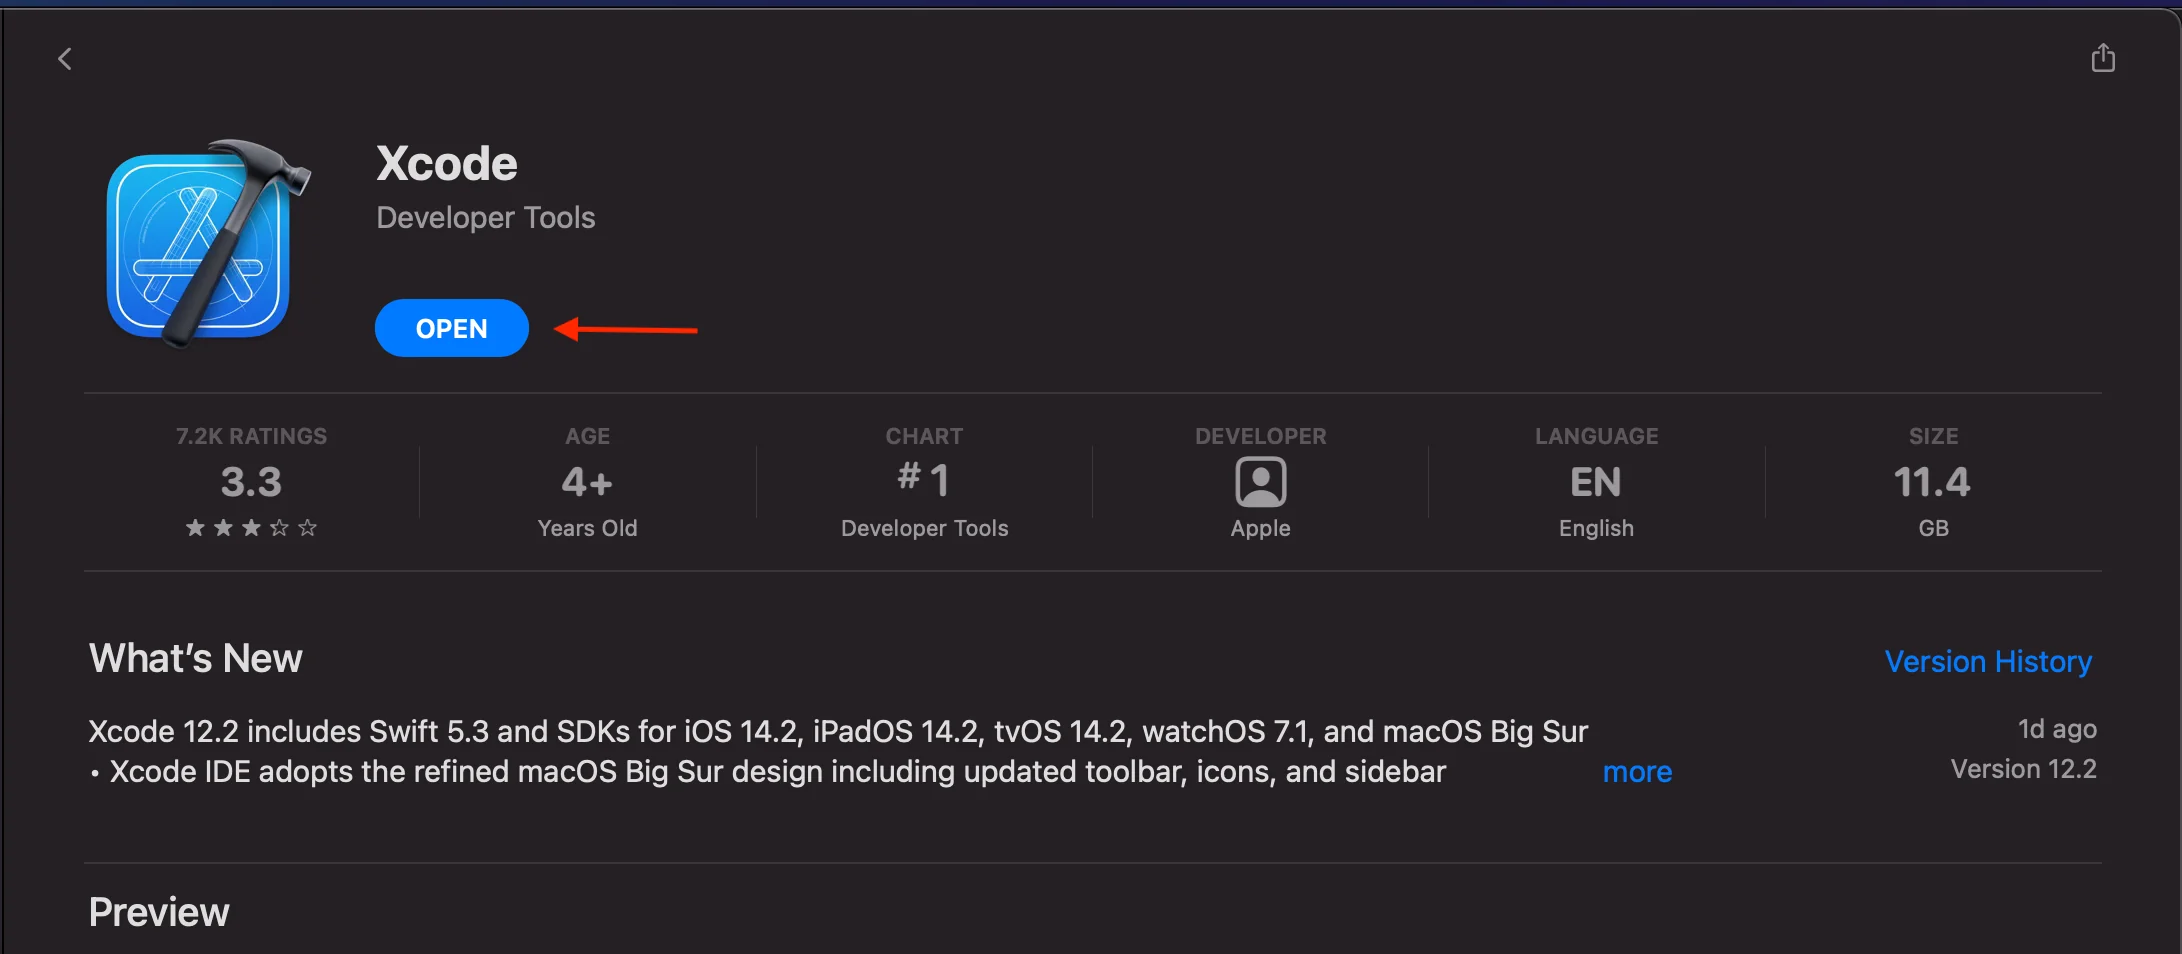
Xcode_OPEN
Launching Xcode
Click on theOPENbutton to launch Xcode. You can also locate and launch Xcode from theApplicationsdirectory or through the Spotlight search as we’ve seen previously.
You will get the following popup when launching Xcode for the first time:
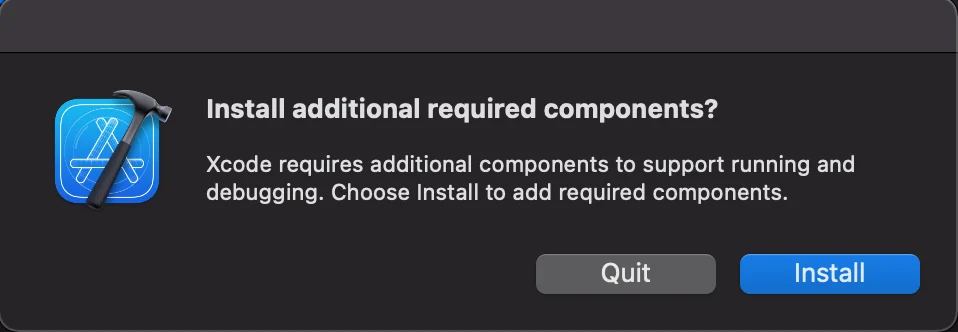
ADDNLCOMP
Click on theInstallbutton to set up any additional components that Xcode requires to support running and debugging your apps.
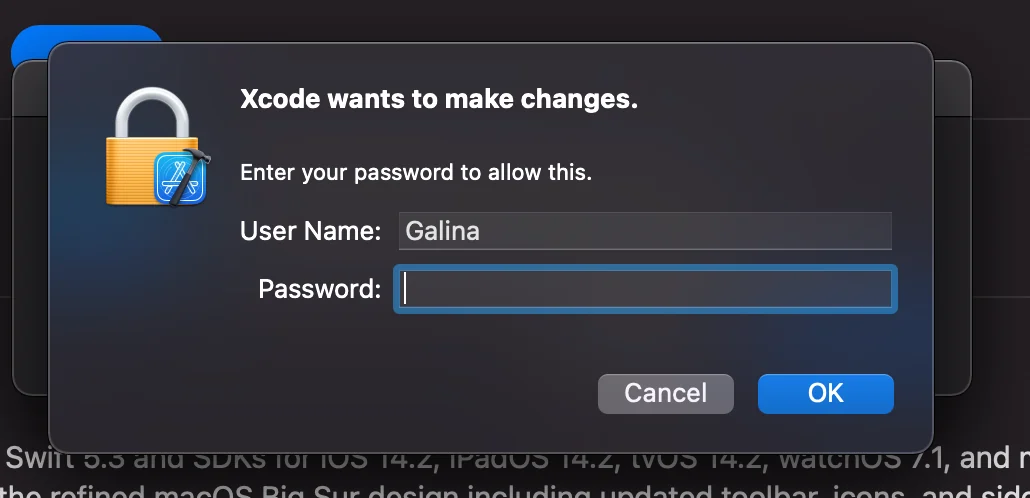
PASSWORD
Enter the password of your Mac to enable installation of the additional components, and then clickOK. Next, you’ll see the following window:
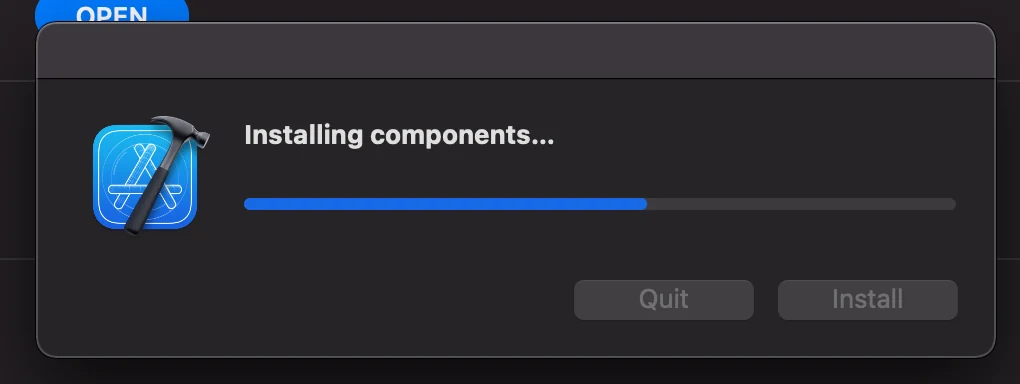
PROGRESS
Note that installing the components may take a bit of time. You should see the following popup once the installation is complete. This startup dialog will appear every time you launch Xcode to create a new project.
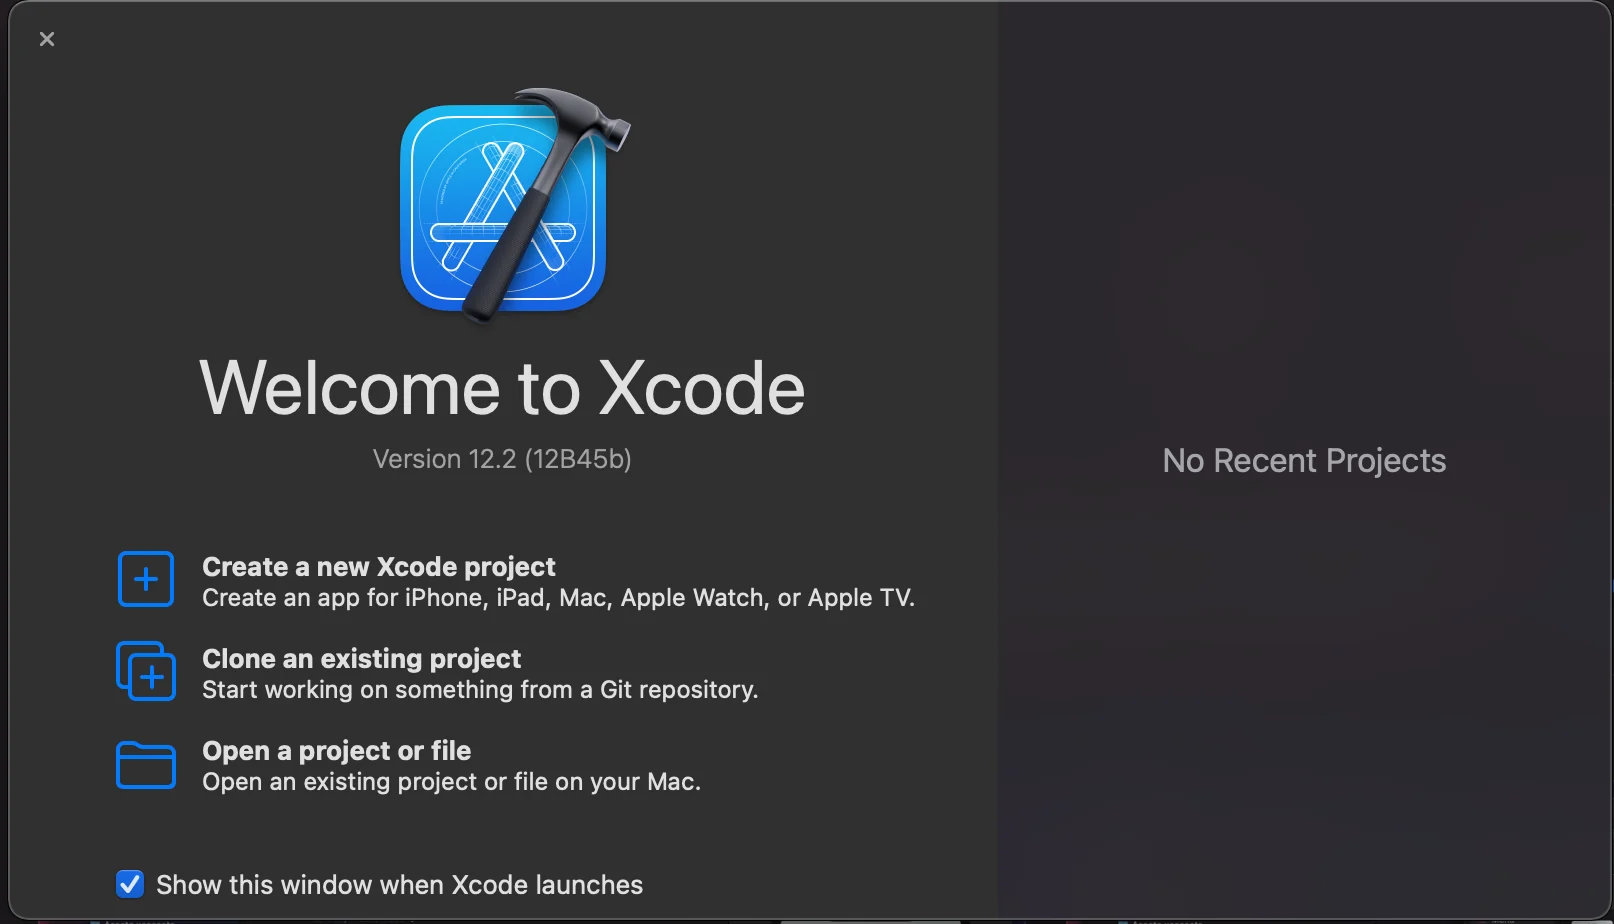
LAUNCH
Wrap up
Congratulations! You’ve just completed the first major step towards writing your first iOS app by installing Xcode on your machine.
'The Codecademy Team, composed of experienced educators and tech experts, is dedicated to making tech skills accessible to all. We empower learners worldwide with expert-reviewed content that develops and enhances the technical skills needed to advance and succeed in their careers.'
Complete Payment to Unlock Full Guide & Source Code
You are viewing the 30% preview. Join TopCourseAI Pro to unlock the remaining 70% of this article, unblur all code snippets, and gain full access to all 412 technical projects and guides.
Ready to access the complete step-by-step tutorial?
Gain full unhindered access to all 412 technical projects and guides, unblur all source code snippets, and download runnable scripts.
Installing Python 3 and Python Packages
Next BlueprintInstalling and Using PostgreSQL Locally
Related Blueprints & Guides
View all 166 →Best IDEs for Mobile App Development: A Complete Guide
AnIDE(Integrated Development Environment) combines essential development tools into a single application, making mobile app development more efficient and organized. Rather than juggling separate tools for coding, debugg...
Mobile developmentBuilding Lists in SwiftUI
Presenting textual and graphical information in a column is a very familiar and natural way to visually organize data. Almost all modern apps utilize some sort of columnar data display. Think of popular social media apps...
Mobile developmentGrids in SwiftUI
The grid layout has become a familiar paradigm for mobile user experiences. The canonical example of grid layout is in the built-in camera roll app for iOS. It can also be found on an extremely popular social photo-shari...
Ready to build production-grade AI systems?
Enjoyed this guide? Continue exploring our library of 166+ production blueprints, multi-agent swarms, and autonomous agent systems with 100% unblurred, executable source code.