
How To Use Cursor AI: A Complete Guide With Practical Example
How To Use Cursor AI: A Complete Guide With Practical Example
Ever been overwhelmed with code, hoping your editor could somehow grasp what you're building? With software development getting faster and more intricate, the old coding process begins to feel clunky, hindered by relentless context switching, tedious boilerplate coding, and hours of debugging. That's where Cursor AI enters the picture. By combining the familiar interface of Visual Studio Code with powerful AI capabilities, Cursor is revolutionizing how developers code, making it easier to write, refactor, and understand code with unprecedented efficiency.
In this guide, we'll explore Cursor AI's features, installation process, and how to build your first project.
What is cursor?
Cursor is an intelligent code editor built as a fork of Visual Studio Code, designed to transform the coding experience through advanced AI capabilities. Unlike traditional editors limited to basic syntax highlighting and simple autocomplete, Cursor uses large language models like GPT-4 and Claude to:
- Understand entire codebases holistically
- Generate complete functions and code blocks from plain English descriptions
- Explain complex code through natural language interaction
- Debug errors with AI-powered suggestions
- Work across multiple programming languages
Understand entire codebases holistically
Generate complete functions and code blocks from plain English descriptions
Explain complex code through natural language interaction
Debug errors with AI-powered suggestions
Work across multiple programming languages
By automating repetitive tasks like writing boilerplate code, identifying bugs, and documenting functions, Cursor significantly reduces development time and cognitive load.
How to install cursor
Installing Cursor is straightforward. Follow these steps to get started:
1. Visit the official website: Navigate to cursor.sh using your web browser.

Homepage of Cursor AI
2. Download the appropriate version: Click the download button and select the version compatible with your operating system (Windows, macOS, or Linux).
3. Run the installer:
- For Windows: Open the downloaded .exe file and follow the installation wizard
- For macOS: Open the .dmg file and drag Cursor to your Applications folder
- For Linux: Use the provided .AppImage or installation script
For Windows: Open the downloaded .exe file and follow the installation wizard
For macOS: Open the .dmg file and drag Cursor to your Applications folder
For Linux: Use the provided .AppImage or installation script
4. Launch Cursor AI: Open the application from your start menu, applications folder, or desktop shortcut.
5. Sign in or create an account: When prompted, either sign in with an existing account or create a new one. This step is necessary to access AI features.
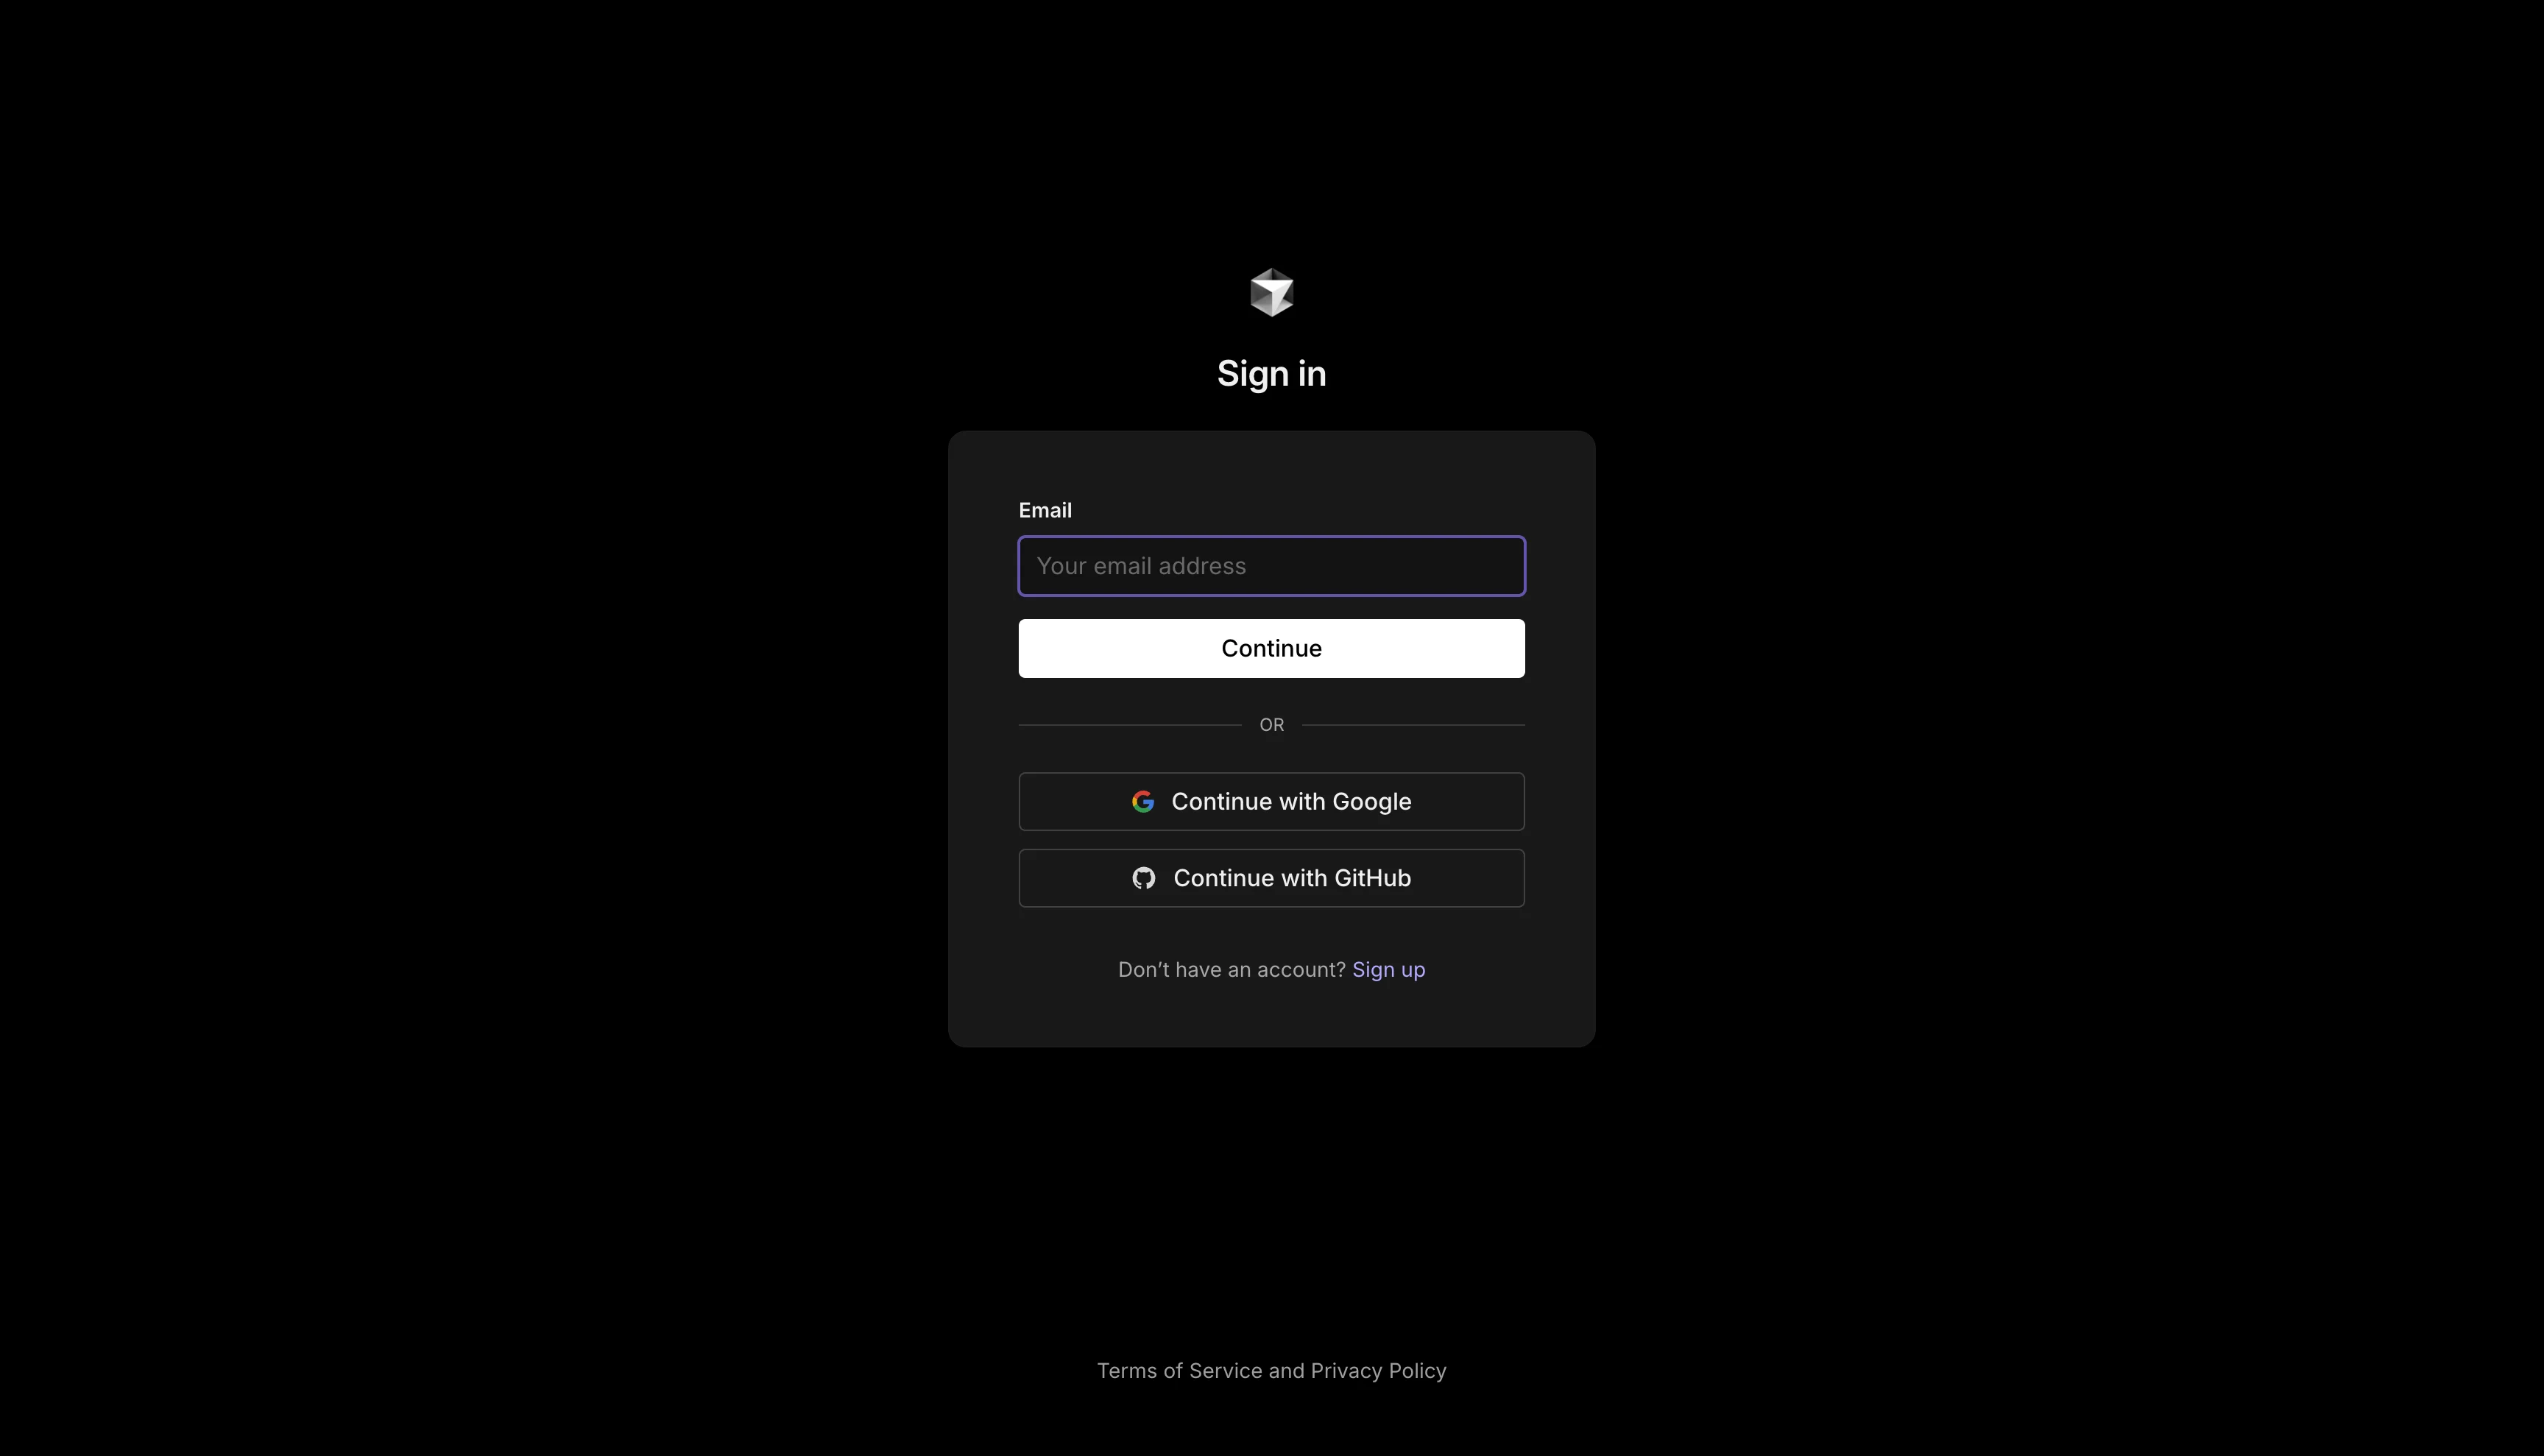
Cursor AI sign-in screen prompting the user to log in or create a new account to access AI features.
6. Configure settings (optional): You can customize various aspects of Cursor AI through the settings menu, including theme, font size, and AI behaviour preferences.
Once installation is complete, Cursor is ready to use. The interface should look familiar if you've used Visual Studio Code before, with additional AI-specific features accessible through the sidebar and command palette.
Building your first project with cursor
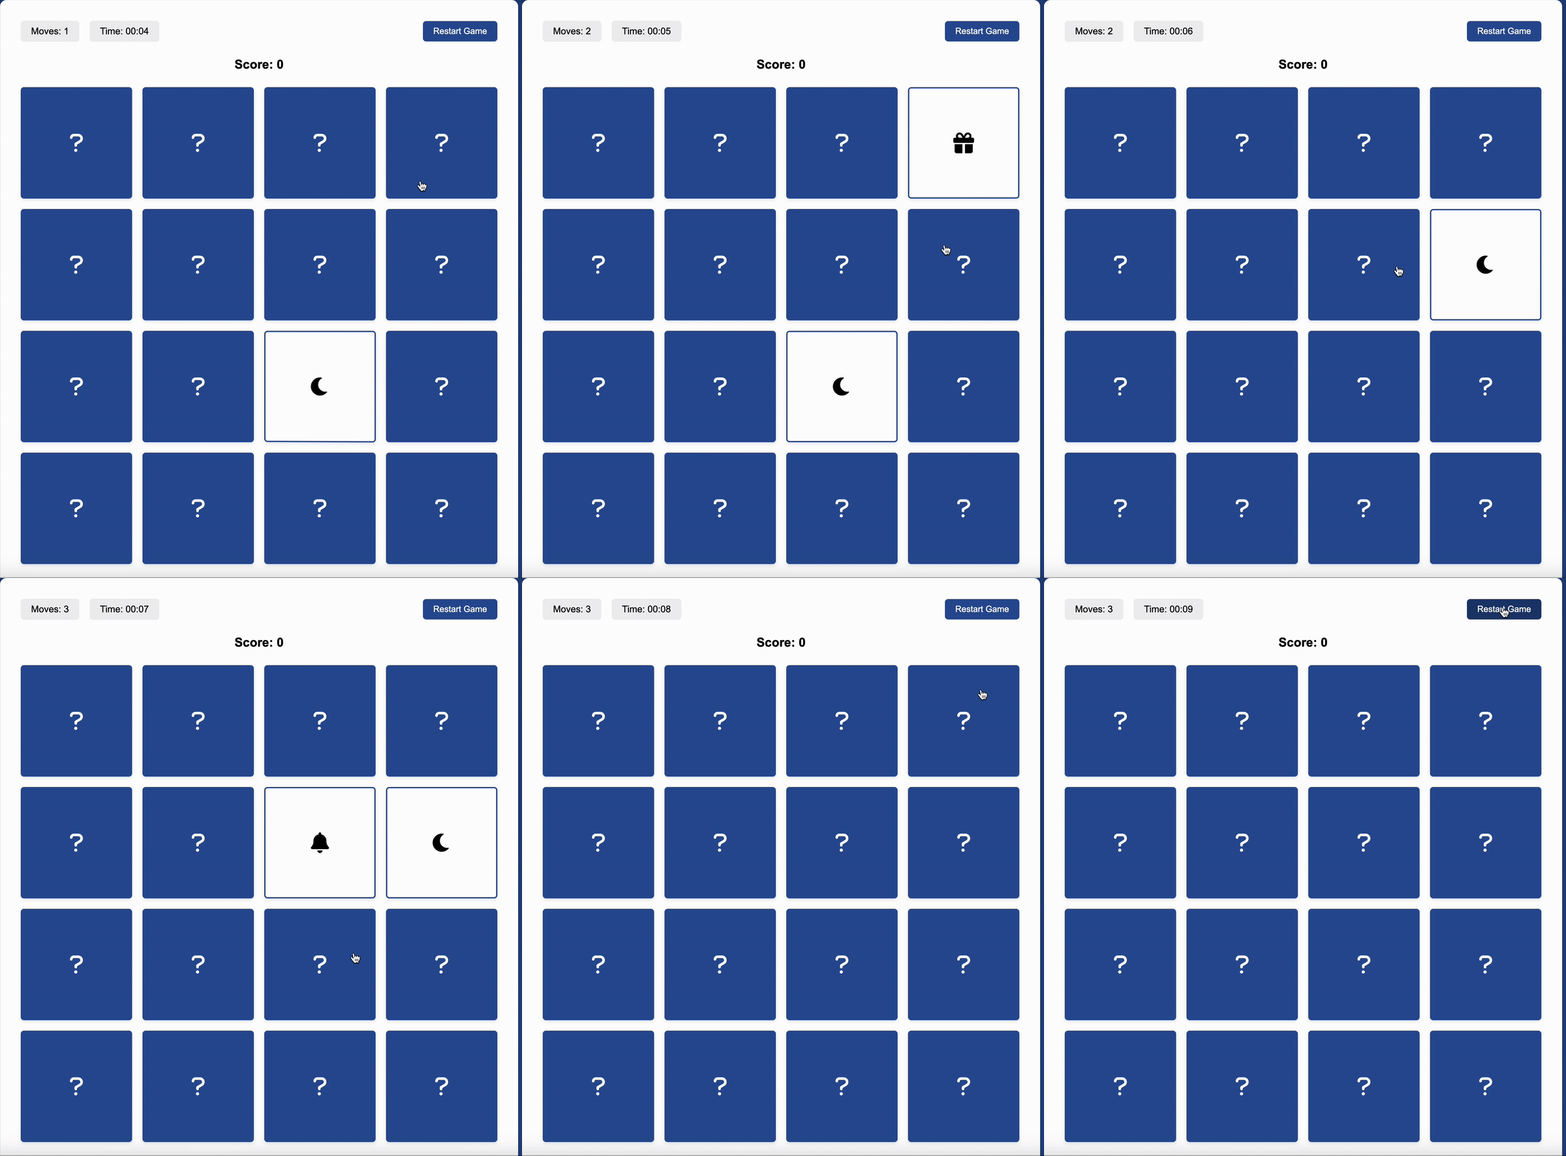
With Cursor installed and configured, let's put it to test with a hands-on project. We'll create a basic browser-based memory card matching game to showcase how Cursor assists with various development tasks like code generation, debugging, and feature implementation.
This project serves as an excellent demonstration because it involves:
- HTML structure for the game board
- CSS for styling and animations
- JavaScript for game logic and interactivity
- Several common programming challenges, like randomization and state management
HTML structure for the game board
CSS for styling and animations
JavaScript for game logic and interactivity
Several common programming challenges, like randomization and state management
Let's see how Cursor AI can help us build this application step by step.
Step 1: Create a new project
Create a new project by:
- Open Cursor
- Open the command palette with Ctrl+Shift+P (Windows/Linux) or Cmd+Shift+P (macOS)
- Type "Create New Project" and select the option
Open the command palette with Ctrl+Shift+P (Windows/Linux) or Cmd+Shift+P (macOS)
Type "Create New Project" and select the option
Step 2: Use AI to scaffold your project
Open the Cursor chat panel (available through the sidebar or by pressing Ctrl+L or Cmd+L), and enter the following prompt:
I want to create a memory card matching game with the following features:
1. A grid of cards (4x4) that can be flipped
2. Each card has an image or icon that is hidden until flipped
3. Players flip two cards at a time to find matching pairs
4. When two matching cards are flipped, they remain face up
5. The game ends when all matches are found
6. Include a timer and move counter to track player performance
7. Add a simple scoring system based on time and moves
Please help me set up the project structure with HTML, CSS, and JavaScript files, and provide the initial code to implement this game.
Cursor will generate a project structure with the necessary files.
A Cursor AI generated project structure with the necessary files
Step 3: Review and customize the generated code
Cursor AI will typically generate:
- index.html: The main HTML structure with game board and UI elements
- styles.css: CSS for styling the game cards and layout
- script.js: JavaScript for game logic and interactions
index.html: The main HTML structure with game board and UI elements
styles.css: CSS for styling the game cards and layout
script.js: JavaScript for game logic and interactions
Review the code and use the inline chat (Cmd+K or Ctrl+K) to make specific adjustments. For example:
Instead of generic icons, can we use animal emojis for the card faces? Also, improve the card flip animation with a 3D effect.
GIF showing a developer asking Cursor AI to swap icons for emojis and improve card animations, with real-time code updates.
Step 4: Implement core game logic using chat
Now, focus on implementing the core game mechanics. Use the chat panel again:
I need help with the following game logic:
1. Function to randomly assign card pairs to the grid
2. Logic to handle card flipping and matching
3. Win condition check
4. Timer functionality that starts on first card flip
5. Move counter that increments after each pair of cards is flipped
Step 5: Debugging with cursor
As we test our game, we might encounter issues. For example, if cards can be flipped too quickly causing bugs, ask Cursor AI:
I've noticed a bug where sometimes a player can flip more than two cards if they click very quickly. How can I fix this to ensure only two cards can be flipped at once?Step 6: Adding advanced features
Once the basic game is working, add more advanced features:
Let's improve the game with:
1. A leaderboard that saves the top 5 scores using local storage
2. Sound effects for card flips, matches, and game completion
3. A difficulty selector that changes the grid size and available time
GIF showing Cursor AI adding a leaderboard, sound effects, and difficulty levels to the memory game after a prompt.
With these enhancements, this memory card game becomes a polished, feature-rich application, and you've seen how seamlessly Cursor AI can guide you through each stage of development.
Features and use cases of cursor AI
Cursor AI offers several powerful features that set it apart from traditional code editors. Let's explore these features and how they can be applied in practical development scenarios:
AI chat interface
The integrated chat interface allows us to communicate with the AI within our development environment. With this feature, we can:
- Ask questions about code: Select any code segment and ask for explanations
- Request help with complex functions: Get assistance with challenging logic
- Debug with natural language: Describe bugs in plain English and get potential solutions
- Search documentation: Find information about libraries and frameworks without leaving the editor
- Web search integration: Get up-to-date information directly in your coding environment
Ask questions about code: Select any code segment and ask for explanations
Request help with complex functions: Get assistance with challenging logic
Debug with natural language: Describe bugs in plain English and get potential solutions
Search documentation: Find information about libraries and frameworks without leaving the editor
Web search integration: Get up-to-date information directly in your coding environment
Practical application:
When encountering unfamiliar code, select it and use Cmd+K or Ctrl+K to ask:
What does this code do? Can you explain it step by step?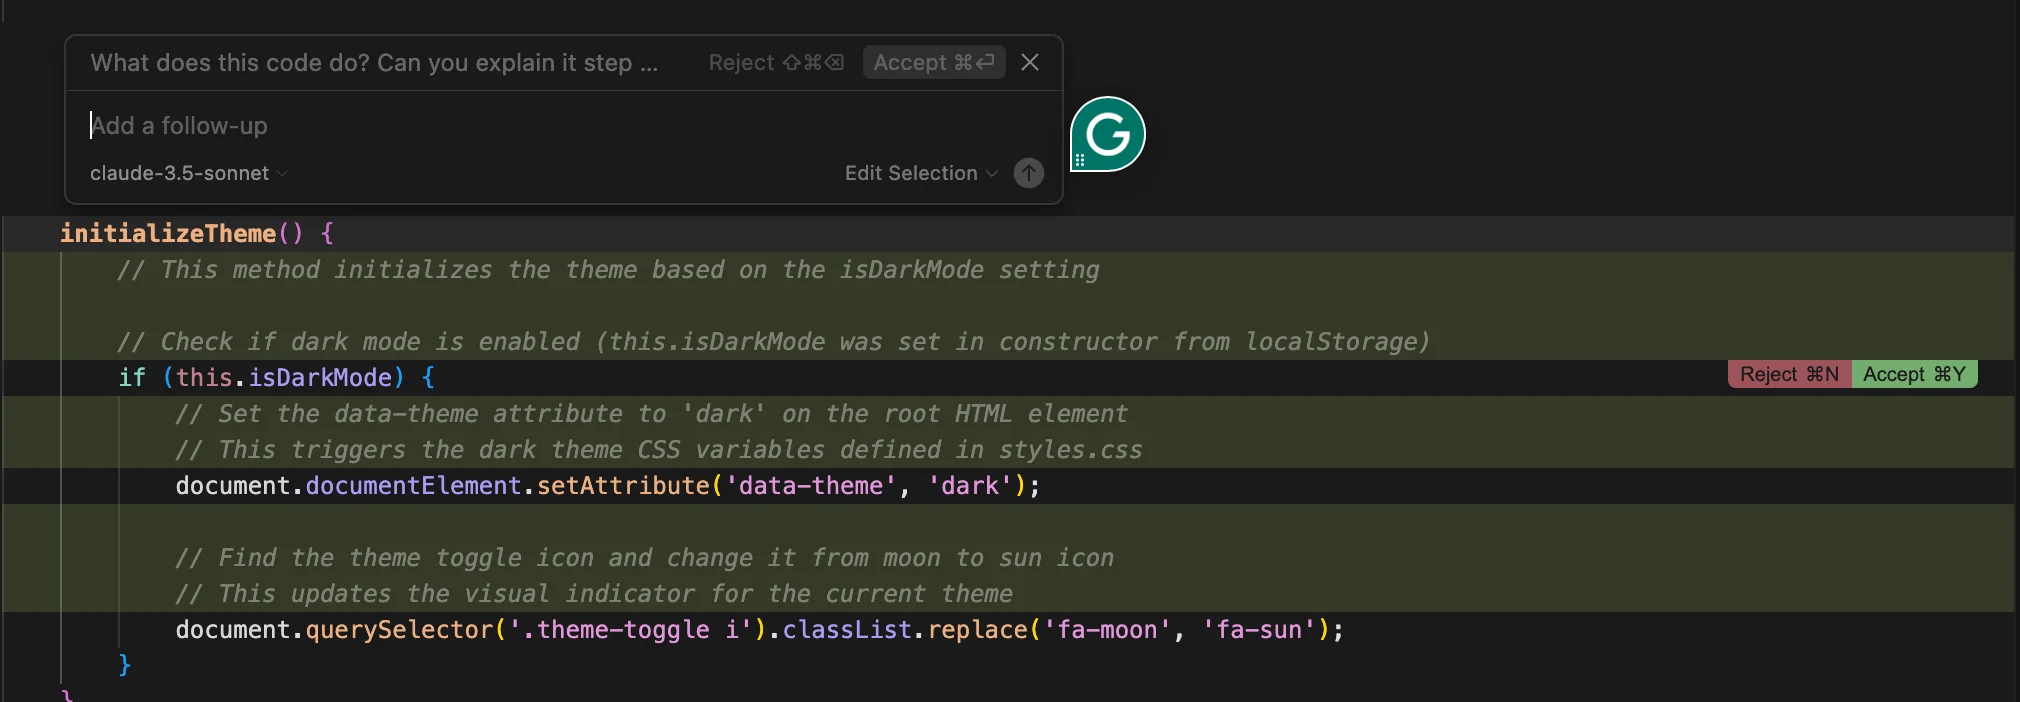
Cursor AI chat interface displaying a natural language explanation of a selected code snippet within the editor.
Cursor will provide detailed explanations that help you understand the code's purpose and functionality.
Code generation and autocomplete
Cursor provides advanced code generation capabilities that accelerate development:
- Intelligent autocomplete: Predicts multi-line edits and adjusts based on recent changes
- Context-aware suggestions: Understands project context for more relevant code generation
- Multi-line edits: Generates code that spans multiple lines with a single prompt
- Smart rewrites: Automatically corrects and improves your code
- Cursor prediction: Predicts the next cursor position for seamless navigation
Intelligent autocomplete: Predicts multi-line edits and adjusts based on recent changes
Context-aware suggestions: Understands project context for more relevant code generation
Multi-line edits: Generates code that spans multiple lines with a single prompt
Smart rewrites: Automatically corrects and improves your code
Cursor prediction: Predicts the next cursor position for seamless navigation
Practical applications:
1. Generate complete functions: Type a comment describing what you need, like:
// Create a function that fetches data from an API and handles errorsCursor will generate a complete implementation with proper error handling.
2. Translate between languages: Select code and ask:
Convert this JavaScript function to PythonCursor AI will translate the code while maintaining its functionality.
3. Generate boilerplate code: Request common patterns by asking:
Generate a React component for a form with validationCursor will create the component structure with validation logic.
Codebase understanding and navigation
Cursor can understand your entire codebase, enabling powerful search and navigation capabilities:
- Codebase-wide queries: Ask questions about any part of your project
- Global code search: Find implementations by describing functionality in natural language
- Documentation integration: Access library documentation without leaving the editor
Codebase-wide queries: Ask questions about any part of your project
Global code search: Find implementations by describing functionality in natural language
Documentation integration: Access library documentation without leaving the editor
Practical applications:
1. Finding specific implementations: When working on a large project, ask:
Where in my project is the user authentication logic implemented?Cursor will search your codebase and provide file locations.
2. Understanding project architecture: Get a high-level overview:
Explain how the different modules in this project interact with each otherCursor will analyze the codebase and describe the relationships between components.
Code improvement and refactoring
Cursor helps you write better code with its improvement suggestions:
- Smart rewrites: Automatically correct and improve your code
- Refactoring suggestions: Get recommendations for cleaner, more efficient code
- Instant apply: Implement code suggestions with a single click
Smart rewrites: Automatically correct and improve your code
Refactoring suggestions: Get recommendations for cleaner, more efficient code
Instant apply: Implement code suggestions with a single click
Practical applications:
1. Code refactoring: Select code that needs improvement and prompt:
Refactor this code to improve performance and readabilityCursor will suggest optimizations and cleaner code patterns.
2. Generating test cases: Ensure code quality by asking:
Write unit tests for this authentication functionCursor will generate comprehensive test cases covering different scenarios.
3. Documentation writing: Improve code maintainability:
Create JSDoc documentation for this functionCursor will generate properly formatted documentation.
Learning and troubleshooting
Cursor serves as both a learning tool and a troubleshooting assistant:
- Error resolution: Paste error messages to get detailed explanations and solutions
- Learning resource: Ask about new technologies or programming concepts
- Best practices: Get recommendations for following industry standards
Error resolution: Paste error messages to get detailed explanations and solutions
Learning resource: Ask about new technologies or programming concepts
Best practices: Get recommendations for following industry standards
Practical applications:
1. Debugging with natural language: When facing an error, paste the message and ask:
Why am I getting this error and how can I fix it?Cursor AI will analyze the error and suggest solutions.
2. Learning new technologies: When exploring a new library or framework:
Show me how to implement a REST API with Express.jsCursor AI will generate tutorial-like code examples with explanations.
Conclusion
Cursor AI transforms coding by integrating AI assistance directly into your workflow. It accelerates development through intelligent code generation, intuitive debugging, and natural language interaction with your codebase. As we demonstrated with our memory game project, Cursor AI helps with everything from project scaffolding to feature implementation.
Whether you're building simple applications or complex systems, Cursor AI can help you write better code faster. To deepen your understanding of integrating AI into your development workflow, consider Codecademy's OpenAI API Coding with Python course. It offers practical insights into leveraging AI models within your codebase, enhancing your ability to build intelligent applications.
Frequently asked questions
1. How to open Cursor AI Chat?
You can open the Cursor AI Chat panel in several ways:
- Click on the chat icon in the sidebar
- Use the keyboard shortcut Ctrl+L (Windows/Linux) or Cmd+L (macOS)
- Open the command palette (Ctrl+Shift+P or Cmd+Shift+P) and type "Open AI Chat"
Click on the chat icon in the sidebar
Use the keyboard shortcut Ctrl+L (Windows/Linux) or Cmd+L (macOS)
Open the command palette (Ctrl+Shift+P or Cmd+Shift+P) and type "Open AI Chat"
2. Can I use Cursor AI for free?
Yes, Cursor AI offers a free tier with access to core features like AI chat, code completion, and basic code generation. Premium plans are available for advanced features and higher usage limits.
3. How to open Cursor Agent chat?
To open the Cursor Agent chat with more advanced capabilities:
- Click on the "Agent" tab in the sidebar or AI panel
- Alternatively, use the command palette and search for "Open Agent Chat"
- You can also use the keyboard shortcut Ctrl+Shift+A (Windows/Linux) or Cmd+Shift+A (macOS)
Click on the "Agent" tab in the sidebar or AI panel
Alternatively, use the command palette and search for "Open Agent Chat"
You can also use the keyboard shortcut Ctrl+Shift+A (Windows/Linux) or Cmd+Shift+A (macOS)
The Agent chat provides project-wide context awareness and can help with more complex tasks that require understanding of multiple files or system architecture.
4. How to enable Cursor autocomplete?
Cursor autocomplete is enabled by default, but you can customize its behaviour by:
- Opening the Settings panel via the gear icon or by pressing Ctrl+, (Windows/Linux) or Cmd+, (macOS)
- Searching for "autocomplete" in the settings search bar
- Adjusting options like triggering behavior, suggestion timing, and whether to accept suggestions with Tab
Opening the Settings panel via the gear icon or by pressing Ctrl+, (Windows/Linux) or Cmd+, (macOS)
Searching for "autocomplete" in the settings search bar
Adjusting options like triggering behavior, suggestion timing, and whether to accept suggestions with Tab
If autocomplete isn't working, ensure that you're signed in to your Cursor AI account and that you have a stable internet connection, as the feature relies on cloud-based AI models.
'The Codecademy Team, composed of experienced educators and tech experts, is dedicated to making tech skills accessible to all. We empower learners worldwide with expert-reviewed content that develops and enhances the technical skills needed to advance and succeed in their careers.'
- What is cursor?
- How to install cursor
- Building your first project with cursor
- Features and use cases of cursor AI
- Conclusion
- Frequently asked questions
Complete Payment to Unlock Full Guide & Source Code
You are viewing the 30% preview. Join TopCourseAI Pro to unlock the remaining 70% of this article, unblur all code snippets, and gain full access to all 412 technical projects and guides.
Ready to access the complete step-by-step tutorial?
Gain full unhindered access to all 412 technical projects and guides, unblur all source code snippets, and download runnable scripts.
How To Use Code Llama
Next BlueprintHow Users Scan: Learning from Eye Tracking Research
Related Blueprints & Guides
View all 166 →A Complete Guide to Vercel's AI SDK
Vercel AI SDK is a powerful TypeScript-first toolkit that provides a unified interface for building AI applications with Next.js and other modern frameworks. It eliminates the traditional complexity of managing multiple ...
AI Agents & AutomationAG-UI: How the Agent-User Interaction Protocol Works
AG-UI (Agent-User Interaction Protocol) is an open, lightweight protocol that standardizes the way AI agents interact with frontend apps. Consider it a common language that eliminates the need for custom integration code...
Generative AI FoundationsAI vs Generative AI: Understanding the Difference
Artificial Intelligence, or AI, is everywhere, from chatbots helping you shop to recommendation engines suggesting your next binge. Yet not all AI is the same, and the term is often used loosely, leaving many confused be...
Ready to build production-grade AI systems?
Enjoyed this guide? Continue exploring our library of 166+ production blueprints, multi-agent swarms, and autonomous agent systems with 100% unblurred, executable source code.