
How to Setup a ChatGPT Account
How to Setup a ChatGPT Account
Introduction
Hello, future ChatGPT user! In this tutorial, we will walk you through the process of setting up a ChatGPT account. Before we start, please make sure you have an email address you can use on the sign-up and login pages.
Here is what we will cover:
- Starting the Signup Process
- Email Verification
- Account Configuration
- Subscription Plans (Optional)
- Testing ChatGPT
Let's get started!
Step 1: Navigating to the ChatGPT Website
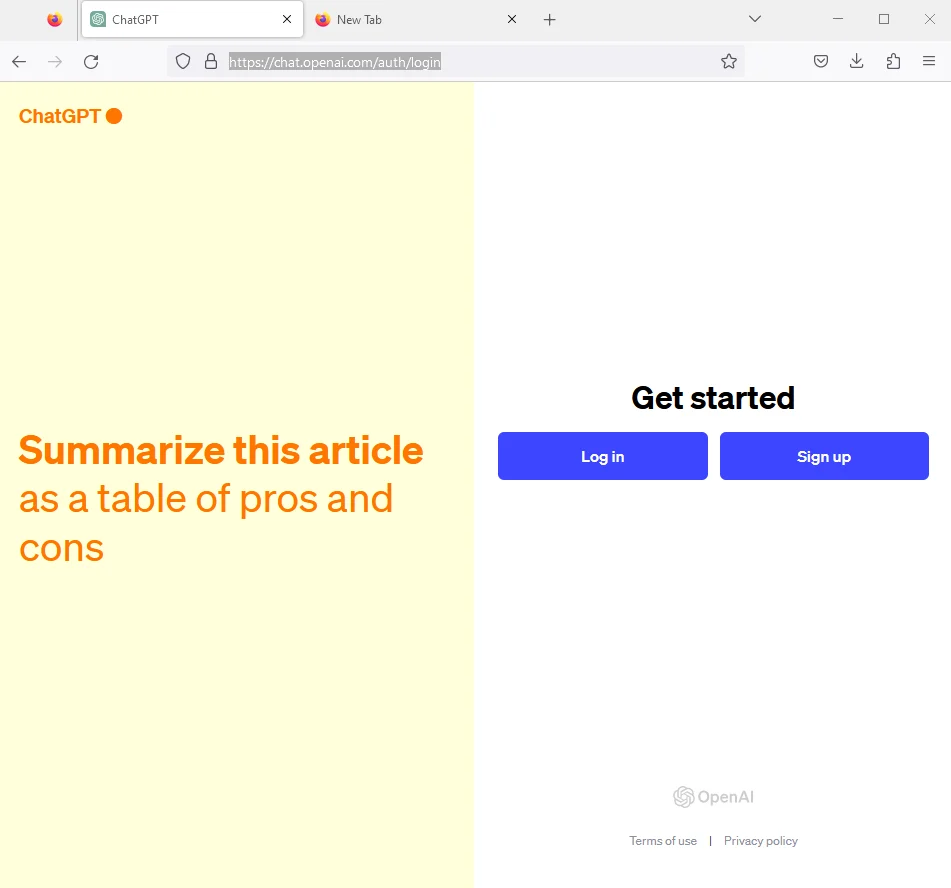
Click here to load ChatGPT.
Alt text
Step 2: Starting the Signup Process
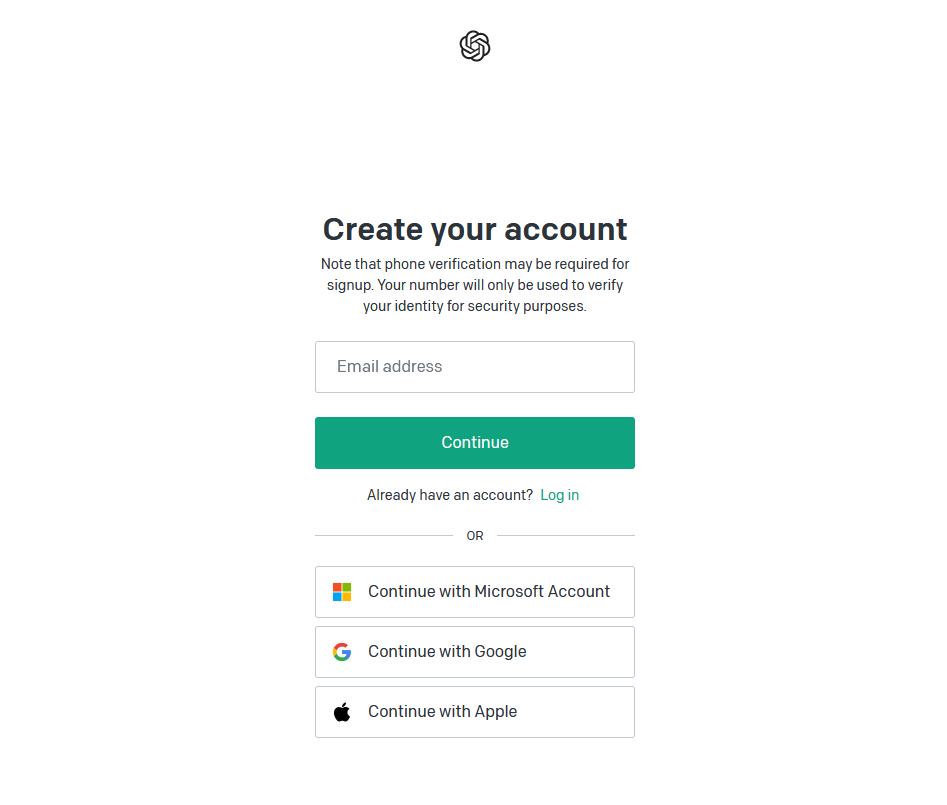
On the homepage, click on the "Sign Up" button. You'll be redirected to a "Create your account" page where you'll be prompted to enter your email address and create a password. Note, that there are the options to enter an email or log in with existing Microsoft, Google, or Apple accounts for convenience.
Alt text
In the "Email address" text space, enter your email address, then, click the Continue button.
Alt text
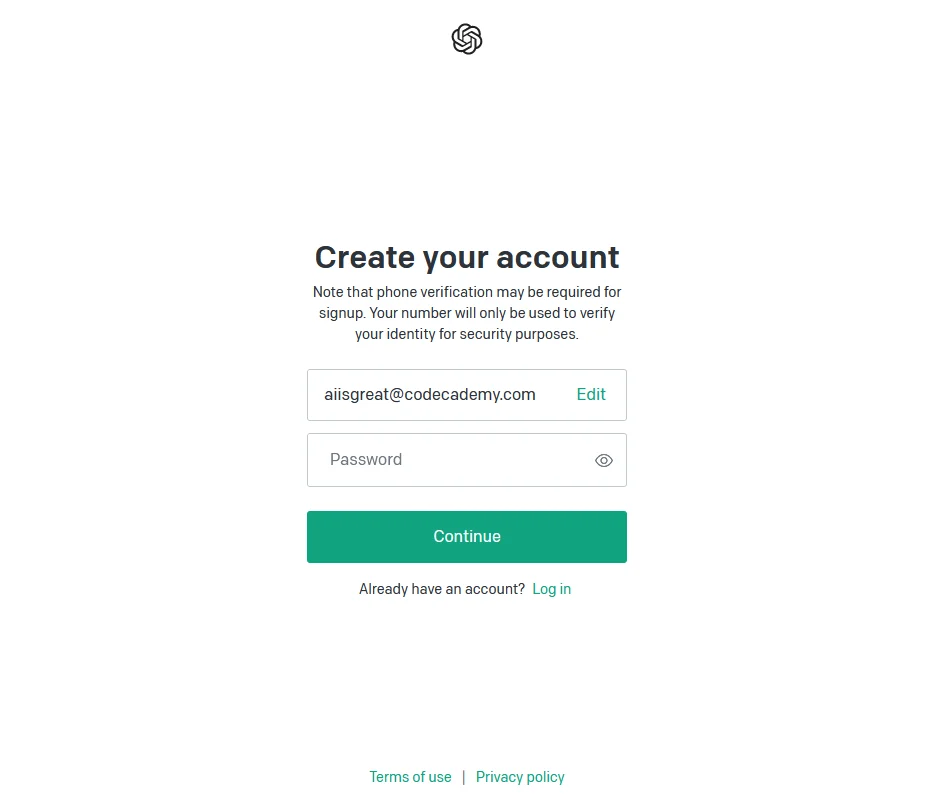
A "Password" text space will appear if the email is accepted by OpenAI as a valid email address. Create a strong password that you haven't used elsewhere in the "Password" text space. Then, click on the "Continue" button to proceed.
Security-Check! Remember to create a strong password. Use 15-20 characters, and at least: two uppercase characters, two lowercase characters, two special characters, and two numbers in the password generated.
Step 3: Email Verification
Alt text
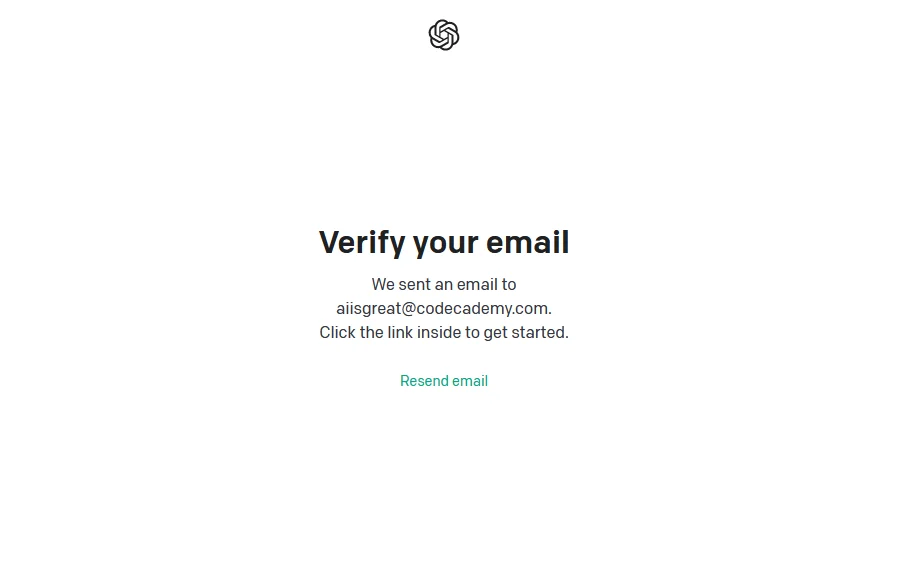
After you've completed the signup form, check your email inbox for a verification email from OpenAI or ChatGPT. Open the email and click on the "Verify Email" button or link which will redirect you back to the ChatGPT website where you can confirm your email.
Step 4: Account Configuration
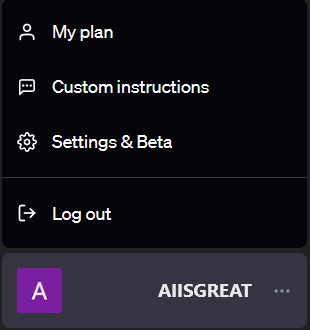
Once your email is verified, you can begin adjusting your account configurations and customizations. In the bottom left corner of the ChatGPT web app, locate your account tile and click the three-dot icon.
Alt text
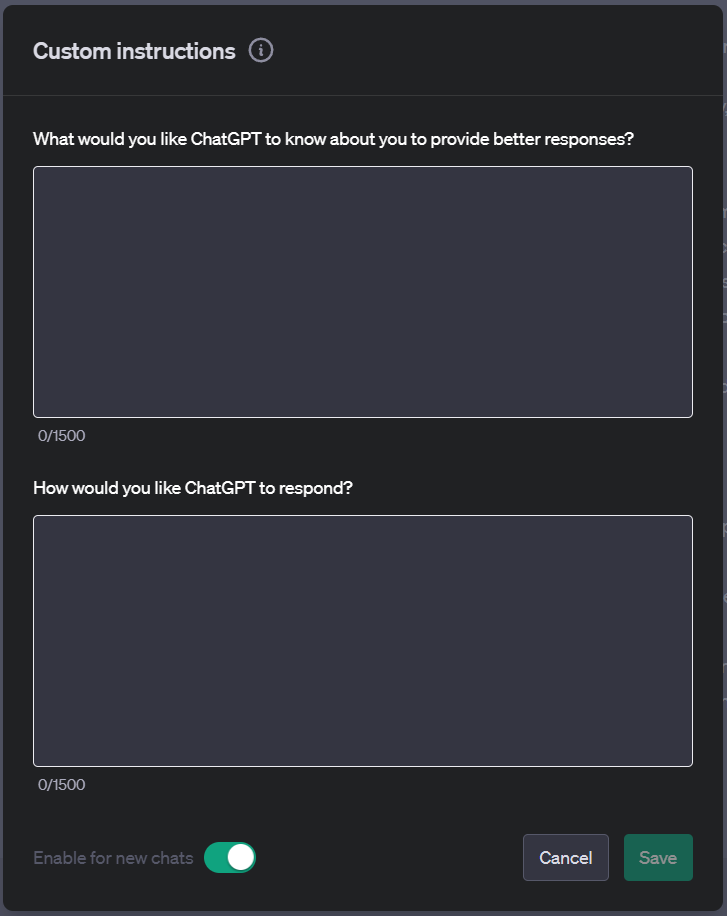
Click on the "Custom Instructions" option to set specific details that should be applied to every ChatGPT session you use. These settings are information about your location and work preferences, food and hobby interests, etc., or we can provide specific preferences on how ChatGPT should generate our responses. For example, we may prefer a casual tone in our ChatGPT responses. We may configure those preferences as "Custom Instructions".
Alt text
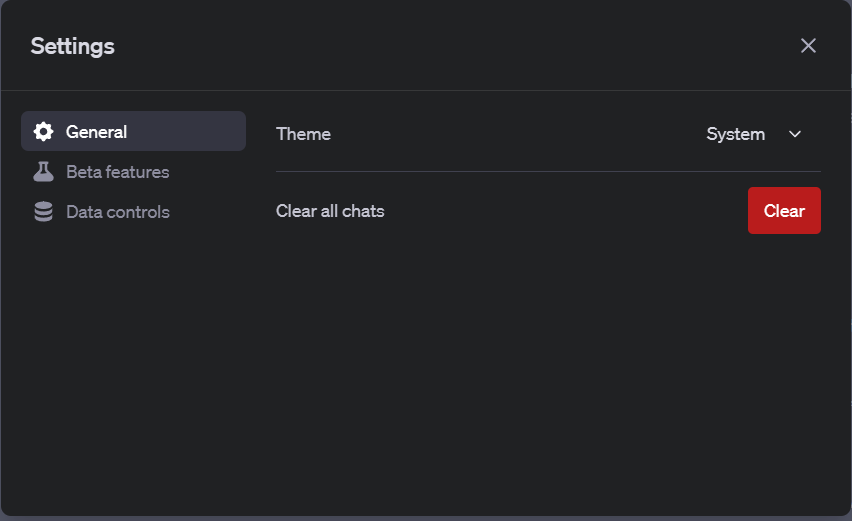
The other configuration tasks we may want to apply to our ChatGPT account may be found in the "Settings & Beta" menu. This menu gives us a few options to configure our preference on UI themes, beta features, and data controls.
Alt text
Step 5: Subscription Plans (Optional)
ChatGPT using GPT model 3.5 is free to use. However, OpenAI offers a subscription plan to access GPT-4 and added features for the average user, as well as special pricing for Enterprise users. Browse through the available plans and choose one that best suits your needs. Enter your payment details if needed and complete the purchase. A list of available plans can be found here: https://openai.com/enterprise.
Step 6: Testing ChatGPT
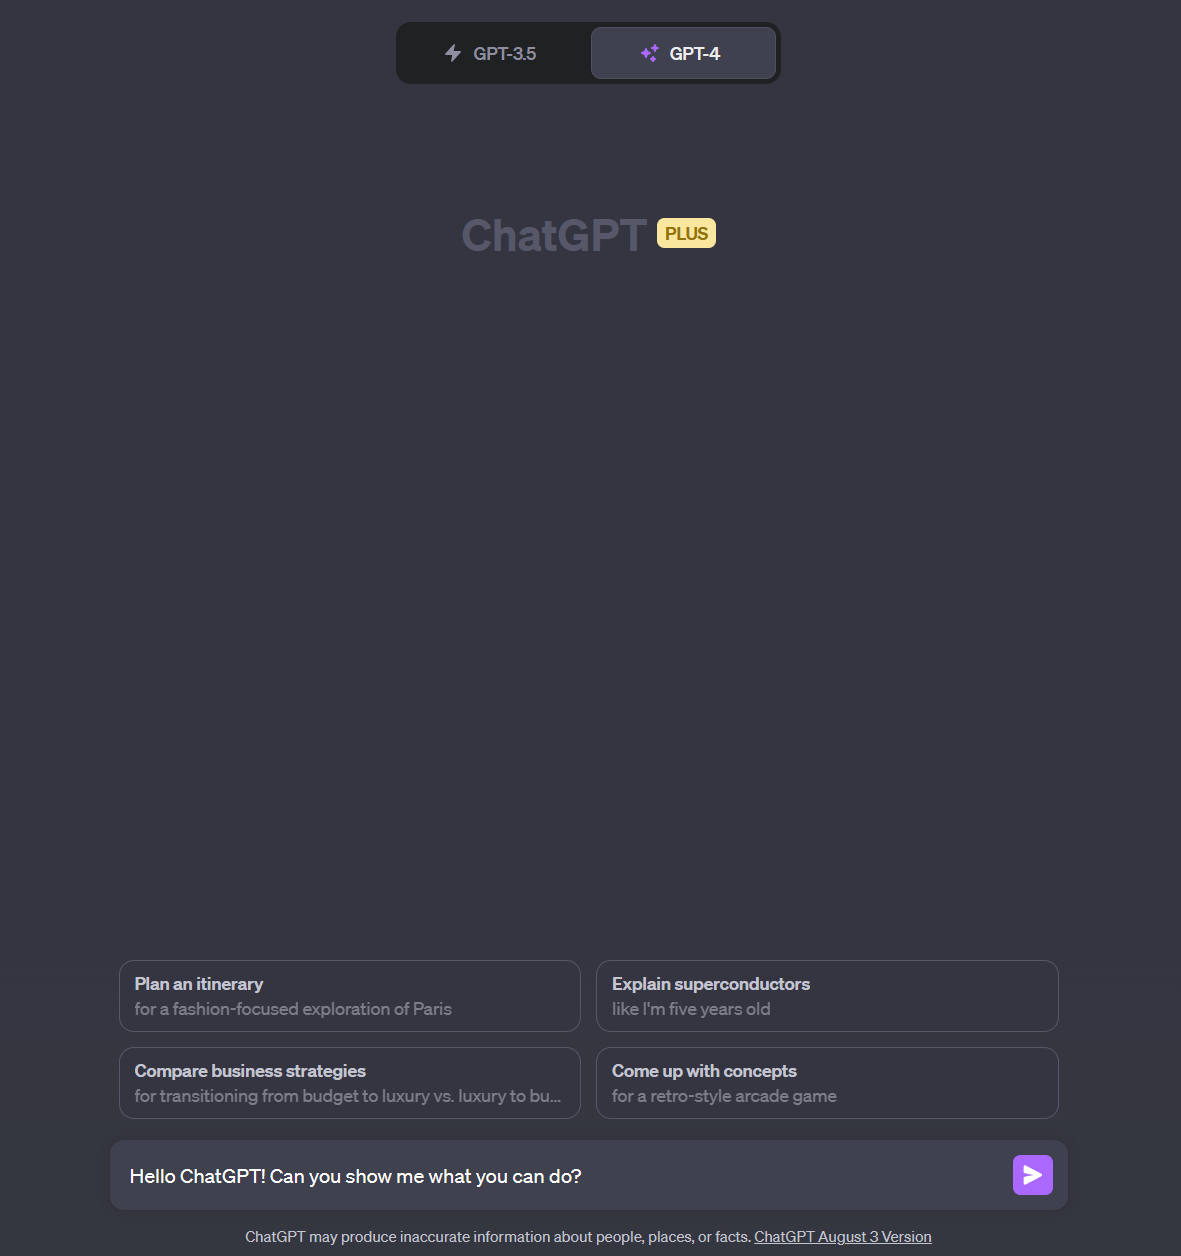
Once your account setup is complete, you'll typically land on the ChatGPT interface. You can type a message in the input box (usually at the bottom of the interface) to interact with ChatGPT.
Alt text
Press "Enter" to send your message and wait for ChatGPT to reply.
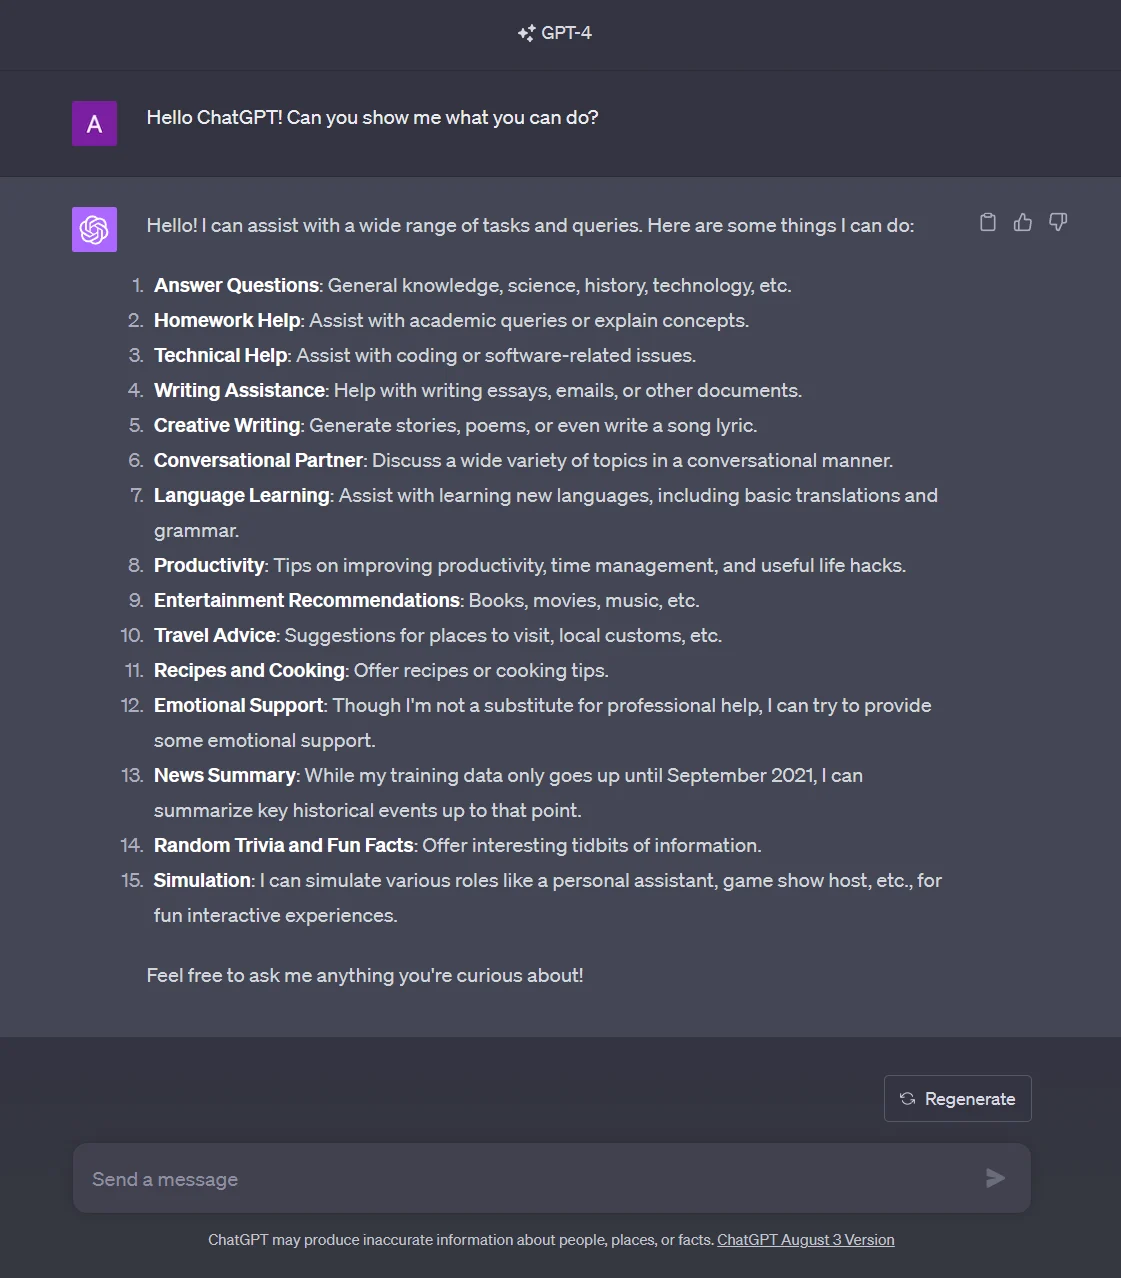
Alt text
Conclusion
Congratulations, you've successfully set up a ChatGPT account! You can now interact with ChatGPT for various tasks-whether it's answering questions, helping with writing, or even just for some fun conversation. In this tutorial, we've covered:
- Navigating to the ChatGPT Website
- Starting the Signup Process
- Email Verification
- Account Configuration
- Subscription Plans (Optional)
- Testing ChatGPT
If you encounter any issues or have further questions, you can usually find help through the website's FAQ section or customer support. Happy chatting!
To see what else you can do with ChatGPT (or generative AI in general), check out some of the articles located here: AI Articles.
'The Codecademy Team, composed of experienced educators and tech experts, is dedicated to making tech skills accessible to all. We empower learners worldwide with expert-reviewed content that develops and enhances the technical skills needed to advance and succeed in their careers.'
Complete Payment to Unlock Full Guide & Source Code
You are viewing the 30% preview. Join TopCourseAI Pro to unlock the remaining 70% of this article, unblur all code snippets, and gain full access to all 412 technical projects and guides.
Ready to access the complete step-by-step tutorial?
Gain full unhindered access to all 412 technical projects and guides, unblur all source code snippets, and download runnable scripts.
How to Set Up and Use Google Antigravity
Next BlueprintHow to Squash Commits in Git (Step-by-Step with Examples)
Related Blueprints & Guides
View all 166 →A Complete Guide to Vercel's AI SDK
Vercel AI SDK is a powerful TypeScript-first toolkit that provides a unified interface for building AI applications with Next.js and other modern frameworks. It eliminates the traditional complexity of managing multiple ...
AI Agents & AutomationAG-UI: How the Agent-User Interaction Protocol Works
AG-UI (Agent-User Interaction Protocol) is an open, lightweight protocol that standardizes the way AI agents interact with frontend apps. Consider it a common language that eliminates the need for custom integration code...
Generative AI FoundationsAI vs Generative AI: Understanding the Difference
Artificial Intelligence, or AI, is everywhere, from chatbots helping you shop to recommendation engines suggesting your next binge. Yet not all AI is the same, and the term is often used loosely, leaving many confused be...
Ready to build production-grade AI systems?
Enjoyed this guide? Continue exploring our library of 166+ production blueprints, multi-agent swarms, and autonomous agent systems with 100% unblurred, executable source code.