
Getting Started with Heroku
Getting Started with Heroku
Note: This article is currently teaching deployment usingHerokuwhich no longer offers a free tier plan.
What is Heroku
Building an app can be an exciting experience for anyone who enjoys writing code, and sharing something they created with the world. For many of us, though, the thought of setting up a server, configuring ports, and pointing a new domain, amounts to time that could be better spent fine tuning the next viral app! Heroku touts their service as “the fastest way to go from idea to URL, bypassing all those infrastructure headaches”.
“With Heroku, we don’t need a dedicated DevOps team. We can keep the wheels of innovation turning and allow our engineers to focus on building the best user experience for our customers.”
Jonathan Lister Parsons CTO, PensionBee
The quote above is a great explanation of Heroku’s value to a business, and the same idea (scaled down) also makes it valuable to a single developer, or small team of developers - more time spent building the app, less time spent configuring the deployment!
Getting an app out quickly can be advantageous for a number of reasons:
- Testing outProof of Concept.
- Introducing aMinimum Viable Productto potential users, or investors.
- Or even just meeting a personal deadline, like for a website/app for a friend’s wedding or birthday party.
You can get started using Heroku with any of the officially supported languages:
- Node.js
- Ruby
- Java
- PHP
- Python
- Go
- Scala
- Clojure
The example provided in this module will useNode.js.
Setting up an Account
Now that you know some of the benefits Heroku provides, it’s time to set up an account! Navigate to theHeroku sign-up pagein your web browser of choice, and fill out the form to create a free account.
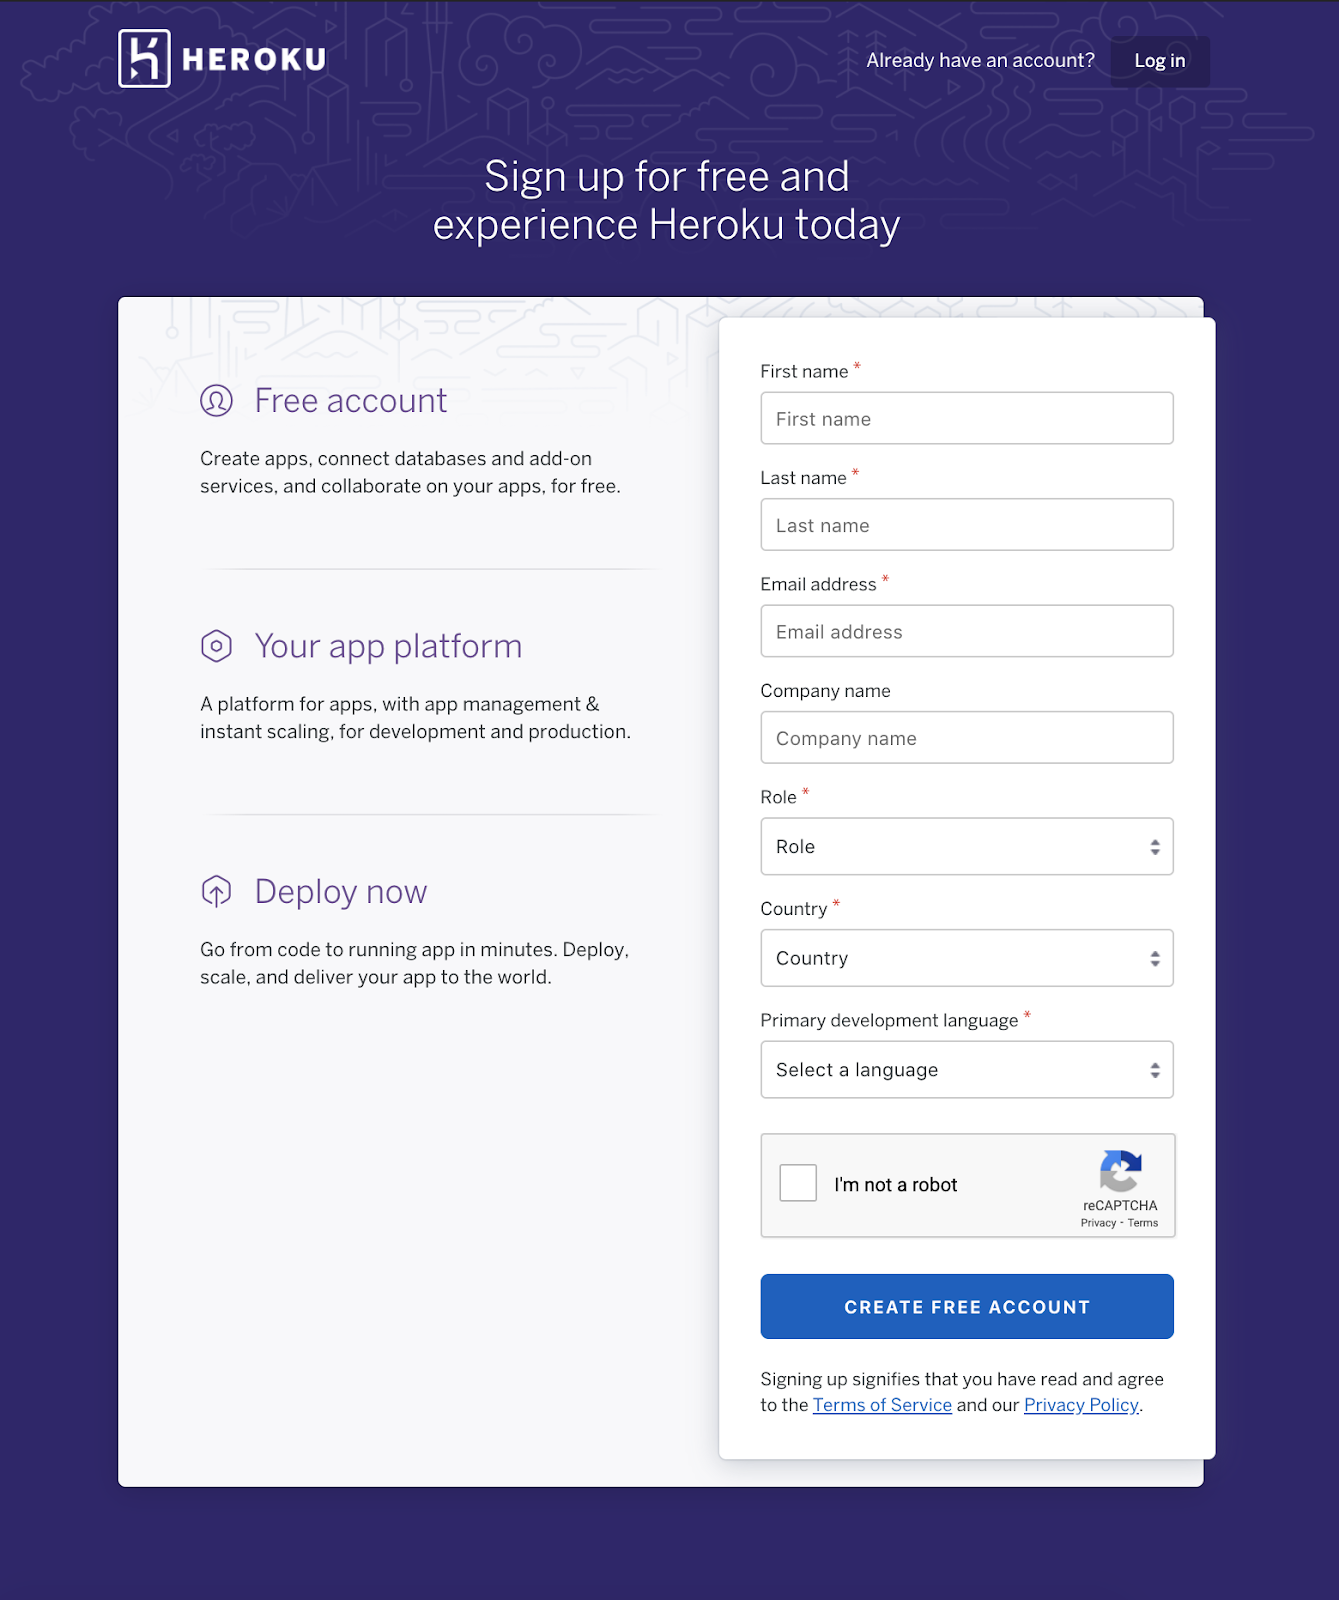
Heroku Signup Page
Fill in the form with your information. If you’re unsure about role, selectstudent. While this module will use Node.js, you can select a different language, if that’s the language you’re more comfortable with. Finally, click the box that checks if you’re a robot, and then click theCREATE FREE ACCOUNTbutton.
After you’ve created your account, make sure to verify your email. Then set a password and login to see your personal Heroku dashboard.
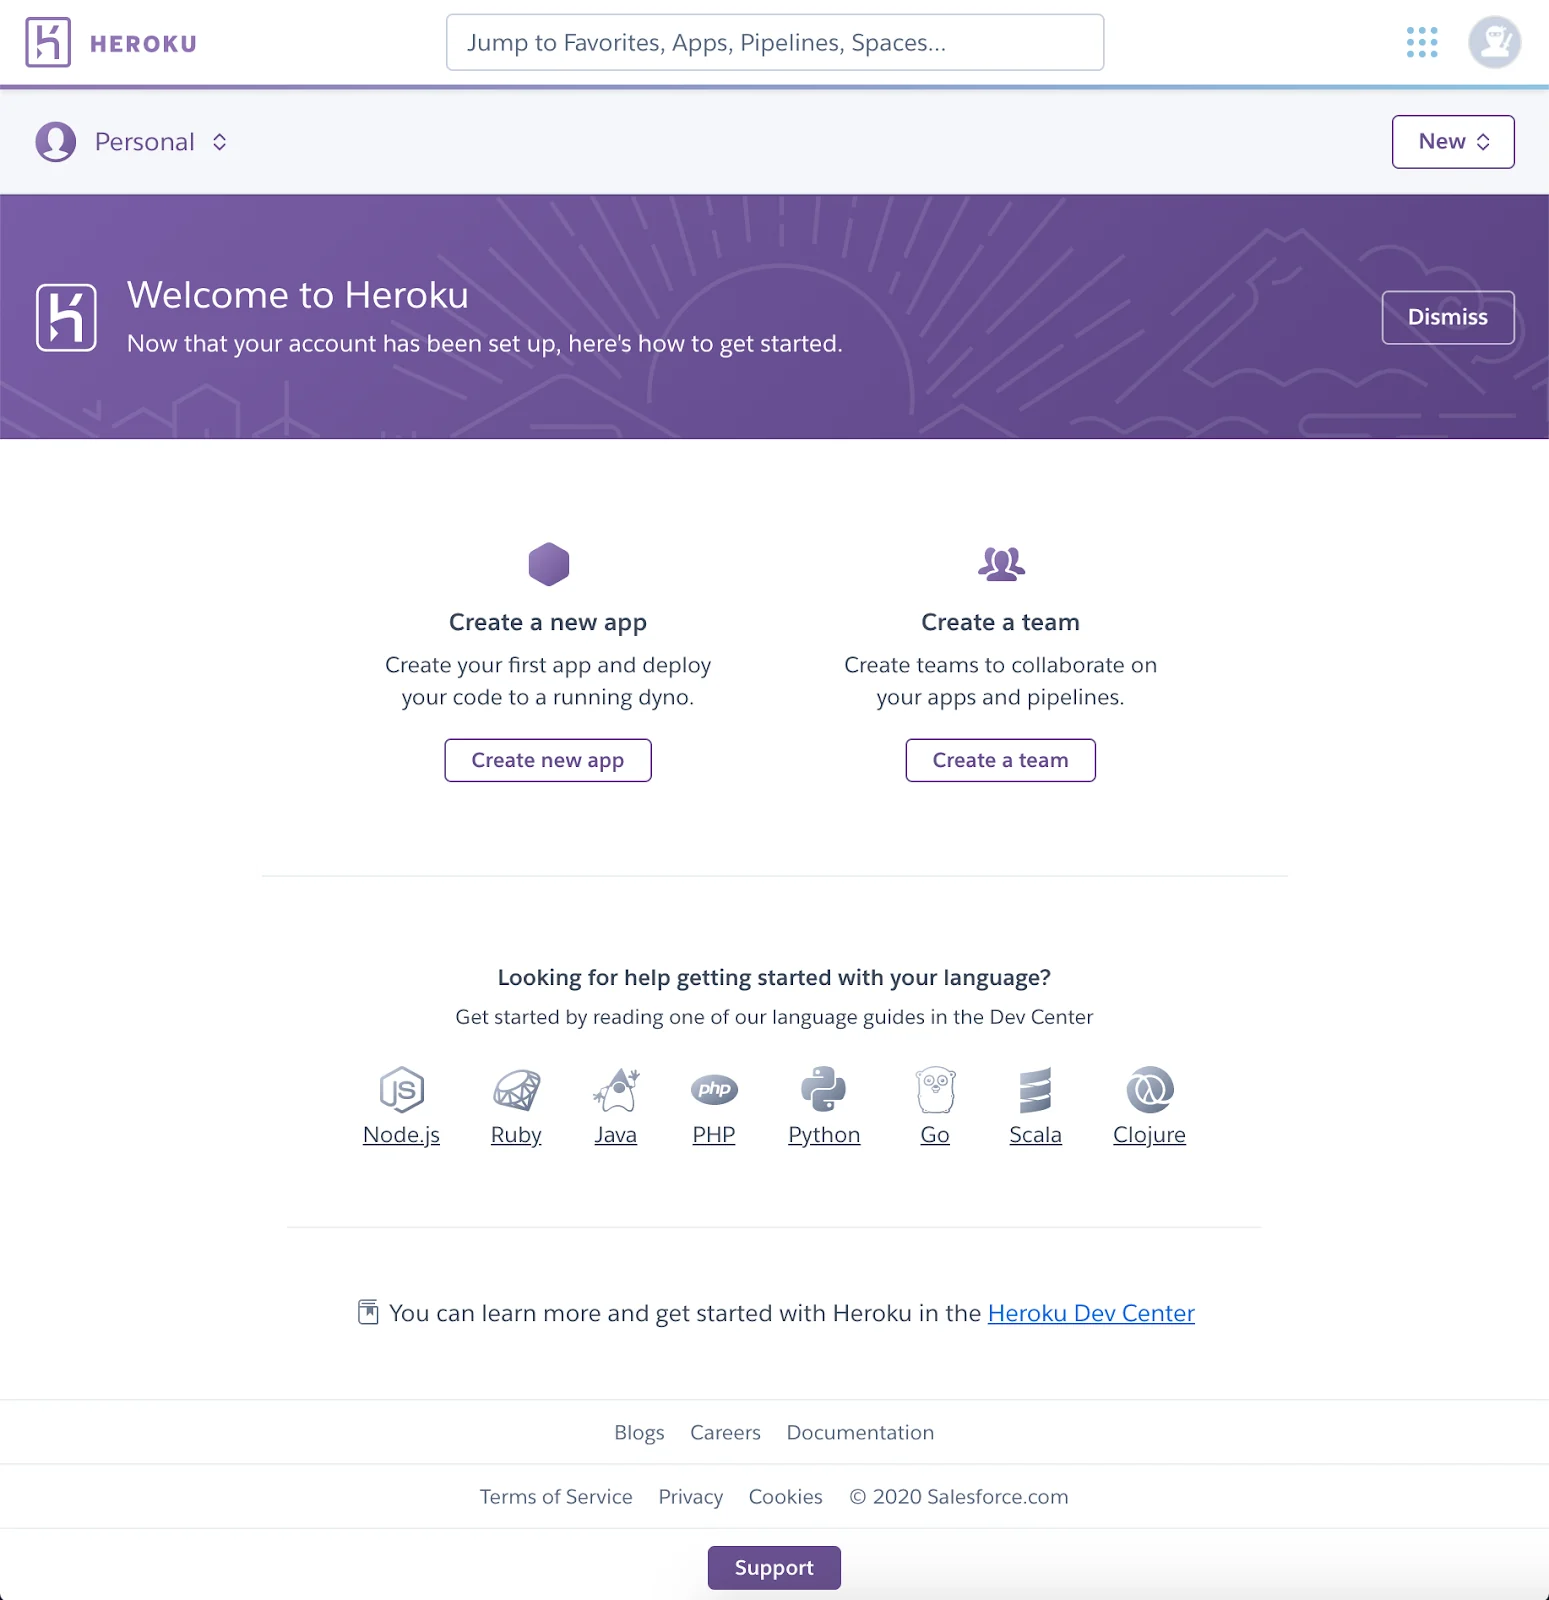
Heroku Dashboard
That’s it! Your account is now set-up. From here, you’re ready to begin developing a new app with Heroku. But first, let’s explore some of the different plan options Heroku has to offer.
Plans and Services
Heroku pricingcan be a bit intimidating for new users. In short, pricing is determined bydyno types, and secondarily bydata services. Fortunately, your new app defaults to thefree dyno type, with free data services. A new app includes everything you need to deploy and view it on the web. From this point, you can scale up as needed.
Dyno Types
All Heroku applications run in a collection of lightweightLinux containerscalled dynos. Since the purpose of this module is learning how to get started with Heroku, you’ll be introduced to theFreedyno type.
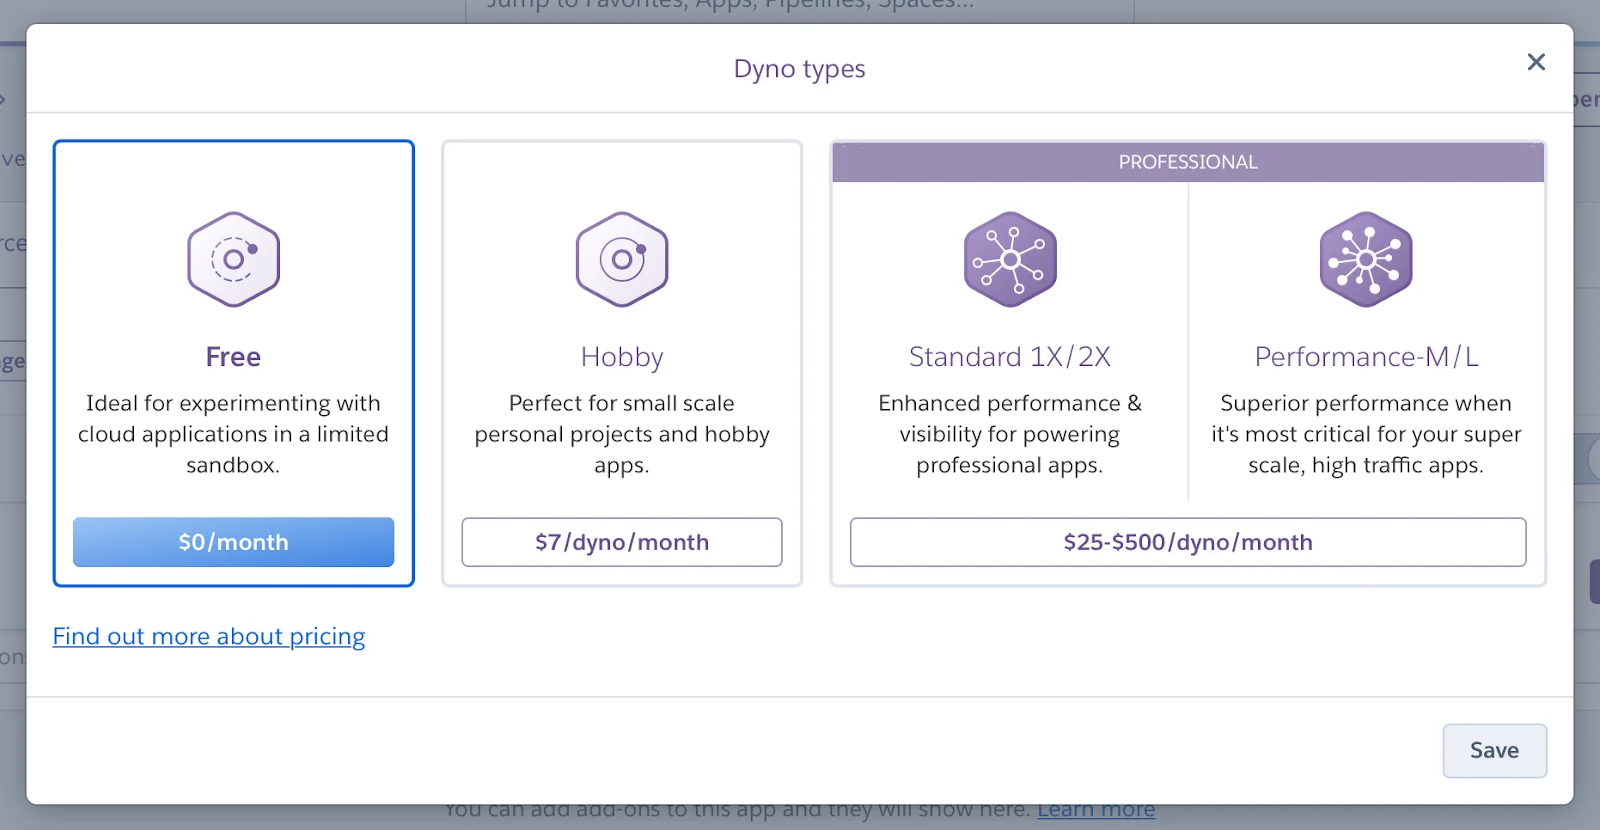
Heroku Dyno Pricing
Free
When you sign up with Heroku, you automatically get a pool of free dyno hours (550 - 1000, depending on account verification) to use for your apps. This is great for new developers, as well as anyone interested in using Heroku’s service to present a minimum viable product. When your app is running, it consumes dyno hours. When it idles (automatically, after 30 minutes of inactivity), your app will stop consuming dyno hours and go to sleep. This means when a web request is made to your app (for instance, a user visiting the URL, or making a database request) it will take a few extra seconds for the app to wake, before serving the request. If you find that you need more than what the free tier has to offer, you can certainly pay for it. Although, this module will predominantly focus on the free tier.
Data Services
For data-driven apps, Heroku provides three services to all customers:
- Heroku Postgres
- Heroku Redis
- Apache Kafka on Heroku
This article will discussHeroku Postgres.
Heroku Postgres has many plans that are divided into five high-level tiers. The primary difference between each tier is the amount of tolerated monthly downtime for databases in the tier. New apps will use the free Hobby tier. The Hobby tier can be broken down again into 2 plans:Hobby DevandHobby Basic. This module will explore theHobby Devplan to keep the focus mostly on getting started.
Hobby Dev
The hobby dev plan aims to fill the needs of student, personal, and hobbyist use. It allows for 10,000rowsof data, and like all Heroku Postgres plans, features:
- automatic health checks
- off-premises storage
- daily backups
- SSL-protected access
- dataclips
- Postgres extensions
- and a web Ul.
The best part of the hobby dev plan, for new untested apps, is that it’s free! If you feel like you need more than the 10,000 rows provided in the Hobby Dev plan, you can always upgrade to the Hobby Basic plan, which offers 10,000,000 rows.
Add Ons
Aside from dynos, and data, Heroku offers numerous add-ons to support your app, in categories related to:
- logging
- monitoring
- caching
- user management
- and security, just to name a few.
These add-ons are fully maintained by either a third-party provider or by Heroku, keeping with the theme of letting you focus strictly on the development side of things.
Wrap Up
This article just scratches the surface when it comes to Heroku, but you should now have a good understanding of how to get started. You’re now familiar with:
- Heroku as a service
- Why you would use it
- Setting up an account
- What dynos are
- Data services options
- and add-ons
Take a look around your new Heroku account and get familiar with the dashboard, where your future apps will be stored. Then head on over to theHeroku Dev Centerfor more information on building, deploying, and managing apps. Once you’re comfortable, click theNextbutton and learn step-by-step how to deploy your first back-end app!
'The Codecademy Team, composed of experienced educators and tech experts, is dedicated to making tech skills accessible to all. We empower learners worldwide with expert-reviewed content that develops and enhances the technical skills needed to advance and succeed in their careers.'
Complete Payment to Unlock Full Guide & Source Code
You are viewing the 30% preview. Join TopCourseAI Pro to unlock the remaining 70% of this article, unblur all code snippets, and gain full access to all 412 technical projects and guides.
Ready to access the complete step-by-step tutorial?
Gain full unhindered access to all 412 technical projects and guides, unblur all source code snippets, and download runnable scripts.
Getting Started with Git and GitHub Desktop
Next BlueprintGetting Started with IntelliJ
Related Blueprints & Guides
View all 166 →Accessibility on the Platform
Codecademy is committed to providing a high-quality learning experience for all learners. That includes accommodating different usage forms such as auditory, motor, or visual restrictions, limited hardware, or other acce...
Web developmentAffordances, Signifiers, and Clickability
For users on the web, the mouse click is perhaps the most fundamental human-computer interaction. The webbecamethe web partially through the power ofhypertext, or text in one document that links to other documents or res...
Web developmentAuthentication and OAuth
Authenticationis the process used by applications to determine and confirm identities of users. It ensures that the correct content is shown to users. More importantly, it ensures that incorrect content is secured and u...
Ready to build production-grade AI systems?
Enjoyed this guide? Continue exploring our library of 166+ production blueprints, multi-agent swarms, and autonomous agent systems with 100% unblurred, executable source code.