
Deploying a Simple Python Script With Flask
Deploying a Simple Python Script With Flask
Introduction
In this article, we will cover how to locally deploy aPythonapplication using Flask, including:
- the importance of deployment
- how to install Flask usingpip
What Is Deployment?
After we have designed, built, and thoroughly tested our application, it is time to package it and prepare it for production. This process is calleddeployment. This allows our application to successfully run in environments other than our development and test environments.
There are several methods for deploying applications, but in this article, we will explore deploying a simple web application to a localserverusing the Python web framework Flask.
Flaskis a lightweight framework for developing web applications. It provides an efficient and easy way to deploy web-based projects. Flask offers a built-in development server that we can use to test and deploy web application code locally (which we will cover in this article). It also includes useful features, such as templating, that allow us to renderHTMLtemplates and provide the functionalback-endcode for template components.
Installing Flask
To use the Flask library for deployment, we must first install it in our environment. The following steps show how to install Flask on Windows or macOS.
To install Flask, we will usepip, the Python package manager that allows us to install and manage Python packages that are not part of the Python standard library. If you have Python installed on your computer, you most likely havepipautomatically installed. However, if you need to install it, follow the steps inpip’s documentation.
Open a command-lineterminalin your environment where Python 3 is already installed and set up. First, let’s make sure we are running the latest upgraded version ofpipby executing the following command:
pip install --upgrade pipIf a newer version ofpipis available, it will be downloaded and installed as shown in the following screenshot:
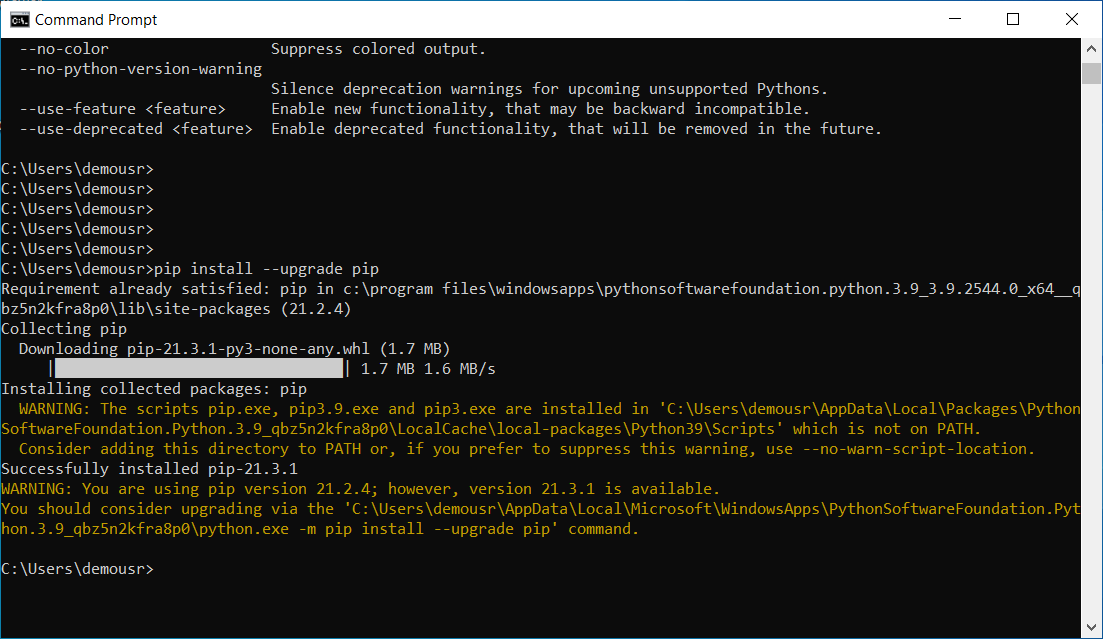
This image shows pip being upgraded in the command line.
Now that we have the latest version ofpipinstalled, let’s install Flask. Run the following command:
pip install flaskFlask will be downloaded and installed as shown in the following screenshot:
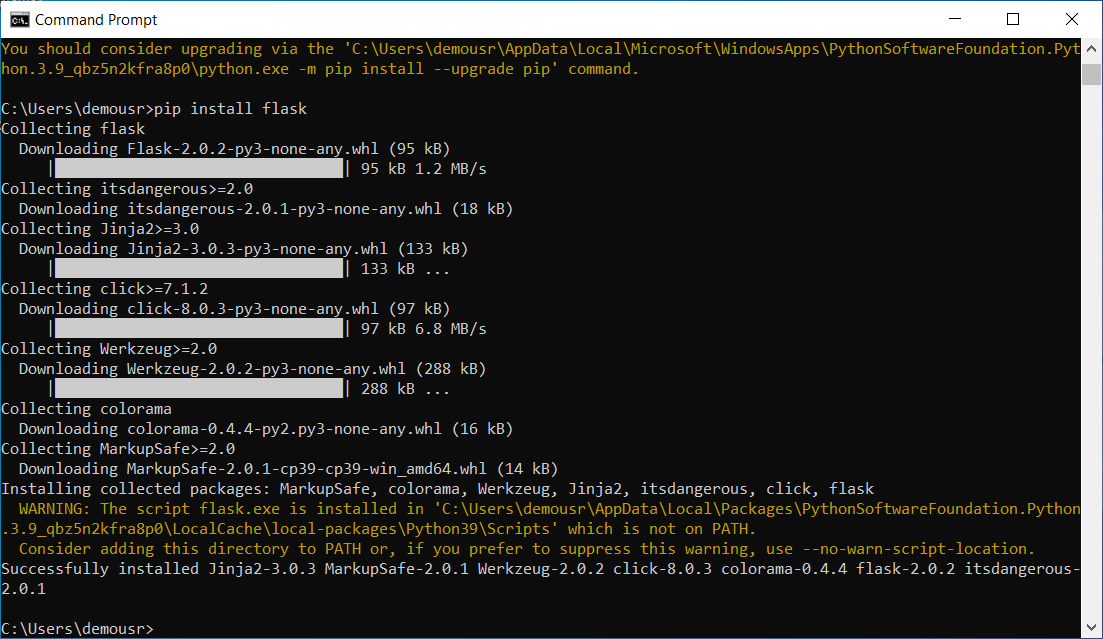
This image shows Flask being installed in the command line.
Understanding the Code
Take a look at the following calculator application code. We must first import the Flask library into our application in order to use it later on.
from flask import Flaskapp = Flask(__name__)
@app.route('/')def welcome():  return "Welcome to the Codecademy Calculator!"
Copy to clipboard
from flask import Flaskapp = Flask(__name__)
@app.route('/')def welcome(): return "Welcome to the Codecademy Calculator!"Next, we create a Flask instance and assign it to a variable namedapp. We can create several routes using the@app.route()decorator.
These routes correspond to the URL web requests made to access different pages of the web application. The function that follows the decorator executes upon the web request. The main URL of our application is denoted by/. If we want to add additional URL routes for/divisionor/multiplication, we can define routes in our Flask application for each.
# allows user to input two numbersnum1 = int(input('Enter your first number: '))num2 = int(input('Enter your second number: '))
@app.route('/division')def division():  return "Now dividing " + str(num1) + " and " + str(num2) + "! The result is: {result}".format(result=str(num1/num2))
@app.route('/multiplication')def multiplication():  return "Now multiplying " + str(num1) + " and " + str(num2) + "! The result is: {result}".format(result=str(num1*num2))
Copy to clipboard
# allows user to input two numbersnum1 = int(input('Enter your first number: '))num2 = int(input('Enter your second number: '))
@app.route('/division')def division(): return "Now dividing " + str(num1) + " and " + str(num2) + "! The result is: {result}".format(result=str(num1/num2))
@app.route('/multiplication')def multiplication(): return "Now multiplying " + str(num1) + " and " + str(num2) + "! The result is: {result}".format(result=str(num1*num2))Let’s review the preceding code:
- num1andnum2allow users to input two numbers to multiply or divide.
- @app.route('/division')specifies the web request with/division.
- division()is a function that executes in the/divisionroute. This function divides the valuesnum1andnum2.
- @app.route('/multiplication')specifies the web request with/multiplication.
- multiplication()is a function that executes in the/multiplicationroute. This function multiplies the valuesnum1andnum2.
Finally, we need to add the last line to our program:
app.run()
Copy to clipboardapp.run()Callingapp.run()will start the application server, allowing the application to load in a web browser.
Running the Code
Now, it’s time to run our program and see Flask running. You can either copy and paste the example code provided earlier into a Python file ordownload the code. Name your Python fileapp.py.
Once you have the code ready on your computer, run it usingflask --app app run. You should see the following:
Enter your first number:After you enter two numbers, you should see something like this:
* Serving Flask app 'app' (lazy loading)
* Environment: production
   WARNING: This is a development server. Do not use it in a production deployment.
   Use a production WSGI server instead.
* Debug mode: off
* Running on http://127.0.0.1:5000/ (Press CTRL+C to quit)
Visithttp://127.0.0.1:5000/in your browser, and the following page should appear:
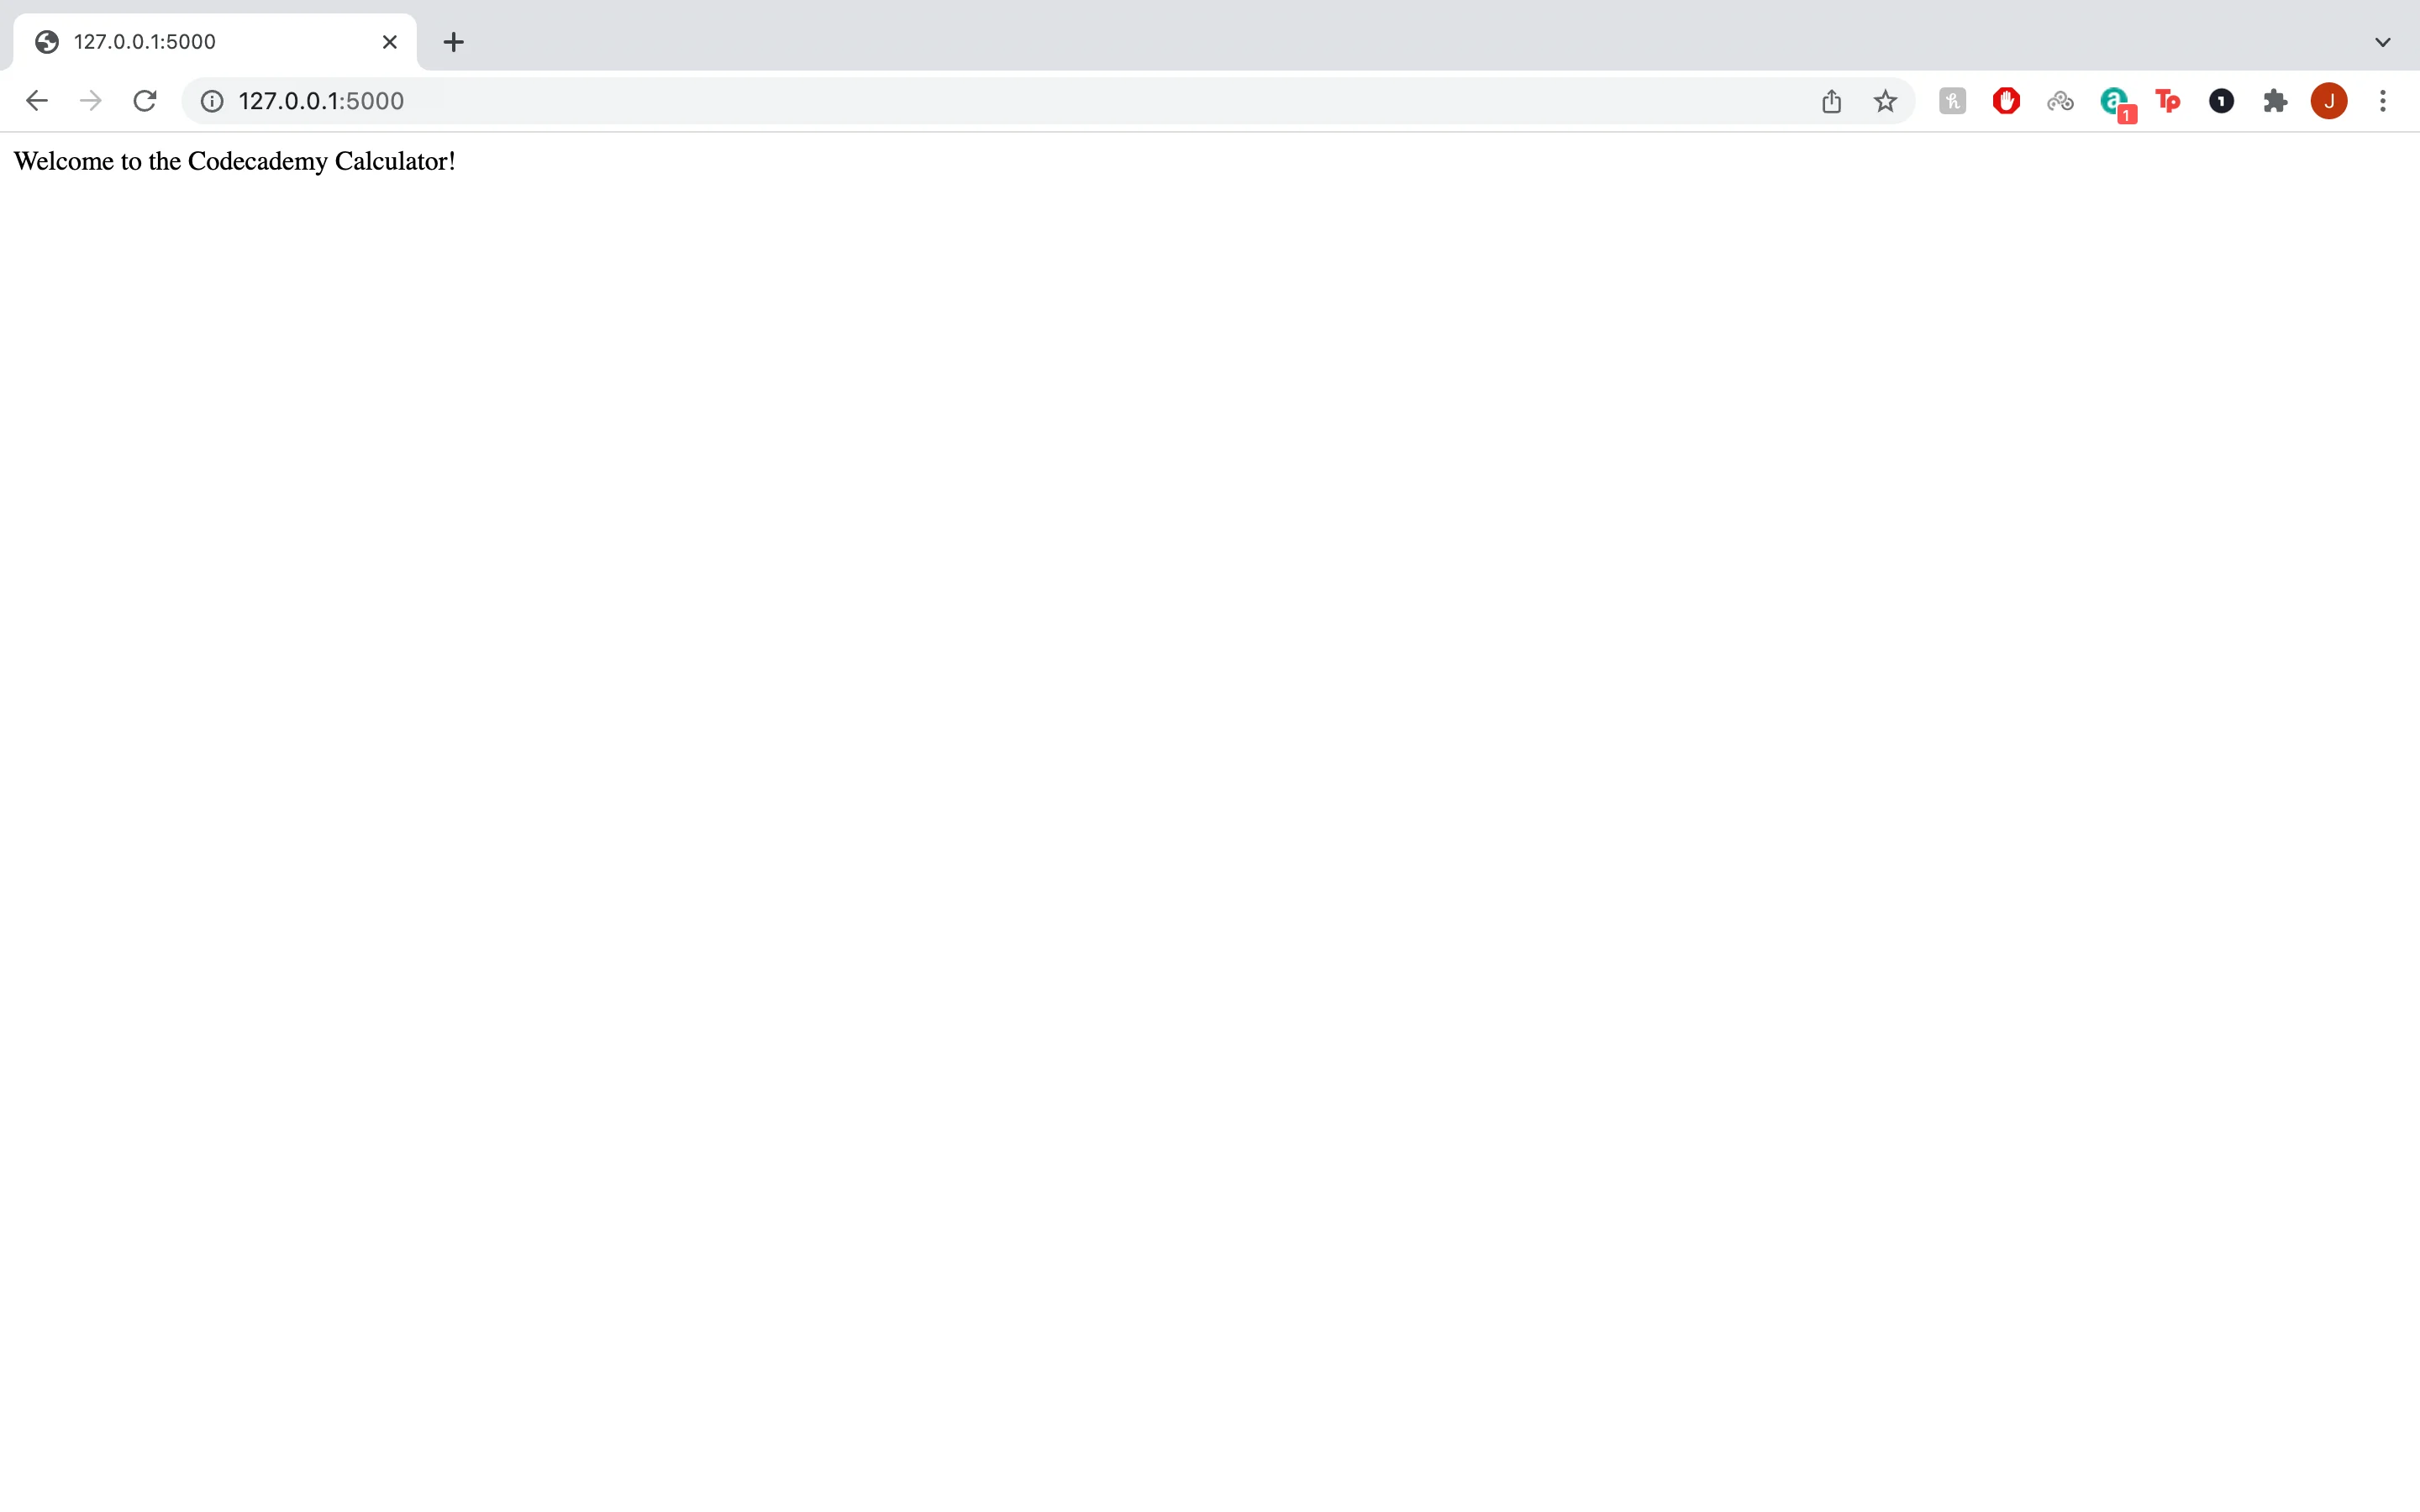
This is a minimal webpage with the following text: "Welcome to the Codecademy Calculator!"
To go to the/divisionor/multiplicationroute, you can adddivisionormultiplicationafter the final/. If you want to see thedivision()function executed, go tohttp://127.0.0.1:5000/division, and you should see something like the following:
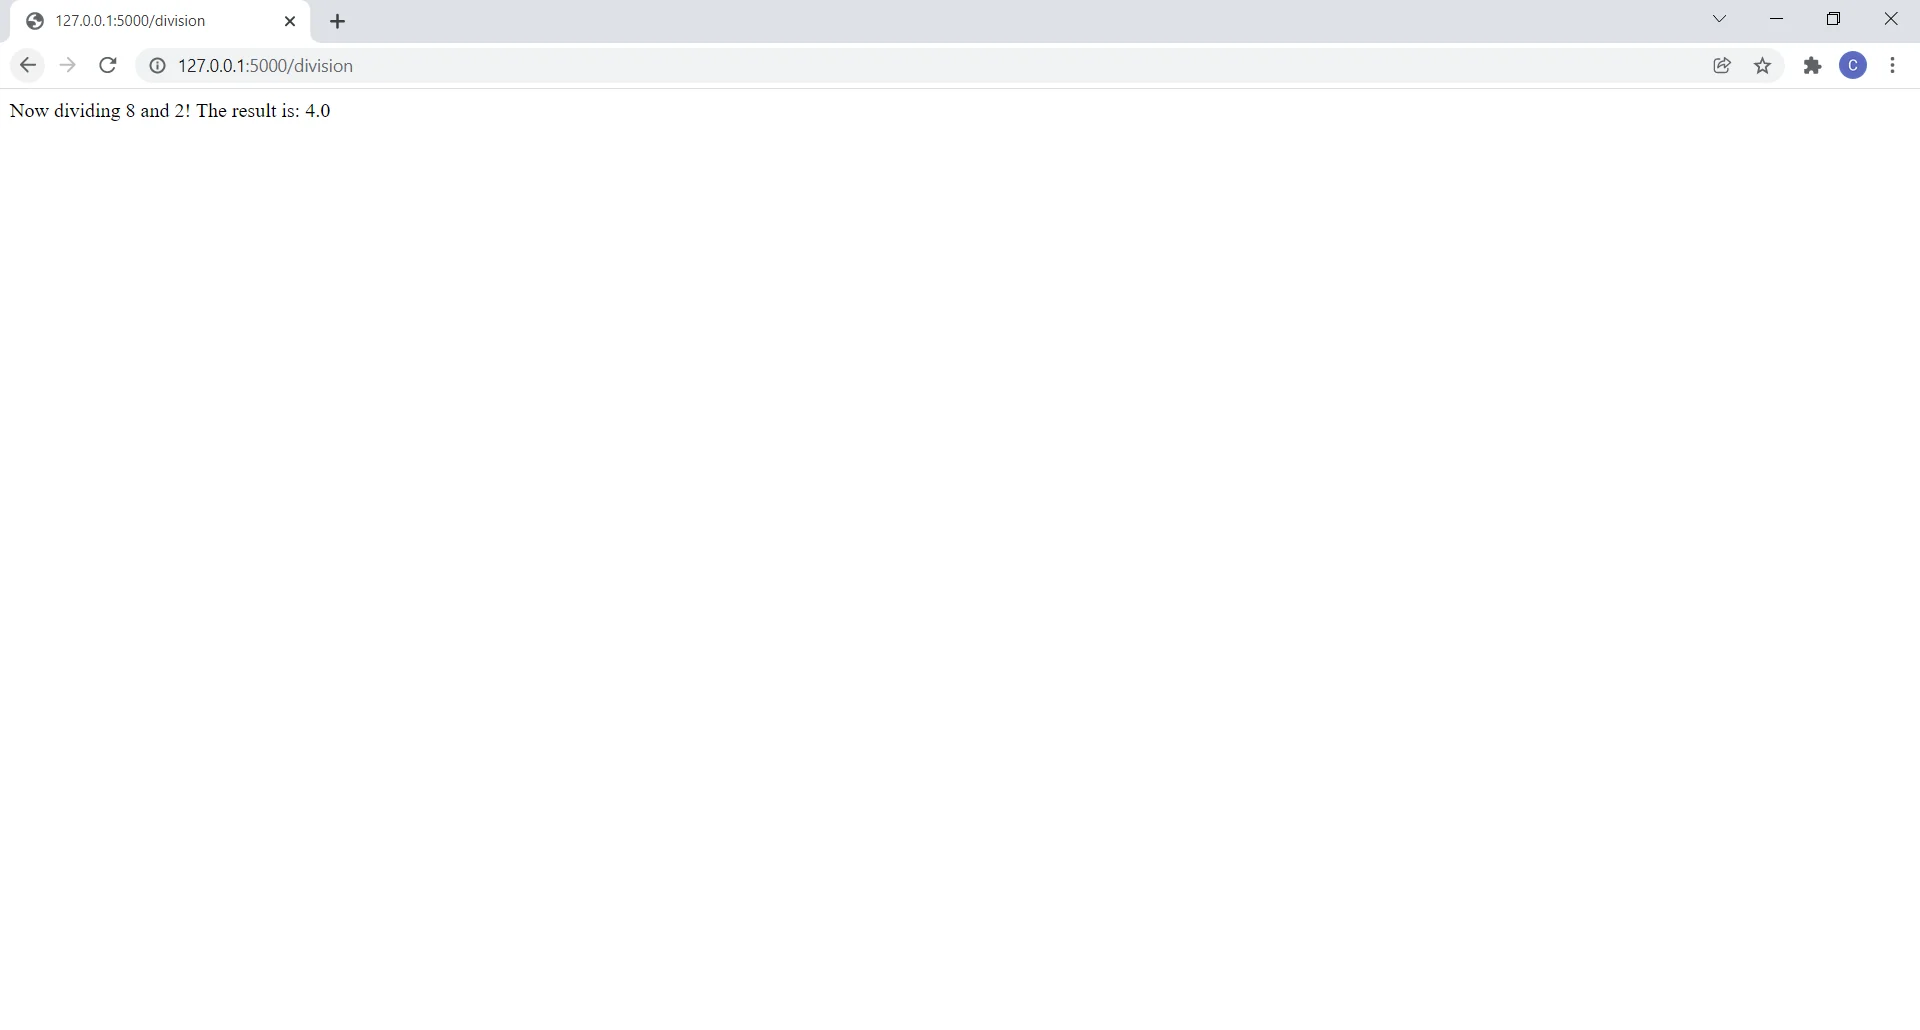
This is a minimal webpage that shows the division function.
Conclusion
Deploying allows us to quickly package our application for easy configuration and installation in environments other than where we developed it. This was a brief introduction to deployment with Flask. If you want to learn more, you can dive deeper into creating web applications in ourLearn Flaskcourse.
Happy coding!
'The Codecademy Team, composed of experienced educators and tech experts, is dedicated to making tech skills accessible to all. We empower learners worldwide with expert-reviewed content that develops and enhances the technical skills needed to advance and succeed in their careers.'
Complete Payment to Unlock Full Guide & Source Code
You are viewing the 30% preview. Join TopCourseAI Pro to unlock the remaining 70% of this article, unblur all code snippets, and gain full access to all 412 technical projects and guides.
Ready to access the complete step-by-step tutorial?
Gain full unhindered access to all 412 technical projects and guides, unblur all source code snippets, and download runnable scripts.
Deploying a Full-Stack App with Heroku
Next BlueprintDeploying a Static Site with Netlify
Related Blueprints & Guides
View all 166 →Accessibility on the Platform
Codecademy is committed to providing a high-quality learning experience for all learners. That includes accommodating different usage forms such as auditory, motor, or visual restrictions, limited hardware, or other acce...
Web developmentAffordances, Signifiers, and Clickability
For users on the web, the mouse click is perhaps the most fundamental human-computer interaction. The webbecamethe web partially through the power ofhypertext, or text in one document that links to other documents or res...
Web developmentAuthentication and OAuth
Authenticationis the process used by applications to determine and confirm identities of users. It ensures that the correct content is shown to users. More importantly, it ensures that incorrect content is secured and u...
Ready to build production-grade AI systems?
Enjoyed this guide? Continue exploring our library of 166+ production blueprints, multi-agent swarms, and autonomous agent systems with 100% unblurred, executable source code.