
Managing Assets and Icons
Managing Assets and Icons
In this article, you will learn how to manage icons and assets using web-based tools.
Introduction
An important part of building an attractive web page is including visual assets such as logos and images. One way to make a web page more professional is to add something called afavicon- a small image displayed in the tab or browser bar containing the name of the page being viewed.
You may also need to resize or crop images before adding them to a web page. You’ll get to try all of this below!
Before learning about favicons and image sizing, it’s important to have a basic understanding of the difference between three types of image files:
- JPEG - a highly compressible file type that is preferred for images with significant detail
- PNG - a file type that is lossless (meaning that full quality is maintained) - generally preferred for images with less detail such as logos
- SVG - useful for high resolution screens, scalable vector graphics (SVG) will change size (scale) for various screen sizes; SVGs also contain roughly 50% less data than their JPEG or PNG equivalents allowing web pages to load more quickly; they are becoming widely used for simple images such as icons and logos
Making favicons using favicon-generator.org
A favicon is frequently the same as, or a modified version of, whatever logo is associated with a company’s web page.
To convert an existing image to a favicon, you can use an online conversion tool such asFavicon-Generator.
** Exercise I: Create a favicon from an existing image **
1. The image being used must be a GIF, PNG, or JPEG (you may find JPG and JPEG used interchangeably). For this exercise, we will provide an image. Openthis imagein a new tab. Right click or Ctrl and click on the image and download it to your local machine.
2. Onfavicon-generator.org, click “Choose File.” Select the file you just downloaded.
3. Select “Generate Only 16x16 favicon.ico.”
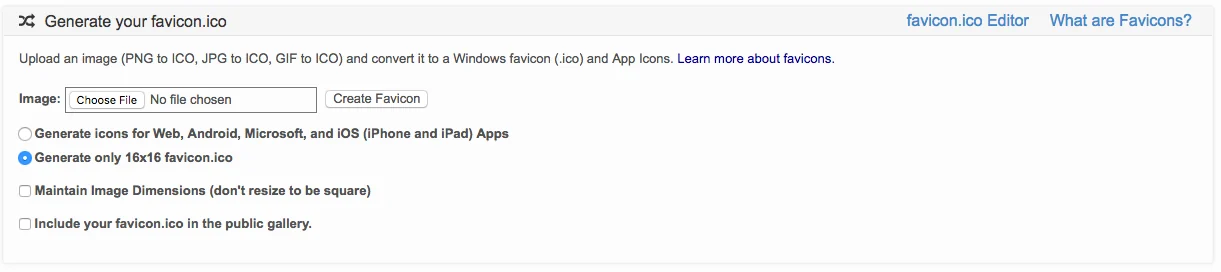
Upload
4. We recommend that you unselect “Maintain Image Dimensions” so that the image will be resized to a square.
5. Deselect “Include your favicon.ico in the public gallery”.
6. Click “Create Favicon.”
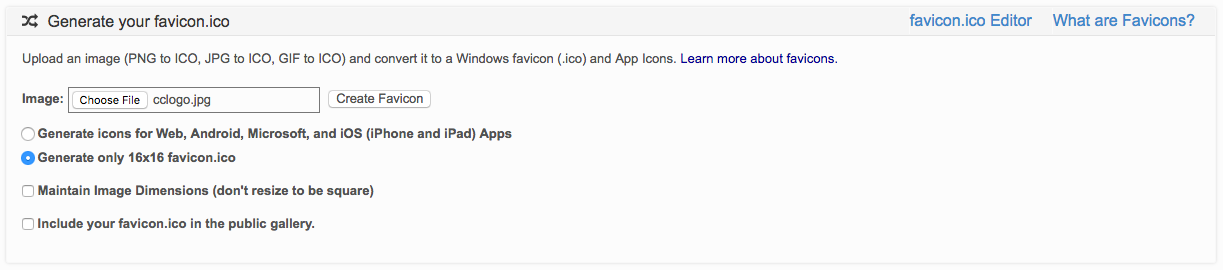
Select
7. Click “Download the generated favicon” and save it locally.

Download
8. To add the favicon to your web page, add the file to your project directory and add this code to the<head>of your HTML document.
<link rel="icon" href="./<favicon-name>.ico" type="image/x-icon">
Copy to clipboard
<link rel="icon" href="./<favicon-name>.ico" type="image/x-icon">That’s it! You have a favicon!
Editing Images
Another important skill is creating and managingassets. Assets are images and other media that will be presented on your web page.
Sometimes your images will be imperfect for any number of reasons: they might contain content you wish to crop out, the file size may be unnecessarily large, or the image itself might be too big.
A best practice is to ensure that images are sized properly before adding them to an HTML file. Images that are too large may overflow their parent container or render incorrectly. Furthermore, overly large files cause web pages to load significantly slower.
There are several tools we can use to modify assets. Adobe Photoshop is a commonly used and useful tool for all sorts of photo editing tasks. Unfortunately, Photoshop requires a monthly subscription fee. Because of the cost, in this article we will use Pixlr, a free and industry-accepted alternative.
Exercise 2: Edit and Crop an Image with Pixlr
1. Navigate toPixlr.
2. Select the correct option based on where your asset is stored. In this case, select “OPEN IMAGE FROM URL.”
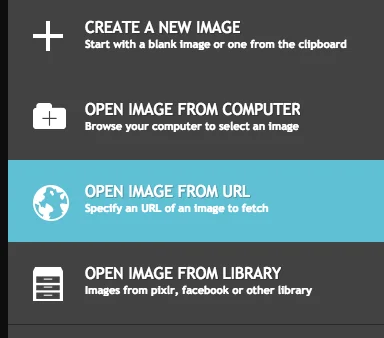
Open
3.Pastethisimage URL into the box that appears. Be sure that you don’t havehttptwice at the beginning of the URL.
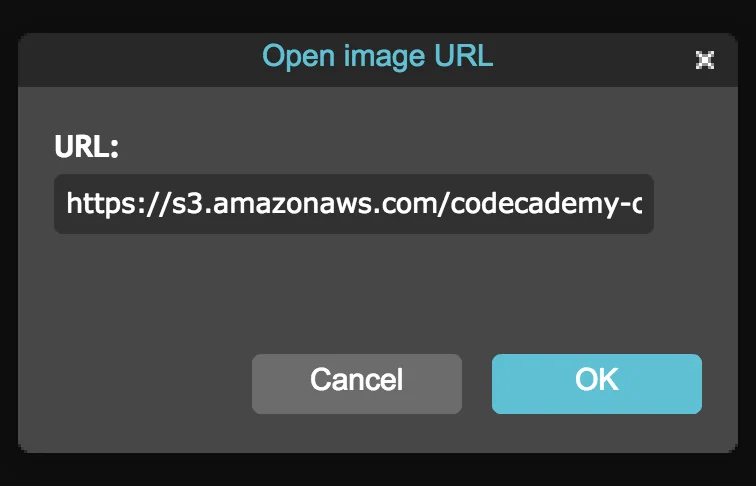
Paste
4. To crop the image, press “c” and select the portion of the image you wish to keep. Adjust if necessary, then press “Enter” to complete your selection.
You could also select this tool for cropping:
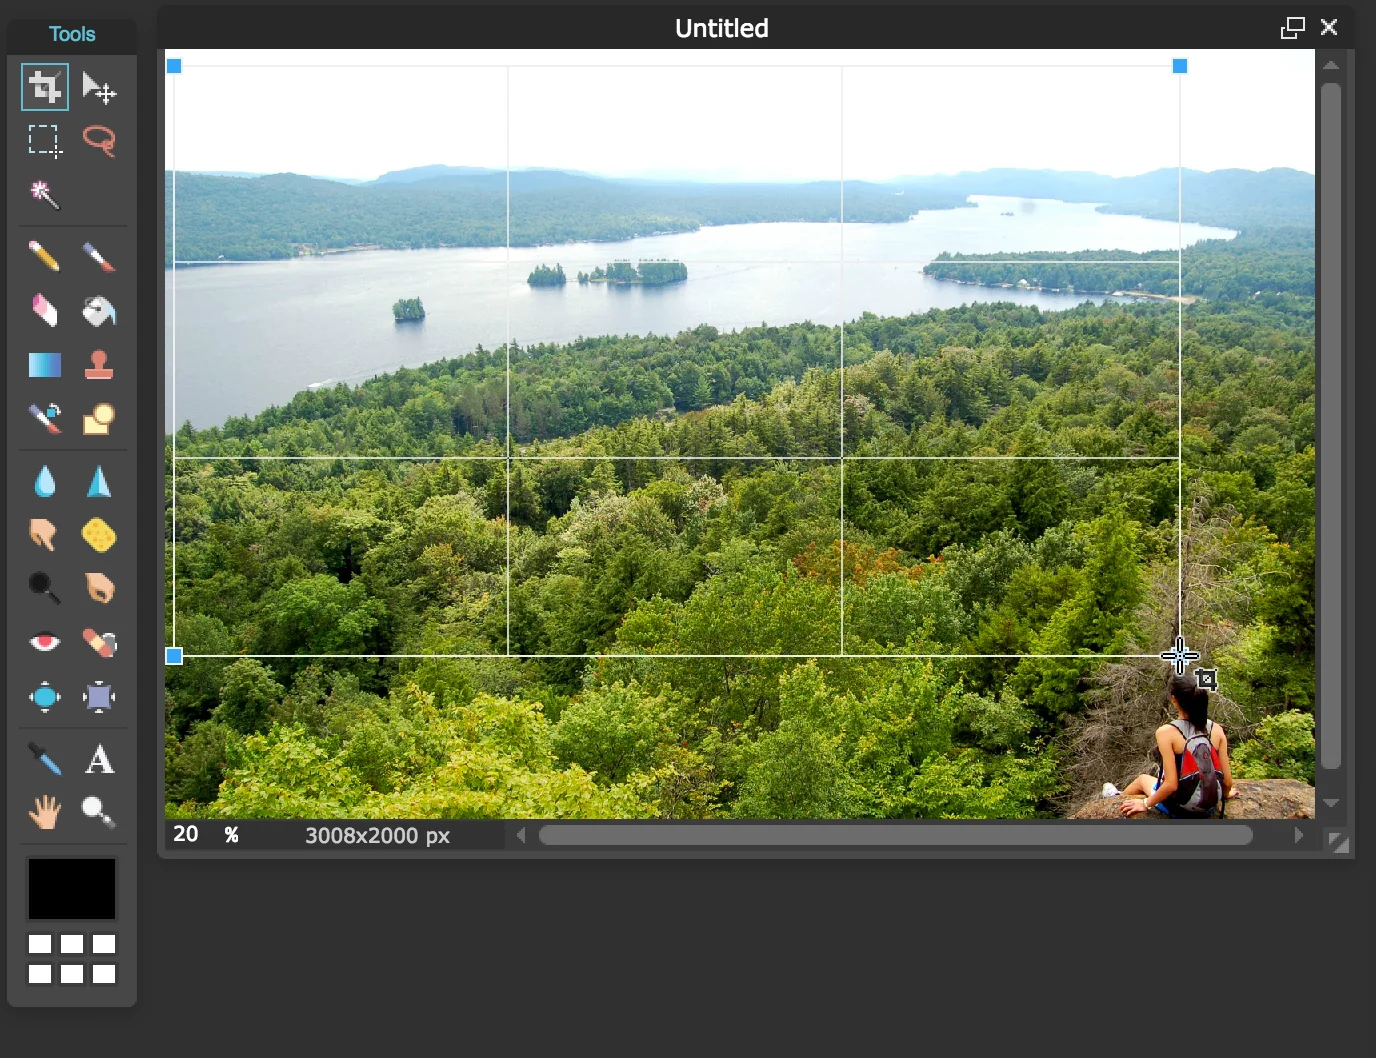
crop
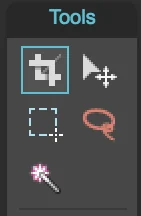
croptool
5. Alternatively, you can resize the image by choosing the size first. To try this out, select “Edit > Undo” to revert to the original image.
6. We’ll resize this image to 2200 pixels wide by 1500 pixels tall. Double click the lock symbol on “Layers.”
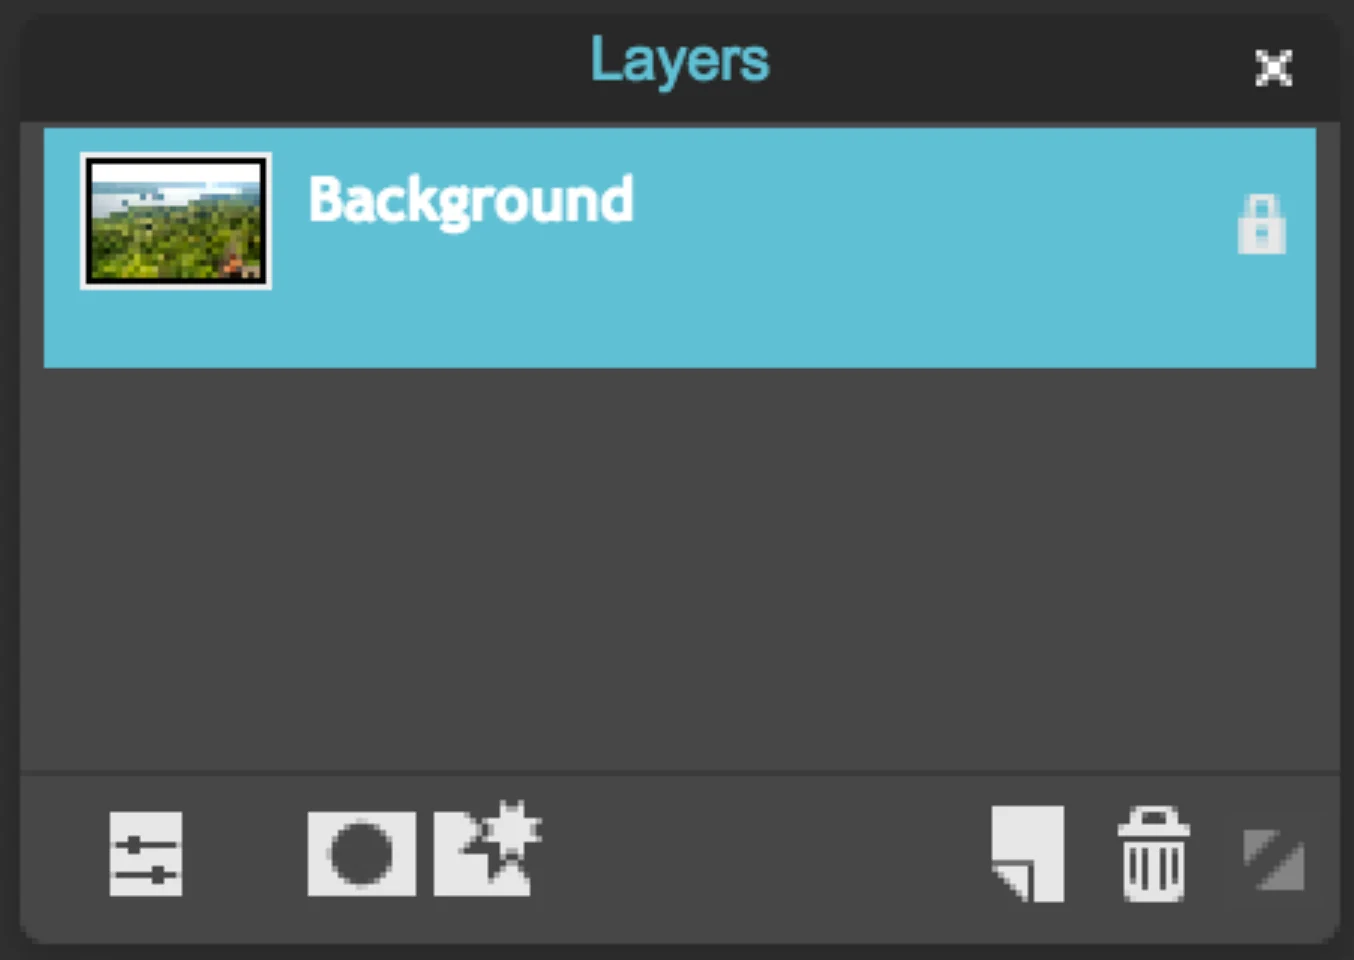
lock
7. Select “Image > Canvas Size.”
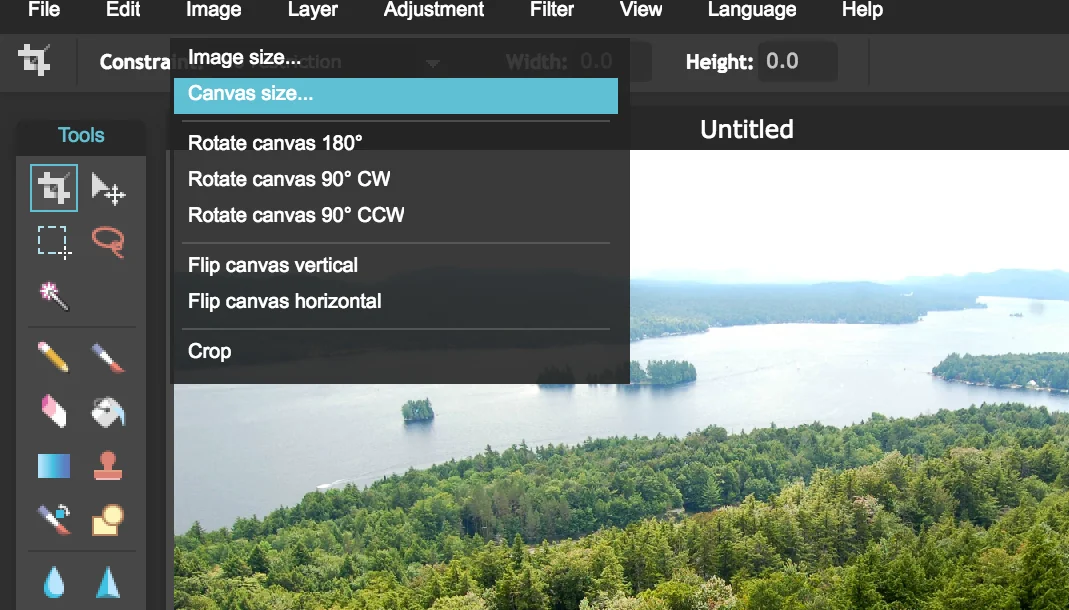
canvas
8. Enter the height and width specified above.
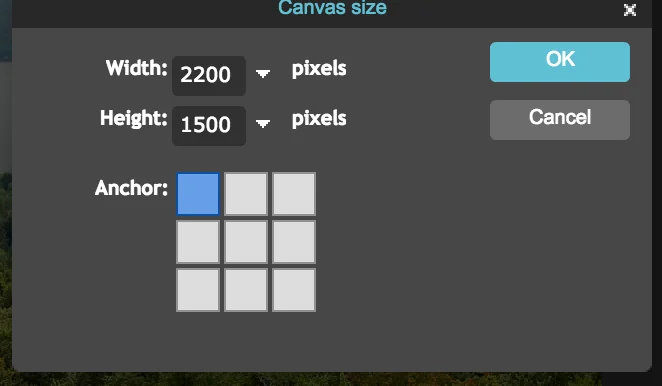
dimensions
9. Press the “v” key and use the arrow keys to move the full size image inside of the new canvas you just created. Alternatively, you can drag the iamge around with your cursor. You can also select this tool for moving the image within the canvas:
10. Select “Image > Crop.” Now your image contains only the content you want it to have!
11. Select “File > Save.” You’ll have to choose between JPEG and PNG. A good practice is to select JPEG for more detailed images and PNG for images with more empty space. If you select JPEG, you’ll also have to select quality. The web standard for JPEG files is 85%. Select JPEG and use the slider to select 85%.
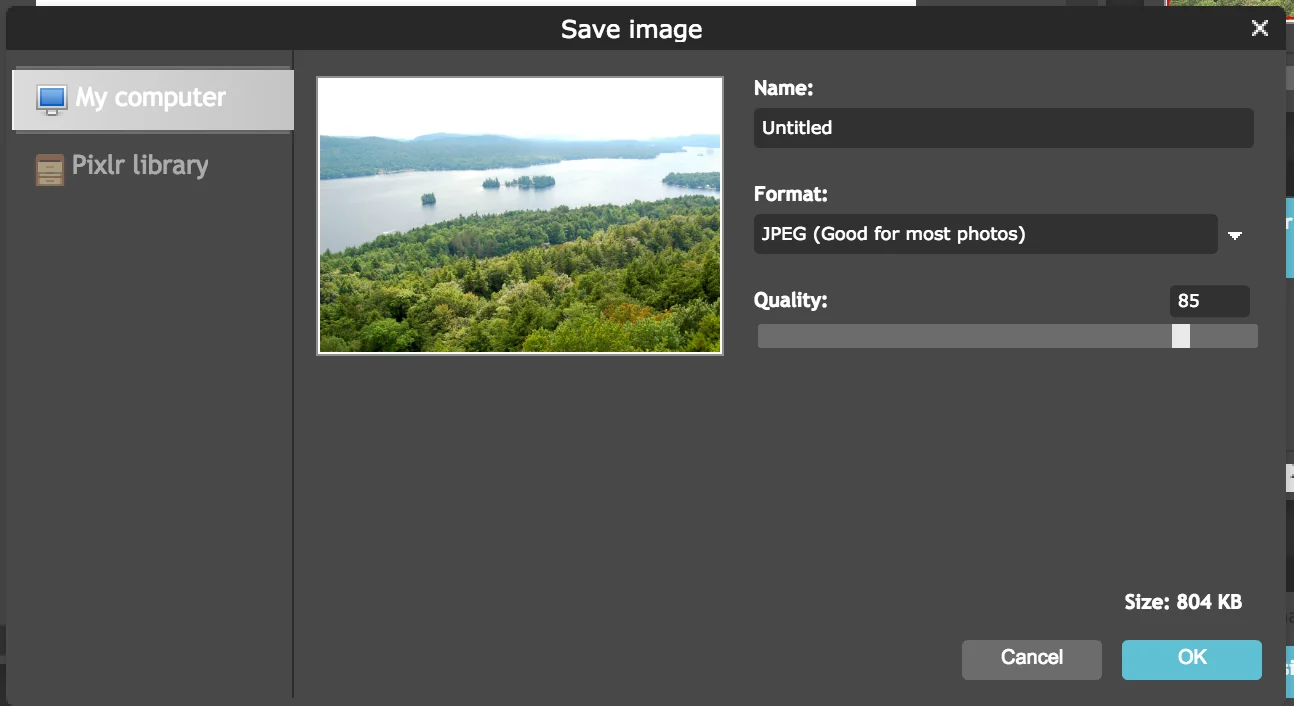
slider
Nice work! You just sized and saved a JPEG image!
Converting to Scalable Vector Format
Scalable Vector Graphics, or SVGs, are generally the smallest file size as they are created by specifying a series of line lengths, with turns and colors. However, this means that they cannot render highly detailed images well. If you have an image that is relatively simple and you want it to scale well on screens with high resolutions, you may wish to convert it to SVG format. To convert an image to SVG, you can use an online conversion tool such asonline-convert.
Exercise 3: Convert to SVG
1. Clickhereto navigate to online-convert.com.
2. Click “Choose File” and uploadthis image.Check the size of the image file.
3. Click “Convert File”. If you are using Chrome, the image should automatically download. It is not necessary to use any of the advanced features, but you can if you wish! How large is the image file now?
Awesome! Now you have an SVG file.
Converting an image is a relatively easy task, and it can be beneficial to convert an image and see which file size is smaller. Again, it is good to use the smallest possible file sizes when possible as it allows your web page to load much more quickly.
Everything you have practiced in this article will help you create professional web pages with logos and assets!
'The Codecademy Team, composed of experienced educators and tech experts, is dedicated to making tech skills accessible to all. We empower learners worldwide with expert-reviewed content that develops and enhances the technical skills needed to advance and succeed in their careers.'
Complete Payment to Unlock Full Guide & Source Code
You are viewing the 30% preview. Join TopCourseAI Pro to unlock the remaining 70% of this article, unblur all code snippets, and gain full access to all 412 technical projects and guides.
Ready to access the complete step-by-step tutorial?
Gain full unhindered access to all 412 technical projects and guides, unblur all source code snippets, and download runnable scripts.
MVC Architecture Explained: Model, View, Controller
Next BlueprintMocking In Tests
Related Blueprints & Guides
View all 166 →CSS Glossary
Comments in CSS are signified by a forward-slash and asterisk.
Web designInline Styles in HTML
Usually, CSS is written in a separate CSS file (with file extension.css) or in a<style>tag inside of the<head>tag, but there is a third place which is also valid. The third place you can write CSS is inside of an HTML ta...
Web designSeaborn Color Palettes: Complete Guide to Data Visualization Colors
Seaborn color palettesare predefined sets of colors that enhance your Python data visualizations by providing consistent, accessible, and visually appealing color schemes. These palettes help distinguish categories, emph...
Ready to build production-grade AI systems?
Enjoyed this guide? Continue exploring our library of 166+ production blueprints, multi-agent swarms, and autonomous agent systems with 100% unblurred, executable source code.