
CSS Visual Rules in Chrome Inspector
CSS Visual Rules in Chrome Inspector
Using Chrome DevTools for CSS Visual Rules
Requirements:
- An Internet browser
Browser developer tools allow web developers to quickly collect important information on most websites. These tools are available within most major web browsers, like Chrome, Safari, and Firefox, to name a few. Because Google Chrome is the preferred browser for many professional developers, we’ll learn how to use the browser developer tools within Google Chrome, known as Chrome DevTools.
The quickest way of accessing DevTools in Chrome is to navigate to any website (like this one) andright click(presscontroland click for a single button mouse) anywhere on the page. Upon doing so, a menu will appear directly beside the area you clicked on. In the menu, select “Inspect.” This will automatically launch DevTools within your browser. DevTools will appear as a window on either the bottom or right-hand side of your screen. It should look something like this:
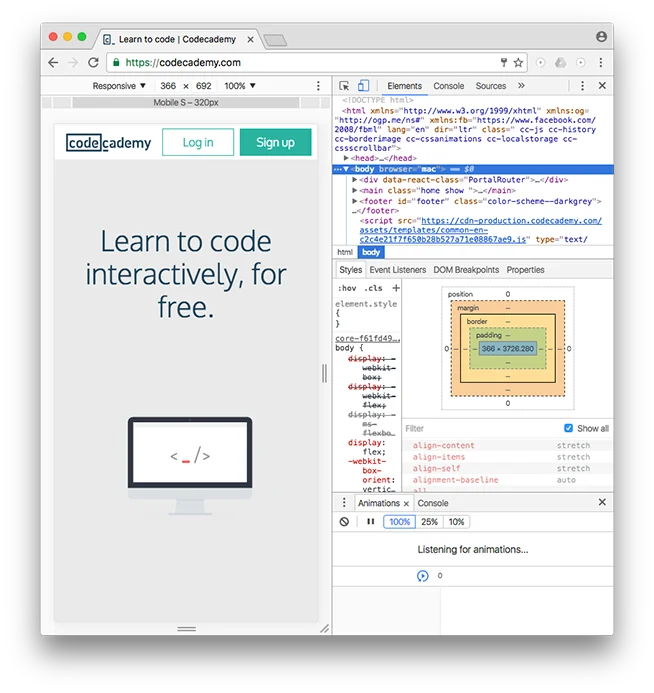
devtools
You should see theElements,Console,Sources, andNetworktabs, among many others.
This rest of this article will focus exclusively on theElementstab.
DevTools can provide you with a lot of information about a website, but it’s particularly exceptional at examining a page’s HTML elements, along with the CSS styles for those respective elements. Let’s try it out!
1. Open an incognito Chrome browser (in the browser’s menu, click on “File” then “New Incognito Window”). This will allow you to read this article while completing the following steps.
2. Navigate toCodecademy’s homepage(make sure you are logged out).
3. Right click (orcontroland click simultaneously) on any text on the page. (This article uses screenshots from a previous version of the Codecademy home page. Your home page may look different from the one shown in the screenshots.)
4. Select “Inspect” in the menu that appears.
5. DevTools should appear at the bottom of your page (it’s normal if its appears in another location, as its location can be changed).
6. Click on the “Elements” tab of DevTools (if you’re not already on it).
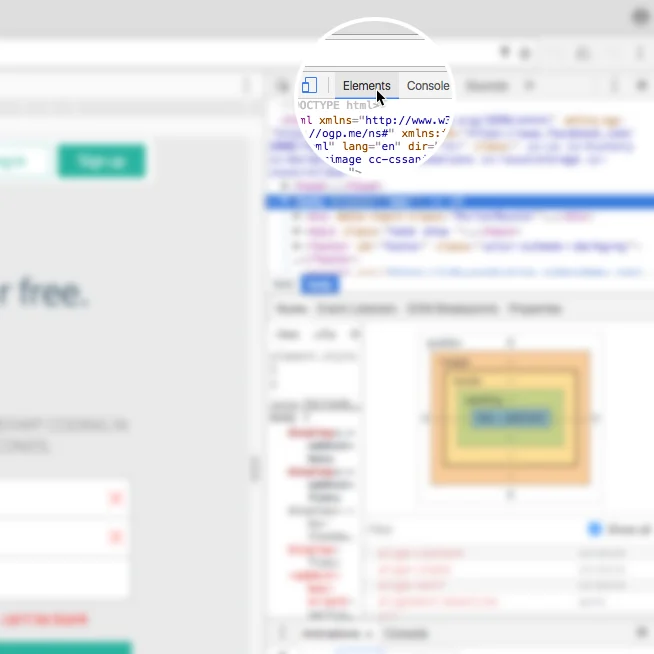
elementstab
7. In the left pane, notice the interactive DOM (HTML elements) that contains the current content of the web page.
8. Mouse over the HTML code — as you mouse over, notice that DevTools will highlight the corresponding HTML element on the web page.
9. Note that you can expand closed elements by clicking the arrow directly to the left of them.
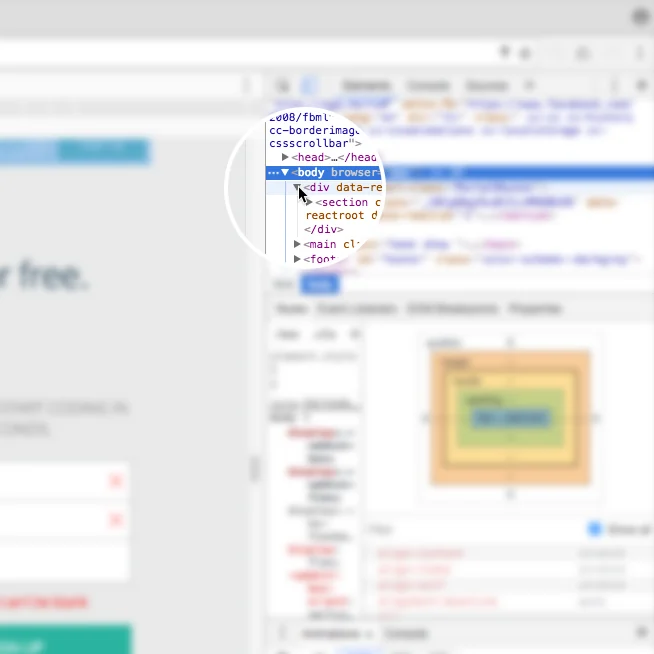
expandelement
10. Alternatively, click the “Select element” icon (shown in the image below) in the top-left corner of the console and then click on an element within the web page — this is a much quicker way of accessing a specific element on the web page that you want to inspect.
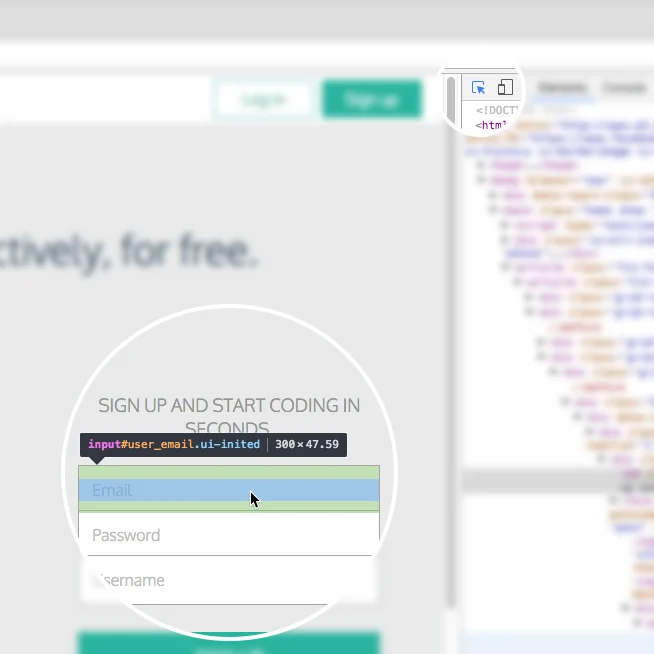
selectelement
11. On the right hand side of DevTools, click on the tab namedStyles(if you’re not already on it) — this tab displaysallof the CSS styles associated with the element highlighted in the left side of DevTools.
12. Scroll down in theStylestab, notice that some CSS styles are crossed out with a horizontal black line.
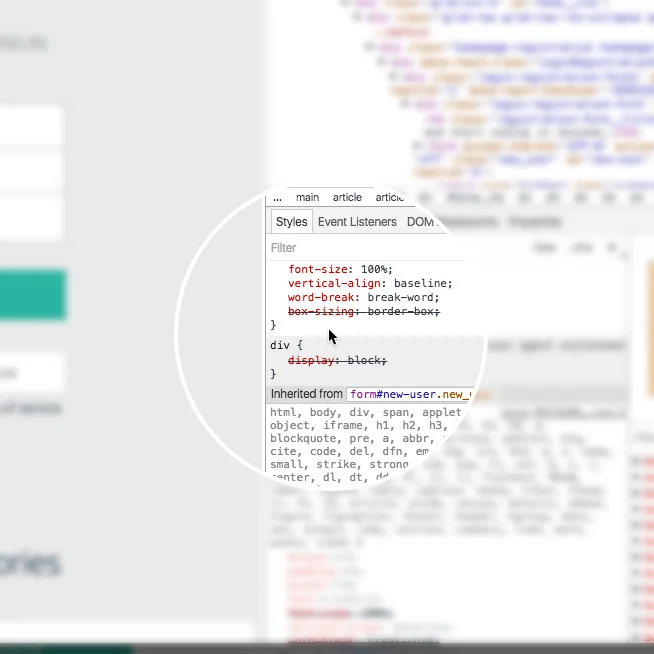
unused
13. Remember, theStylestab showsallstyles applied to that element (rules can often be overwritten by more specific rules, which causes the horizontal black line through some CSS rules, denoting that that rule is not being used).
14. To instead viewonlythe styles applied to that specific element, click on theComputedtab directly next to theStylestab in the right pane. In this pane, you will see only the styles that are being applied to that element, also known as thecomputed styles. (If theComputedtab is not appearing for you, your browser may be sized too small. Expand the width of the browser until it appears.)
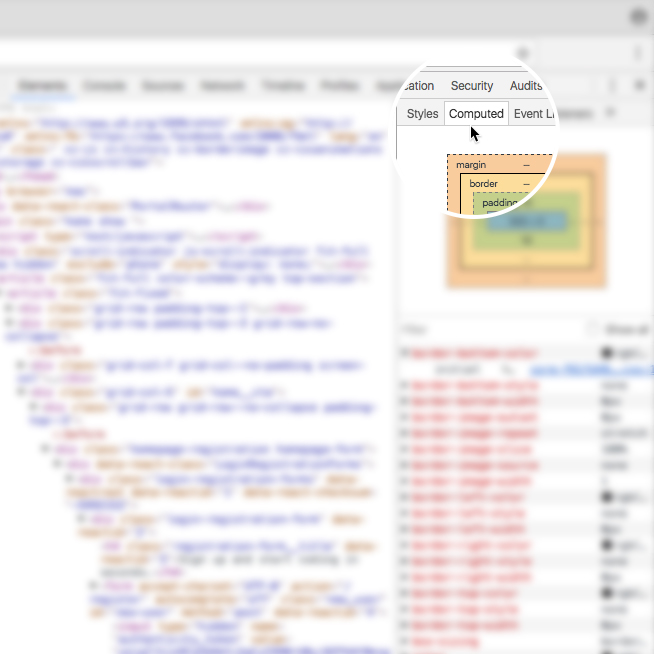
computed
DevTools is also useful for modifyingexistingCSS rules and previewing those changes directly on the page you’re viewing.
To try it out, click again on theStylestab in the right pane of DevTools (feel free to use the Codecademy website again). Scroll down to a CSS rule (one that isnotcrossed out with a black line), click on the value of any applied CSS rule, change the value, and pressenteron your keyboard. You should see the change automatically update on the page.
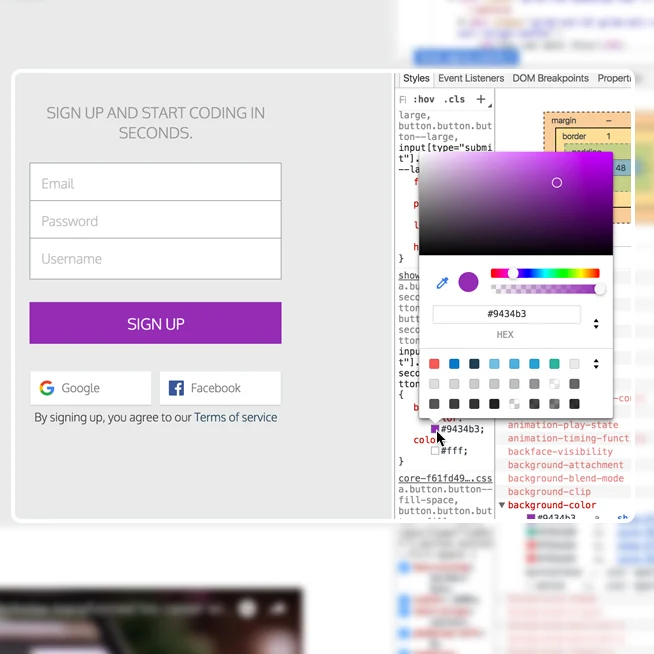
editStyles
There are a few things to keep in mind when using DevTools to modify a web page:
1. When you modify or change a CSS rule, you may be affecting more than one element.
2. DevTools provides easy-to-use tools when you modify certain CSS rules. (For example, when modifying color values, DevTools will provide you with a color picker to help you select a color.)
3. DevTools is only asandboxtool, meaning that any changes you make to the web page willnot be saved, so make sure to write down any changes you’d like to make when using DevTools for your own web page!
In addition to modifying existing CSS rules, you can addnewCSS rules as well. Let’s continue using DevTools on the Codecademy homepage.
1. Locate some text on the home page (i.e. find a heading, paragraph, link, etc.).
2. Right click on the text and click “Inspect” in the menu that appears. DevTools will highlight the corresponding HTML element in its left pane.
3. Take a look at theStylestab and click on the+icon in the top-right corner of the right pane — notice that this creates a new, empty CSS rule for that element.
4. Within the element’s selector, click and add a new CSS declaration. The following is an example (feel free to add your own declaration):
background-color: red;
Copy to clipboard
background-color: red;You should see the background color of the text you selected change to red. You can also continue to add your own CSS styling as you wish.
In the future, try this technique on your own website(s) as you build them from the ground up. Building with DevTools can result in a more efficient workflow, as it can help you avoid repeatedly saving and viewing changes manually.
DevTools also lets you directlymodifythe HTML content of a web page. Let’s try this out one more time on the Codecademy homepage.
1. Again, right click on a piece of text on the homepage and click “Inspect” in the menu that appears.
2. DevTools will automatically highlight the HTML code in the left pane associated with the content that you inspected on the web page.
3. In DevTools, double click on the text between the opening and closing tags of the text you right-clicked on.
4. Change the heading to say something else, like your name, or “Codecademy”, and pressenter.
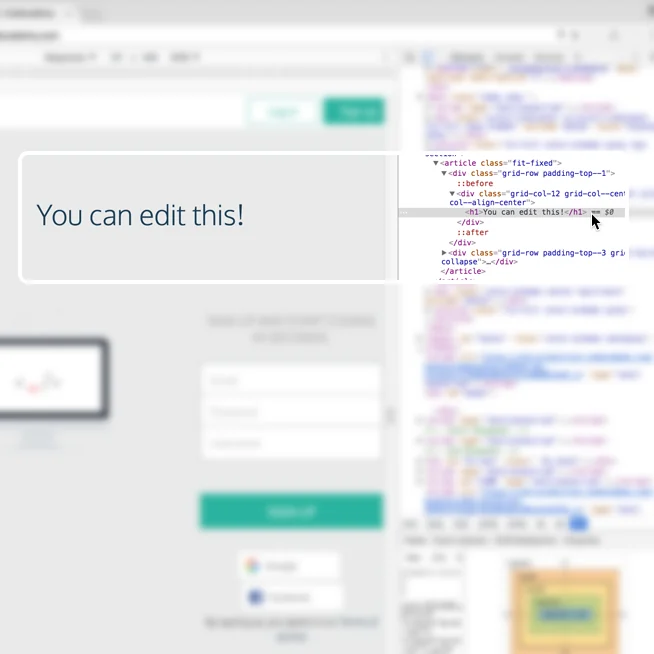
editElement
At this point, you should see the text change!
You can also add HTML of your own as well. Let’s add an<h2>element directly below the element you just modified.
1. Right click on the element you just modified, a menu should appear. Click on “Edit as HTML.” (You can also delete elements using this menu.)
2. A large text field should appear. Directly edit the HTML by adding an<h2>element below with the text of your choice.
3. To complete/view your changes, click on any other element in the left window pane or presscommandandenterat the same time (on a Mac keyboard).
What happens to the web page? Remember, these are sandboxed changes, so your changes willnotbe saved, nor permanently affect the website you are applying changes to.
The Chrome web browser provides you with robust web developer tools known as DevTools. With DevTools, you can view a web page’s existing DOM elements and associated styles, as well as modify and preview changes you make to the web page, resulting in an efficient workflow. If you’re interested in learning more about DevTools, visit the official documentation athttps://developer.chrome.com/devtools.
Happy coding!
'The Codecademy Team, composed of experienced educators and tech experts, is dedicated to making tech skills accessible to all. We empower learners worldwide with expert-reviewed content that develops and enhances the technical skills needed to advance and succeed in their careers.'
Complete Payment to Unlock Full Guide & Source Code
You are viewing the 30% preview. Join TopCourseAI Pro to unlock the remaining 70% of this article, unblur all code snippets, and gain full access to all 412 technical projects and guides.
Ready to access the complete step-by-step tutorial?
Gain full unhindered access to all 412 technical projects and guides, unblur all source code snippets, and download runnable scripts.
Related Blueprints & Guides
View all 166 →Android Studio Quick-Start Guide
Android Studio often intimidates beginners, but by learning a few handy shortcuts and getting the lay of the land, we can navigate this powerful development environment with ease.
Developer toolsApache Kafka Tutorial: A Complete Guide for Beginners
Apache Kafkais a well-known distributed event streaming platform designed to efficiently manage real-time data feeds. It was originally developed by LinkedIn in 2011 and later open-sourced. Apache Kafka has gained immens...
Developer toolsBuilding Websites with Wix
Creating a website has never been easier. Previously, making a presentable website meant learning HTML, CSS, andJavaScript. The whole process could take weeks, months, or even years before creating a website that you’re...
Ready to build production-grade AI systems?
Enjoyed this guide? Continue exploring our library of 166+ production blueprints, multi-agent swarms, and autonomous agent systems with 100% unblurred, executable source code.