
Creating a React App
Creating a React App
React is a powerfulJavaScriptlibrary developed by Meta (formerly Facebook) for building dynamic user interfaces. Its component-based architecture and efficient rendering have fueled widespread adoption among developers, ranking it as the second most loved web framework in the2024 StackOverflow developer survey. This article will walk you through setting up your first React app and assumes you are familiar with text editors and command line navigation.
Note: We’ve previously recommended usingcreate-react-app(CRA) to bootstrap a React project. Since then, the React team hassunsettedthis tool. This article focuses on usingVite, pronounced “veet”, the modern build tool that has become the preferred non-framework lightweight solution for React development.
Getting Ready
We will be using the Node package manager (npm), so you will need to have Node installed on your computer. To check if you have Node installed, run this command in your terminal:
node -vIf you have Node installed, this command will return a version number, likev23.1.0.
If it’s not already installed, follow the steps inSetting Up Node Locallybefore moving on.
To use Vite, you’ll need Node v18+ or 20+, so make sure to install the correct version before proceeding!
When you install Node, you automatically get npm installed on your computer as well. However, npm is separate fromNode.jsand tends to update more frequently. As a result, even if you’ve just installed Node (and therefore npm), it’s a good idea to update your npm. Luckily, npm knows how to update itself!
To upgrade to the latest version of npm on *nix (OSX, Linux, etc.), you can run this command in your terminal:
sudo npm install -g npm@latestTo upgrade on Windows, follow the steps found in thenpm documentation.
Setting Up the Boilerplate Application
While it’s possible to manually create a React app, using a build tool like Vite allows us to quickly generate a boilerplate React application with all the necessary configuration.
Using Vite provides several benefits:
- a consistent project structure you’ll recognize across different React projects
- an optimized build process out-of-the-box
- a fast development server with hot module replacement
- modern frontend tooling with minimal configuration
To create a new Vite project, you can use npm’screatecommand, which runs thecreate-vitepackage without installing it globally first. When you run the command, npm will ask for your permission to download and execute the package. This approach keeps your global dependencies clean and ensures you’re always using the latest version of the tool.
Open your terminal and run one of the following commands based on your preferred package manager:
With npm:
npm create vite@latest
Copy to clipboard
npm create vite@latestWith yarn:
yarn create vite
Copy to clipboard
yarn create viteWith pnpm:
pnpm create vite
Copy to clipboard
pnpm create viteAfter running the command, follow the interactive prompts:
- enter your project name (e.g.,my-react-app)
- selectReactas your framework
- choose your preferred variant (JavaScript or TypeScript)
We’ll use the JavaScript variant, which does not have type-checking. Locally, you should use what is appropriate for your use case.
You can also specify these options directly in the command:
# npmnpm create vite@latest my-react-app -- --template react
# yarnyarn create vite my-react-app --template react
# pnpmpnpm create vite my-react-app --template react
Copy to clipboard
# npmnpm create vite@latest my-react-app -- --template react
# yarnyarn create vite my-react-app --template react
# pnpmpnpm create vite my-react-app --template reactUpon completion, you will get a recap of your prompt selection and the project location:
> npx
> create-vite

│
◇  Project name:
│  my-react-app
│
◇  Select a framework:
│  React
│
◇  Select a variant:
│  JavaScript
│
◇  Scaffolding project in /Users/codecademy/Desktop/vite/my-react-app...
│
└  Done. Now run:

 cd my-react-app
 npm install
 npm run dev
Following the instructions, change directory into your project folder (cd my-react-app), then run the command to install your dependencies (npm install,yarn, orpnpm install). This will differ based on your chosen package manager. Before we run the app, let’s look at the project structure to see what Vite has created for us.
React App Structure
Open the app using the text editor of your choice. You should see the following file structure:
└── 📁my-react-app
    ├── 📁public
    │   └── vite.svg
    ├── 📁src
    │   ├── App.css
    │   ├── App.jsx
    │   ├── 📁assets
    │   │   └── react.svg
    │   ├── index.css
    │   └── main.jsx
    ├── .gitignore
    ├── eslint.config.js
    ├── index.html
    ├── package-lock.json
    ├── package.json
    ├── README.md
    └── vite.config.js
Vite has taken care of setting up the application’s main structure and several developer settings. Most of what you see will not be visible to visitors of yourweb app. Vite uses a modern build system that transforms the directories and files here into optimized static assets. Visitors to your site are served those static assets.
Don’t worry if you don’t know much about build tools. One of the benefits of using Vite to set up our React application is that we can bypass any manual configuration for the build process. Vite handles this complexity for us while providing extremely fast development and optimized production builds.
Let’s explore what each file and directory does:
Key Directories
/node_modules
This directory contains all the dependencies and sub-dependencies specified in yourpackage.jsonfile. You don’t need to modify anything here, and it’s automatically added to.gitignoresince these files don’t need to be committed to your repository.
/public
This directory contains static assets that will be served directly without being processed by Vite. Files in this directory will be copied to the build directory during production. It contains:
- vite.svg- The Vite logo, which you can replace with your own favicon.
/src
This is where your React application code lives and where you’ll spend most of your time. The initial structure includes:
- /assets- a directory for storing static assets like images that will be processed by Vite
- App.jsx- the main React component of your application
- App.css- styles for the App component
- main.jsx- the entry point for your React application (this file serves the same purpose asindex.jsorindex.jsxin other React setups)
- index.css- global styles for your application
Note: Throughout Learn React, we’ll refer toindex.jsxas the entry point file, which is common in many React projects. In Vite’s default template, this file is namedmain.jsxinstead, but it serves the exact same purpose. If you prefer to follow the lessons exactly, you can renamemain.jsxtoindex.jsxand update the script reference inindex.htmlaccordingly.
Key Files
index.htmlLocated in the root directory, this HTML file serves as the entry point for your application. Vite injects your JavaScript into it during the build process. You can directly edit this file to add meta tags, change the page title, or include additional scripts or styles.
package.jsonThis file outlines all the settings for your React app, including:
- dependencies required for the application
- scripts for development, building, and previewing your app
- other metadata about your project
Here, you’ll find important scripts like:
- dev: starts the development server
- build: creates a production-ready build
- preview: serves the production build locally for testing
vite.config.jsThis is the configuration file for Vite, where you can customize the build tool’s behavior. By default, it simply includes the React plugin, but you can extend it to add features like:
- alias paths for imports
- custom build options
- additional plugins
- proxy settings for API requests
eslint.config.jsThis file configures ESLint for your project, which helps catch errors and enforce code style. The Vite template comes with a basic configuration that extends the React recommended rules.
.gitignoreThis file tells Git which files and directories to ignore when committing code, such as node_modules, build directories, and environment files.
As your React app grows, it is common to add a/componentsdirectory to organize components and component-related files and a/viewsdirectory to organize React views and view-related files.
Starting the React App Development Server
Earlier, you changed directories into your project, the only thing left to do now is to start your project withnpm run dev,yarn dev, orpnpm dev.
The app should now be onhttp://localhost:5173/. You can manually enter this address into the URL bar of your browser. You will find yourself looking at a page resembling the following image:
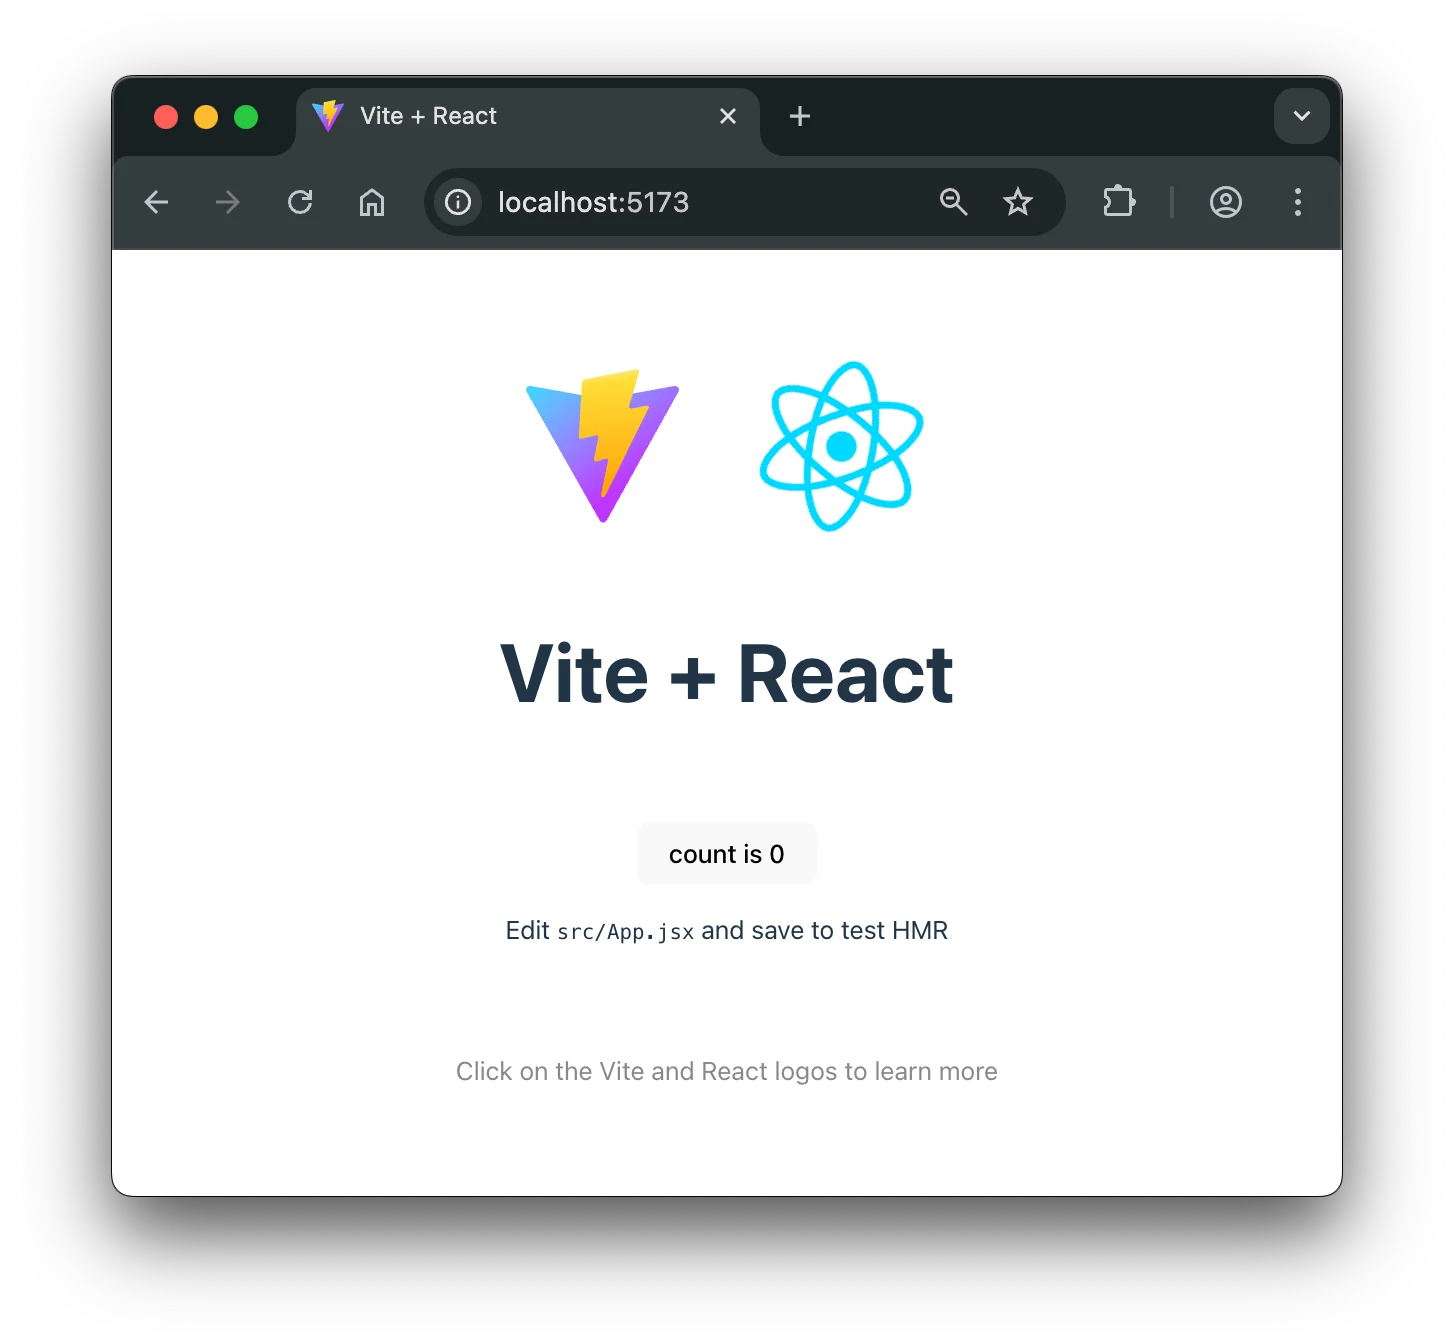
Screenshot of the default Vite + React starter page displayed in a web browser. The page has the Vite and React logos prominently displayed side by side at the center top. Below the logos is text that reads 'Vite + React'; further down are instructions for editing the source code and installing dependencies. The page represents the successful initialization of a new Vite React project running on localhost:5173.
Any changes to the source code will live updated here. Let’s see that in action. Leave the current terminal tab running (it’s busy serving the React app) and opensrc/App.jsxin your favorite text editor. You’ll see what looks like a mashup of JavaScript and HTML. This is JSX, which is how React adds XML syntax to JavaScript. It provides an intuitive way to build React components and is compiled to JavaScript at runtime. We’ll talk more about this in other content, but for now, let’s make a simple edit and see the update in the browser.
InApp.jsx, replace the content with the following:
import './App.css'

function App() {
 return (
 <>
 Hello, Codecademy!
 </>
 )
}

export default App
If you left the terminal running, you should be able to switch over to your browser and see the update:
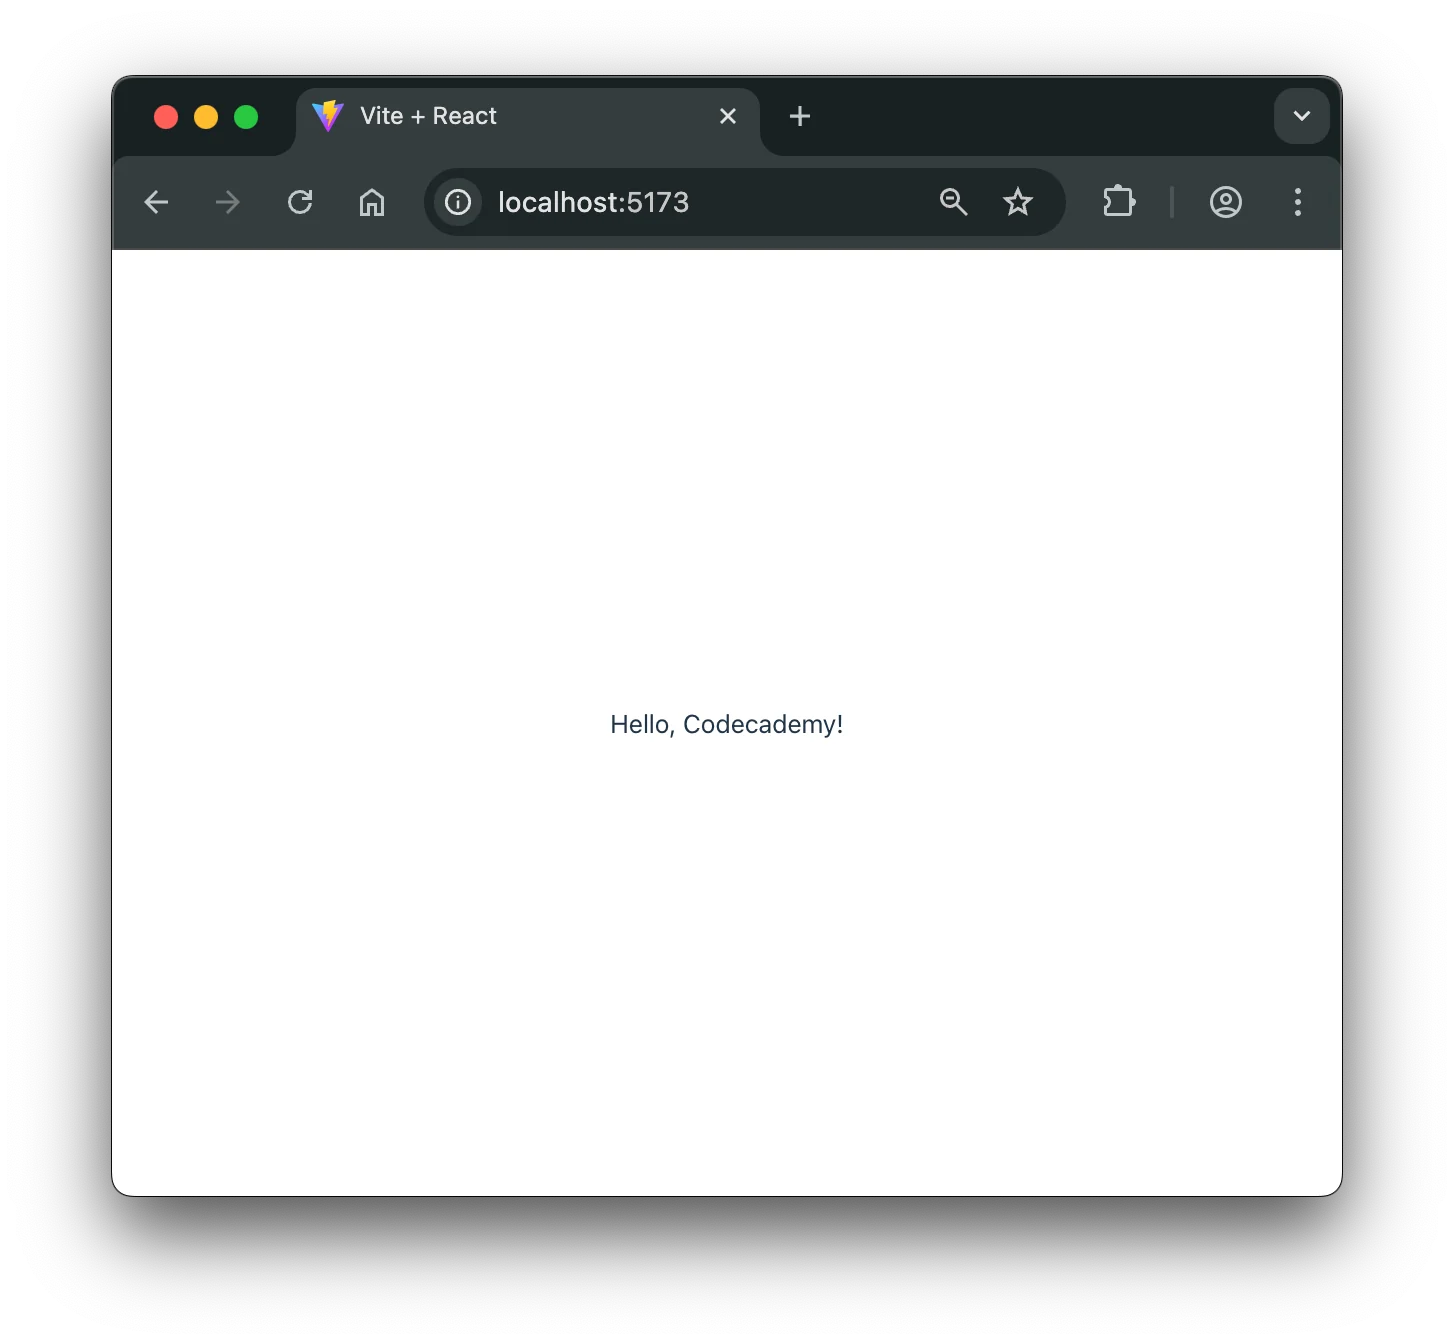
Screenshot of the a webpage with "Hello, Codecademy!" displayed in the middle of the screen. This page represents the successful modification of App.jsx.
Congratulations! You’re up and running with React and can begin adding functionality to your application.
Next Steps
Now that you’ve set up your first React application with Vite, here’s what to do next:
- Complete your React learning journey to master React fundamentals.
- Set up your debugging environment: Check out ourReact Developer Tools articleto learn how to inspect components and track performance.
- Consider exploring React frameworks: Once you understand React basics, tryLearn Next.jsfor production features like server-side rendering and optimized routing.
Practice building small projects to reinforce what you’ve learned, and keep exploring the React ecosystem as you grow your skills. Happy coding!
'The Codecademy Team, composed of experienced educators and tech experts, is dedicated to making tech skills accessible to all. We empower learners worldwide with expert-reviewed content that develops and enhances the technical skills needed to advance and succeed in their careers.'
Complete Payment to Unlock Full Guide & Source Code
You are viewing the 30% preview. Join TopCourseAI Pro to unlock the remaining 70% of this article, unblur all code snippets, and gain full access to all 412 technical projects and guides.
Ready to access the complete step-by-step tutorial?
Gain full unhindered access to all 412 technical projects and guides, unblur all source code snippets, and download runnable scripts.
Related Blueprints & Guides
View all 166 →Accessibility on the Platform
Codecademy is committed to providing a high-quality learning experience for all learners. That includes accommodating different usage forms such as auditory, motor, or visual restrictions, limited hardware, or other acce...
Web developmentAffordances, Signifiers, and Clickability
For users on the web, the mouse click is perhaps the most fundamental human-computer interaction. The webbecamethe web partially through the power ofhypertext, or text in one document that links to other documents or res...
Web developmentAuthentication and OAuth
Authenticationis the process used by applications to determine and confirm identities of users. It ensures that the correct content is shown to users. More importantly, it ensures that incorrect content is secured and u...
Ready to build production-grade AI systems?
Enjoyed this guide? Continue exploring our library of 166+ production blueprints, multi-agent swarms, and autonomous agent systems with 100% unblurred, executable source code.